Okta SSO

Follow the sections in this guide to set up Okta SSO.

Security requirements for your production environment:

  • DELETE the admin default account shipped by OM in case you had Basic Authentication enabled before configuring the authentication with Okta SSO.
  • UPDATE the Private / Public keys used for the JWT Tokens. The keys we provide by default are aimed only for quickstart and testing purposes. They should NEVER be used in a production installation.

This document will explain how to create an Okta app and configure it for OAuth. This will generate the information required for Single Sign On with Okta.

  • Go to Create Okta Account.
  • Provide the required input and click on Sign Up.
  • Else you can continue with Google or GitHub.
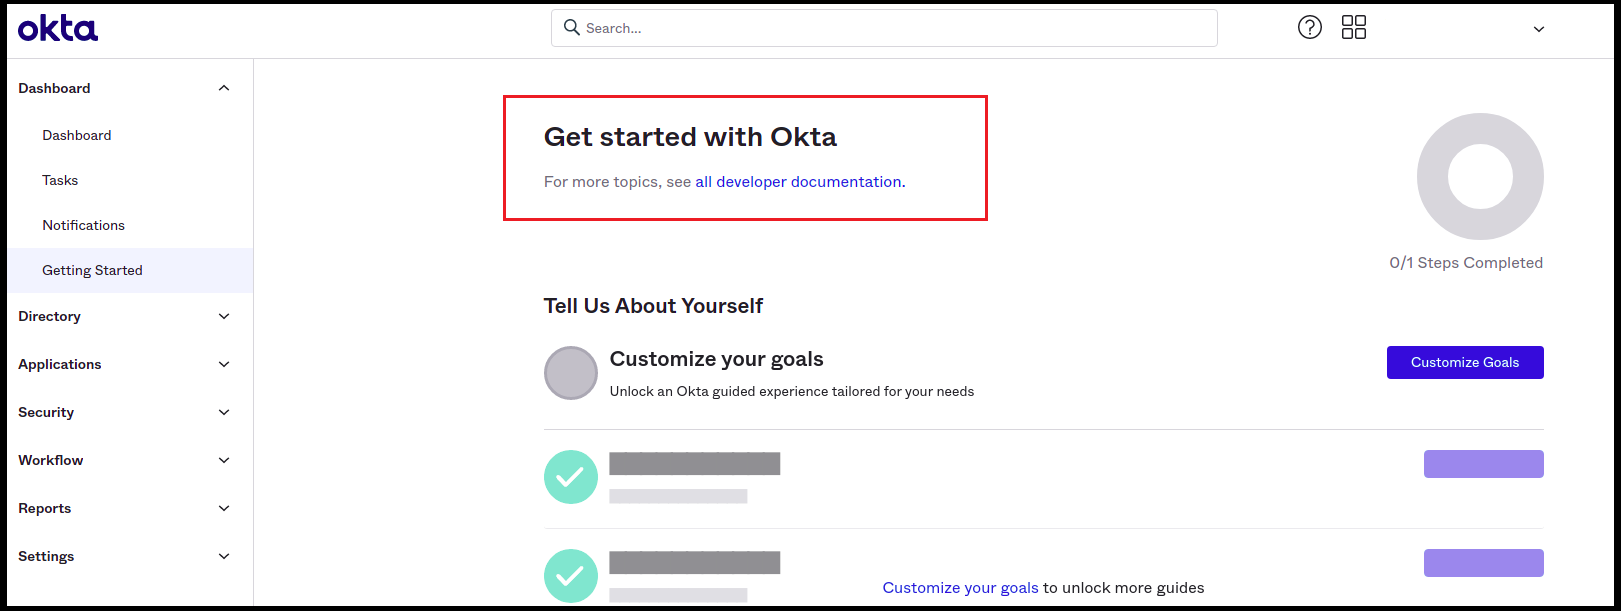
  • Once done with Signup/Sign in, you will be redirected to the Getting Started page in Okta.
create-oidc-app-integration
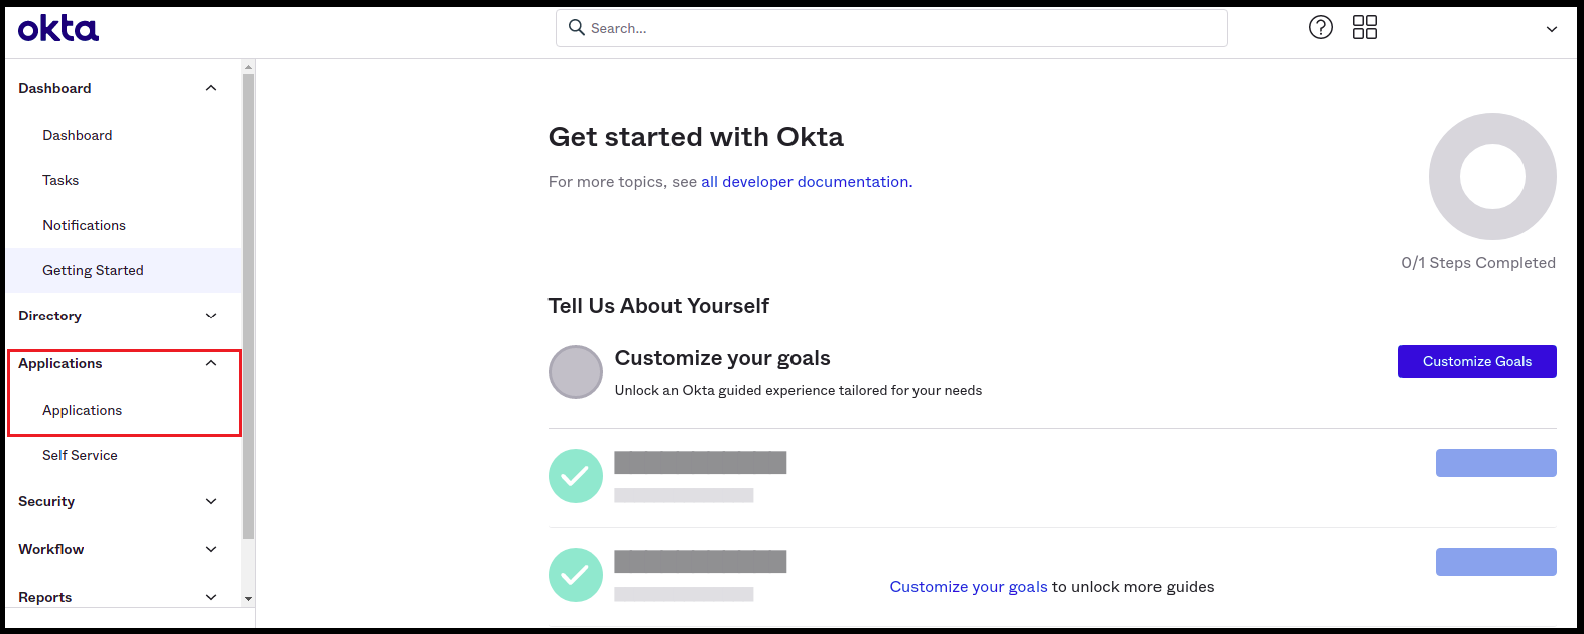
  • Click on Applications -> Applications in the left navigation panel.
click-applications
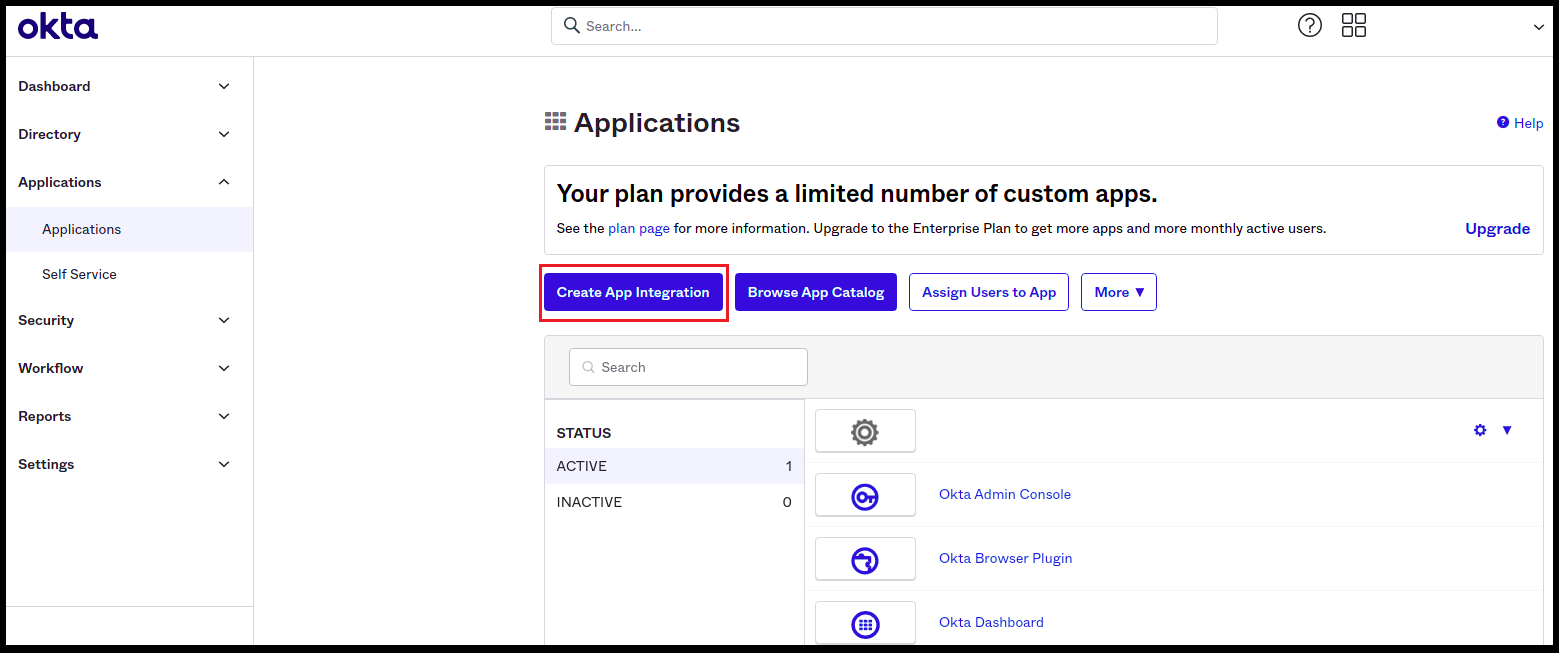
  • Click on the Create App Integration button.
create-app-integration
  • Once you are in the Create a new app integration page, select OIDC - OpenID Connect.
  • Next, select the Application type -> Single-Page Application.
  • Once selected, click Next.
configuring-the-app
  • From the General Settings page,
    • Enter an App integration name
    • Select the following in Grant type:
      • Authorization Code
      • Refresh Token - For the refresh token behavior, it is recommended to select the option to 'Rotate token after every use'.
      • Implicit (hybrid) - Select the options to allow ID Token and Access Token with implicit grant type.
    • Enter the Sign-in redirect URIs
      • http://localhost:8585/callback
      • http://localhost:8585/silent-callback
    • Enter the Sign-out redirect URIs
    • Enter the Base URIs
    • Select the required option for Controlled access
  • Click Save.
general-settings-click-save
  • The app is now configured.
app-is-configured

It is recommended to create a separate authorization server for different applications. The authorization server needs an endpoint, which'll be the Issuer URL.

  • Click on Security -> API in the left navigation panel.
click-security-api
  • From the Authorization Servers tab, click on Add Authorization Server button.
click-add-authorization-server
  • Enter a Name and Description.
  • While creating the authorization server, an Audience must be provided for the server. The Audience is the Client ID of the single page application that was created. Refer the next Step 7 to locate the Client ID.
  • Save the changes.
add-auth-server-save-changes

This will generate the Issuer URL.

It is recommended to create a separate authorization server for different applications. The authorization server needs an endpoint, which'll be the Issuer URL.

  • Click on Security -> API in the left navigation panel.
click-security-api
  • From the Authorization Servers tab, click on default server.
default-server

Once the Authorization Server has been added, navigate to Security >> API >> Authorization Servers and click on the authorization server created in the previous step.

click-auth-server-from-prev-step

The Issuer URL shows up as Dynamic by default. Change the Issuer URL to Okta URL and save the changes.

change-issuer-url
  • To create a default scope from Security -> API, click on the required Authorization Server.
click-req-auth-server
  • In the resulting page, click on the Scopes tab
  • Click on Add Scope
add-scope
  • Set as a Default Scope.
set-default-scope
  • From Security -> API, click on the required Authorization Server
  • Navigate to the Access Policies Tab
  • Click on Add New Access Policy
add-new-access-policy
  • To create a policy, add a Name and Description.
  • Assign the policy to the required clients.
  • Add a new Rule inside the policy as required. Rules can be created with just a few grant type details, such as Client Credentials, Authorization Code, Device Authorization, and Token Exchange.
  • Click on Create Rule to save the changes.
add-rule
  • Once the app is configured, the Client ID can be used.
  • You can also go to Application -> Application as in step 2.
  • You should be able to see your application in the list.
see-your-application
  • Click on your application.
  • You will find your Client ID and Okta domain.
  • The Client authentication is enabled by default.
  • By clicking on the Edit **** option for General Settings, you can deselect the option for User consent. Save the changes.
deselect-user-consent
  • Click on the Sign On tab from the top navigation bar.
  • Click on Edit for OpenID Connect ID Token.
  • For Issuer, change from the Dynamic (based on request domain) option to the Okta URL option.
  • The Audience is the same as the Client ID.
click-edit-token

This is a guide to create ingestion bot service app. This step is optional if you configure the ingestion-bot with the JWT Token, you can follow the documentation of Enable JWT Tokens.

  • Use a tool such as this JSON Web Key Generator to generate a JWKS public/private key pair for testing.
  • Use your own internal instance of the key pair generator.
  • Clone the repository using git clone https://github.com/mitreid-connect/mkjwk.org.git.
  • Use mvn package -DskipTests && java -jar target/ROOT.war to run the above repo.
  • Go to http:localhost:8080 to generate public/private key pairs.
generate-keys
  • Enter the following values to generate a public/private key pair:
    • Key size - 2048
    • Key use — signature
    • Algorithm — RSA256
    • Key ID — Enter the Key ID that is fetched from the issuer_url/v1/keys. Fetch the kid as the key ID
see-key-ids
enter-key-ids-from-issuer
  • Once you provide the input, click Generate. You will get the Public/Private Keypair, Public/Private Keypair Set, and Public Key
get-keys

While creating the service application, an authorization token will be needed. To create a token:

  • Navigate to Security -> API from the left nav bar.
  • Click on the Tokens tab.
  • Click on Create New Token
  • Save the token safely.
  • You will need to make a POST request to https://${yourOktaDomain}/oauth2/v1/clients endpoint to create a service app in okta
  • The parameters involved in the request are:
    • client_name - the name of the service app
    • grant_type - client_credentials
    • token_endpoint_auth_method — private_key_jwt
    • application_type — service
    • jwks — add the Public/Private Keypair Set that you created in the previous step.
  • Create a service app using the below format:
  • To check if the service app is created navigate to your Okta Dashboard.
  • Click on Applications -> Applications in the left navigation bar.
  • You should see your service account in the list.
view-service-account
  • To add scopes, navigate to your Okta Dashboard. Click on Applications -> Applications as in step 2.
  • Click on your service app.
select-the-service-app
  • Now click on Okta API Scopes from the top nav bar.
  • Grant the scopes by clicking on Grant. Ensure that the following scopes are granted:
    • okta.users.read
    • okta.users.manage
    • okta.clients.read
ensure-scopes-are-granted
  • To get more information on the Scopes. Visit the Doc.

After the applying these steps, you can update the configuration of your deployment:

After everything has been set up, you will need to configure your workflows if you are running them via the metadata CLI or with any custom scheduler.

When setting up the YAML config for the connector, update the workflowConfig as follows: