> ## Documentation Index
> Fetch the complete documentation index at: https://docs.open-metadata.org/llms.txt
> Use this file to discover all available pages before exploring further.
# REST API Connector | OpenMetadata Integration Documentation
> Learn how to integrate REST APIs with OpenMetadata connectors. Complete documentation, setup guides, and examples for seamless data source connections.
export const MetadataIngestionUi = ({connector, selectServicePath, addNewServicePath, serviceConnectionPath}) => {
return <>
To ingest metadata from your sources, you need to create a service connection.
The service connects your source system with OpenMetadata. Once you create
a service, you can use it to configure your ingestion workflows.
To create a service connection and ingest your metadata, follow the steps below:
-
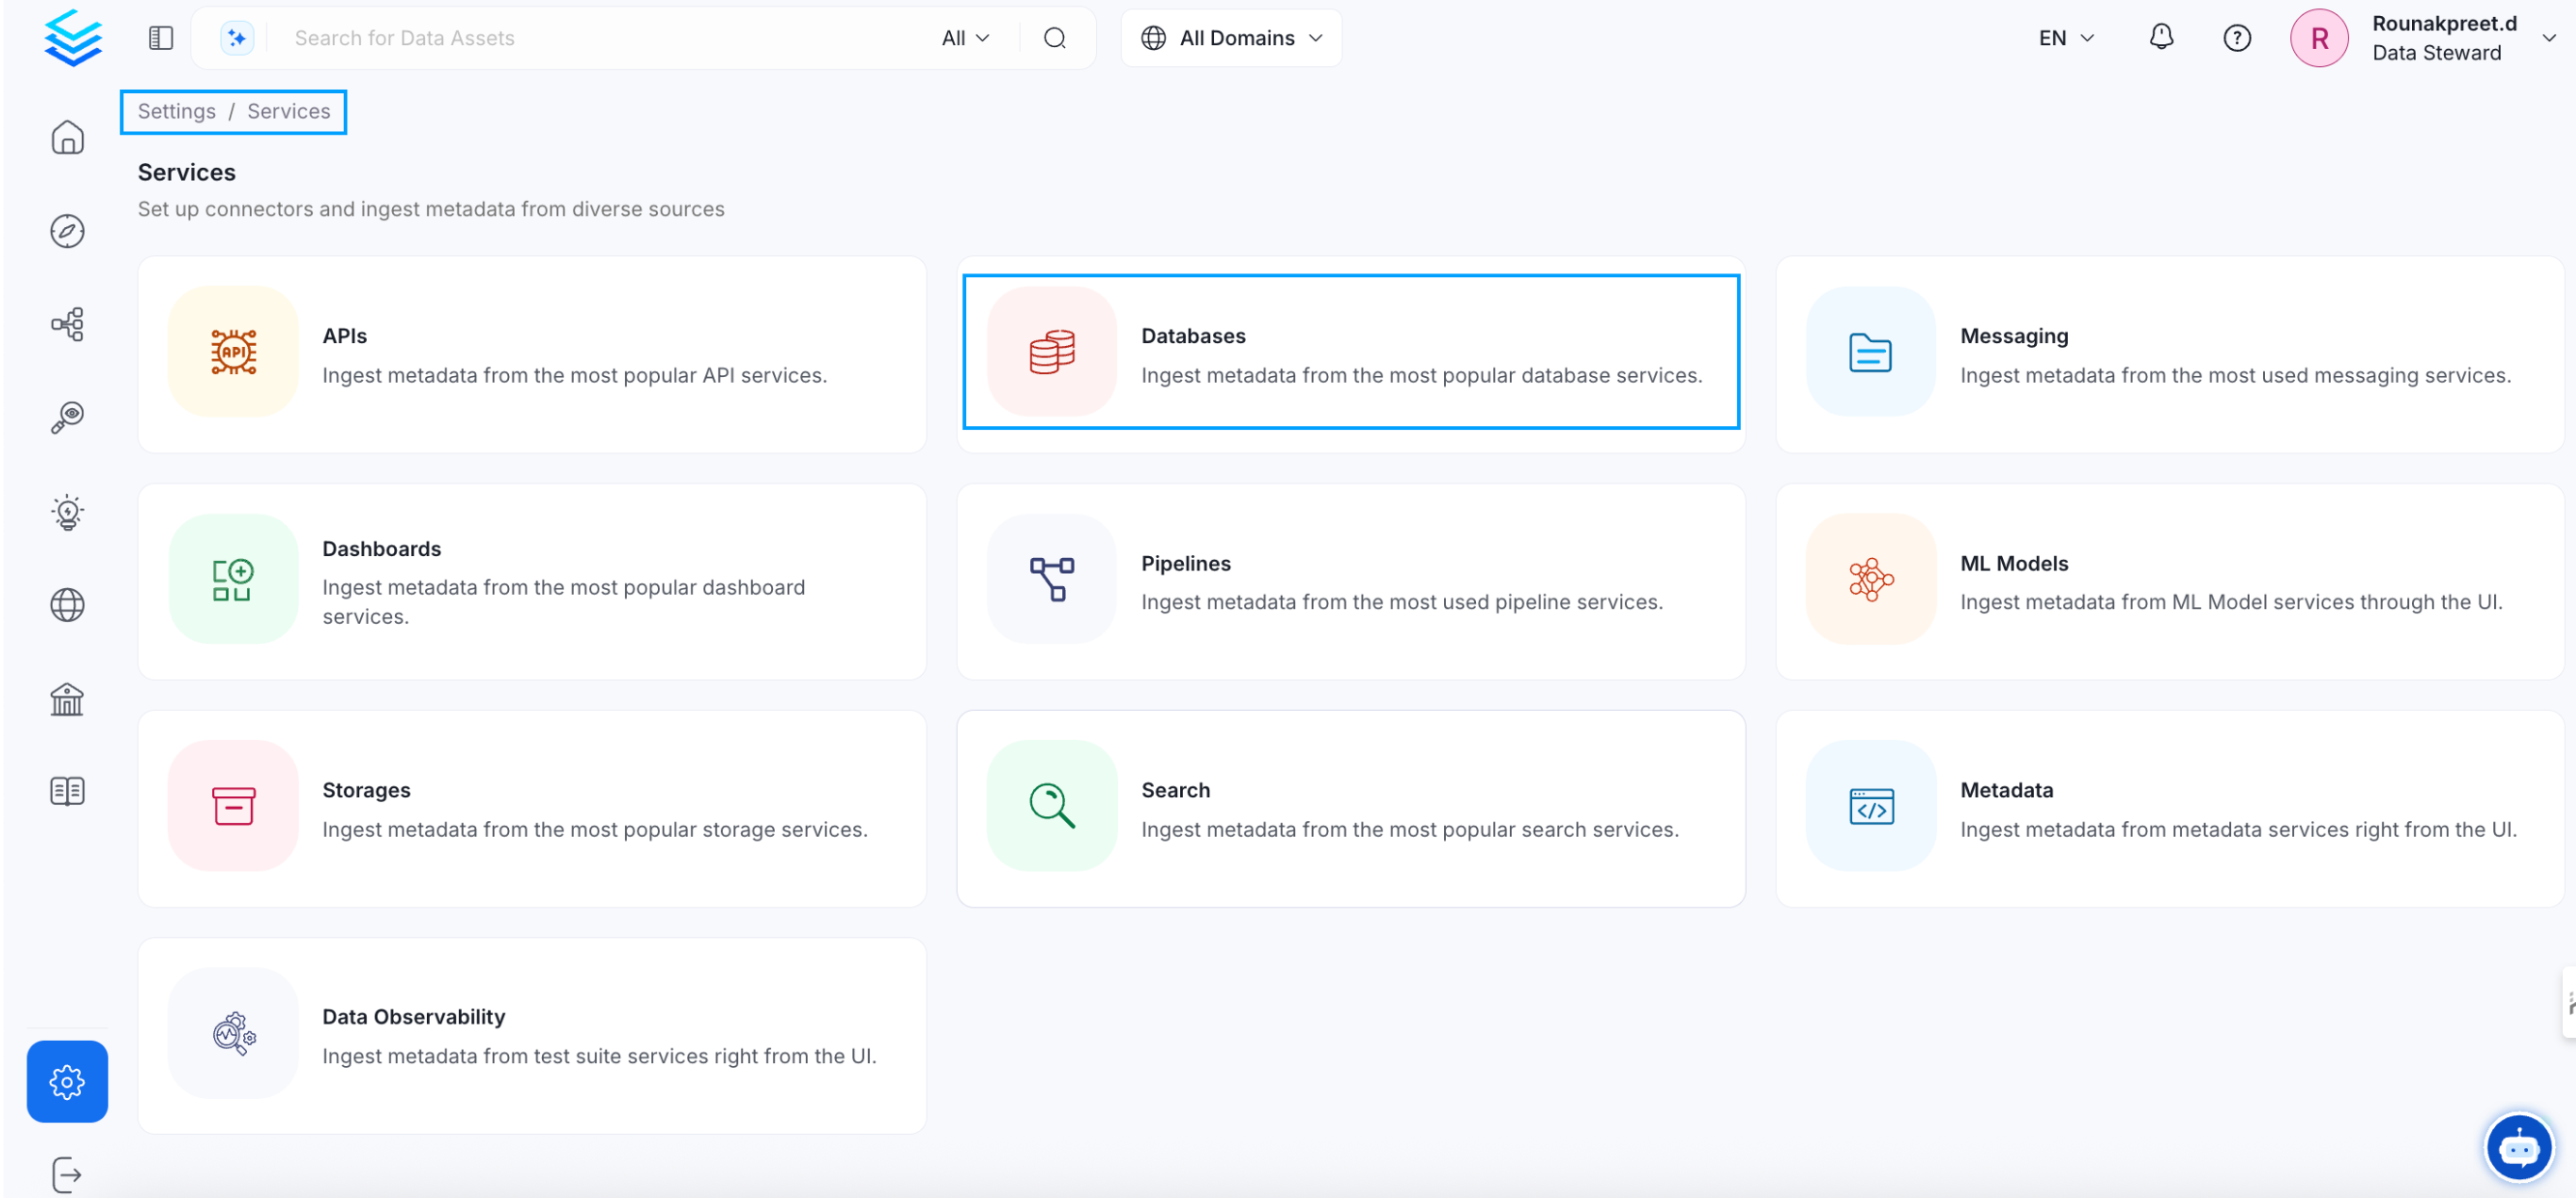
On the left navigation bar, click Settings.
-
On the next page, click Services, and then select the service.
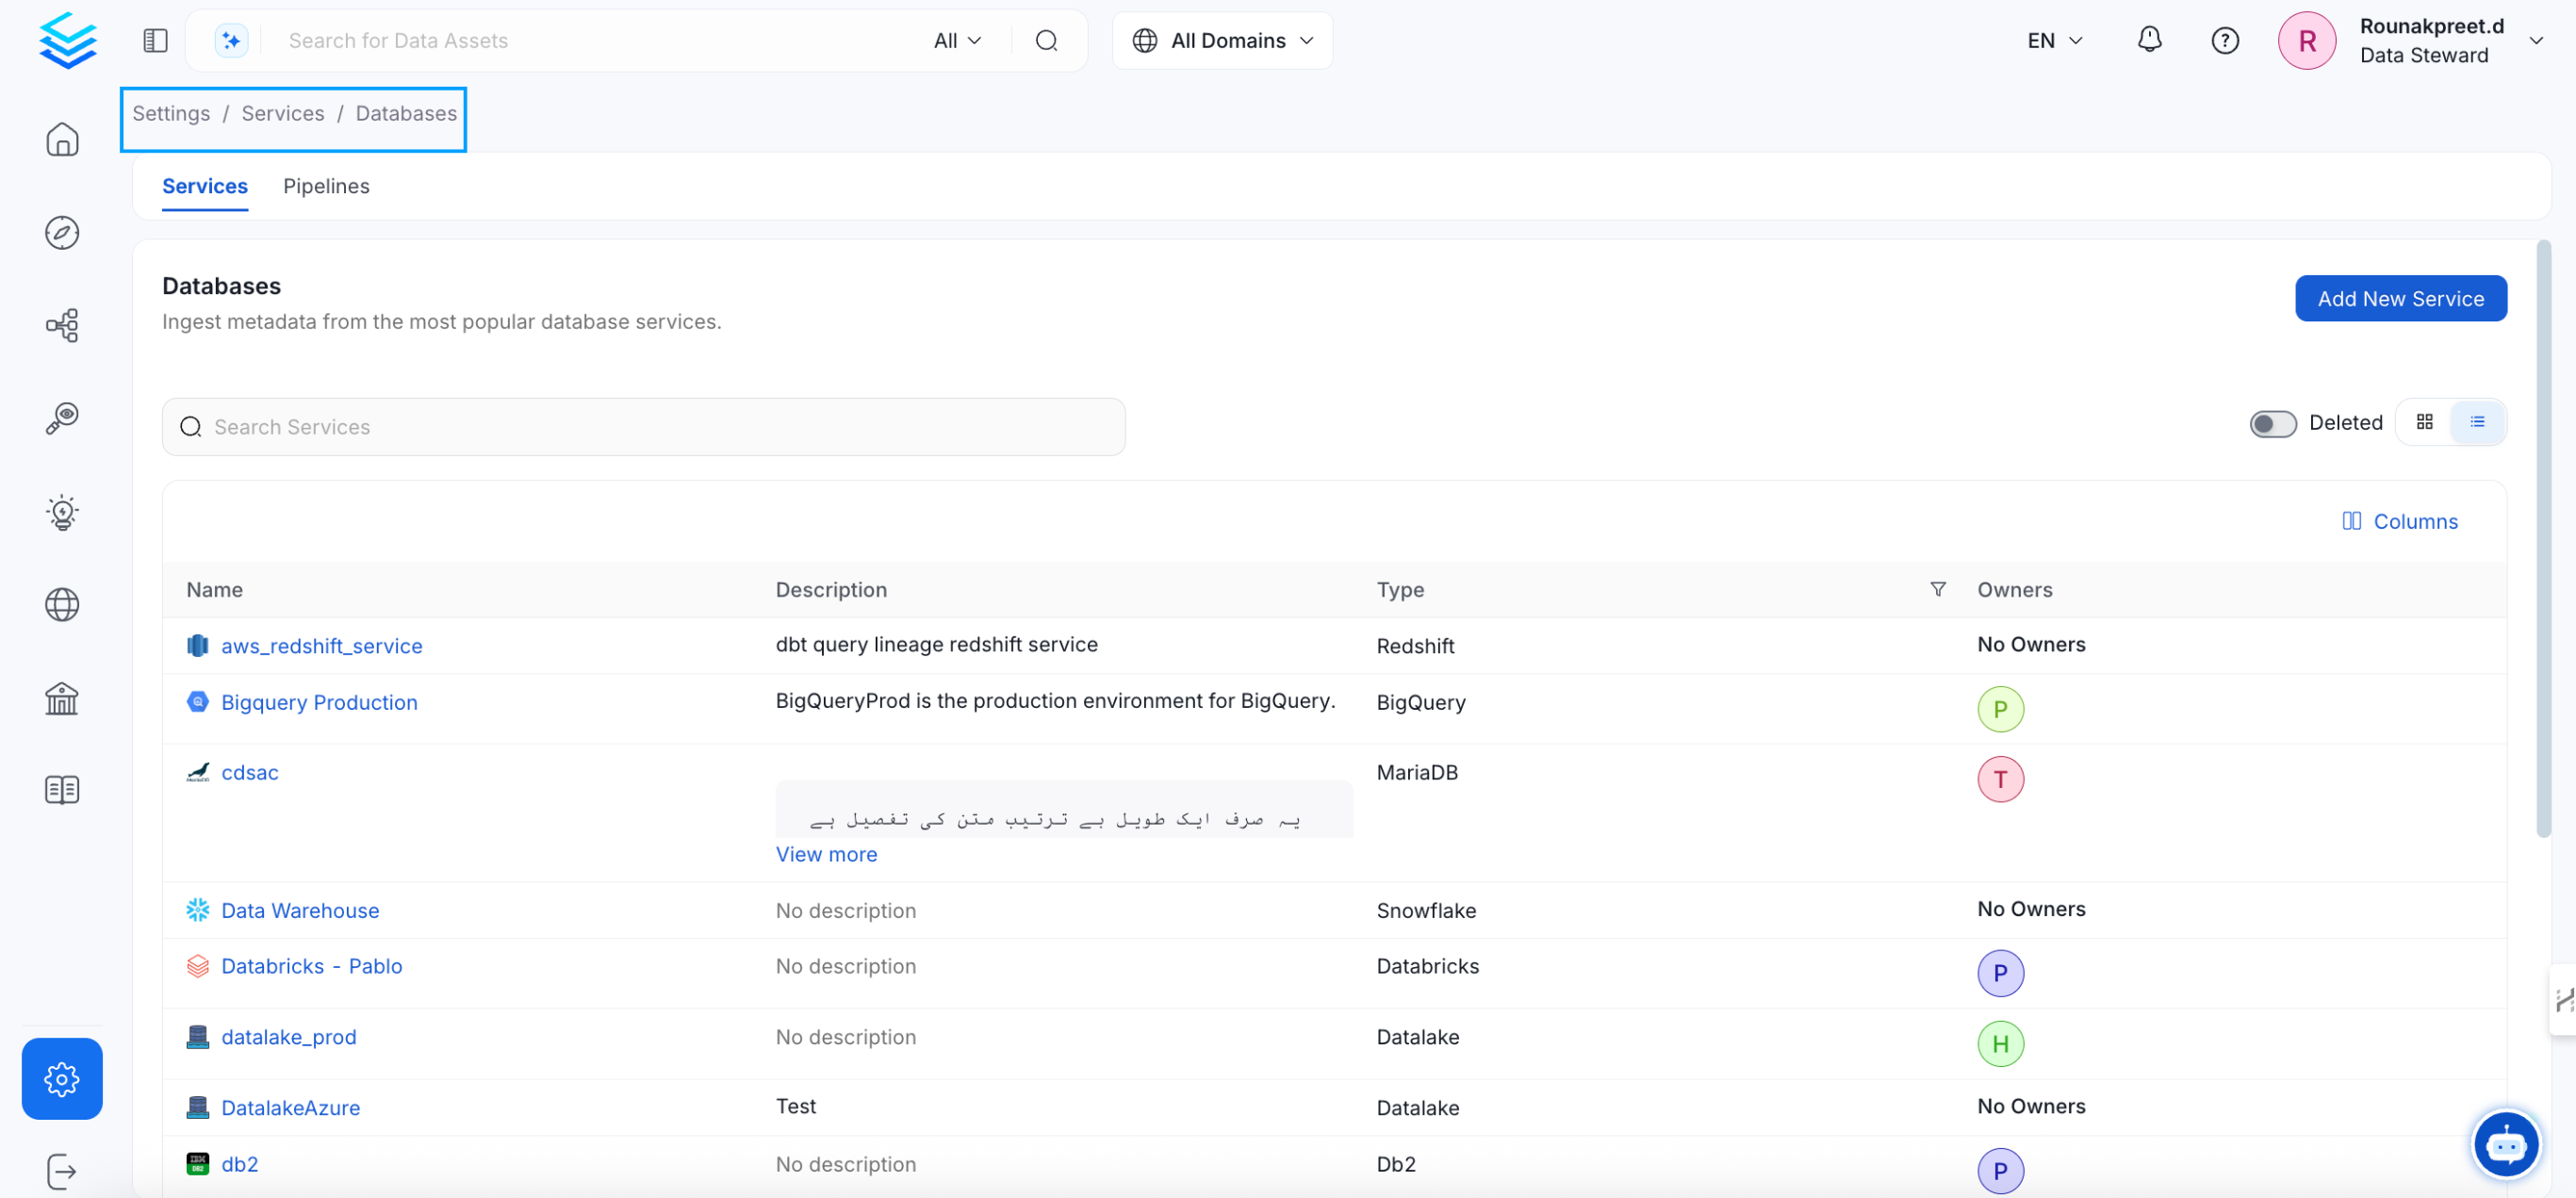
To add a new service connection, click Add New Service.
 Select {connector} as the service type and click Next.
{selectServicePath &&
Select {connector} as the service type and click Next.
{selectServicePath &&  }
Enter a unique Service Name and Description.
}
Enter a unique Service Name and Description.
- Service Name: OpenMetadata identifies services by their service name. Enter a name that distinguishes this deployment from other services, including other {connector} services you are ingesting metadata from.
The service name cannot be changed after it is set.
{addNewServicePath &&  }
Set up the connection settings required for {connector} to set up the service and start ingesting metadata from your sources. The right-hand panel displays help documentation for the selected connection type in the product UI.
{serviceConnectionPath &&
}
Set up the connection settings required for {connector} to set up the service and start ingesting metadata from your sources. The right-hand panel displays help documentation for the selected connection type in the product UI.
{serviceConnectionPath &&  }
;
};
export const ConnectorDetailsHeader = ({name, icon, stage, availableFeatures, unavailableFeatures = [], availableFeaturesCollate = []}) => {
const showSubHeading = availableFeatures?.length > 0 || unavailableFeatures?.length > 0 || availableFeaturesCollate?.length > 0;
const totalAvailableFeatures = [...availableFeatures || [], ...availableFeaturesCollate || []];
return
}
;
};
export const ConnectorDetailsHeader = ({name, icon, stage, availableFeatures, unavailableFeatures = [], availableFeaturesCollate = []}) => {
const showSubHeading = availableFeatures?.length > 0 || unavailableFeatures?.length > 0 || availableFeaturesCollate?.length > 0;
const totalAvailableFeatures = [...availableFeatures || [], ...availableFeaturesCollate || []];
return
{icon &&
}
{name}
{stage}
{showSubHeading &&
Feature List
{totalAvailableFeatures.map(feature =>
✓ {feature}
)}
{unavailableFeatures.map(feature =>
✕ {feature}
)}
}
;
};
In this section, we provide guides and references to use the OpenAPI/REST connector.
Configure and schedule REST metadata workflows from the OpenMetadata UI:
* [Requirements](#requirements)
* [Metadata Ingestion](#metadata-ingestion)
* [Troubleshooting](/v1.12.x/connectors/api/rest/troubleshooting)
## Requirements
### Generate OpenAPI Schema URL
* Generate OpenAPI schema URL for your service[OpenAPI spec](https://swagger.io/specification/#openapi-document)
## Metadata Ingestion
#### Connection Options
**OpenAPI Schema URL**:
An OpenAPI schema URL typically refers to the URL where the OpenAPI Specification (OAS) document of a web service is hosted. The document defines the service's API, including available endpoints, request/response formats, authentication methods, etc. It is usually in JSON format. for e.g. `https://petstore3.swagger.io/api/v3/openapi.json`
**Token**: An authentication token to connect to an OpenAPI schema URL. It is only required if the API schema is protected or secured.
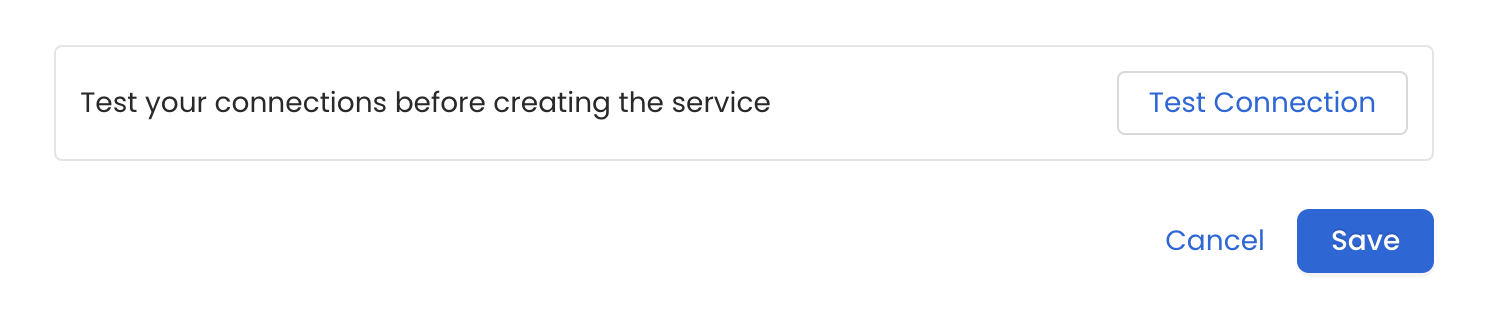
Once the credentials have been added, click on *Test Connection* and *Save* the changes.
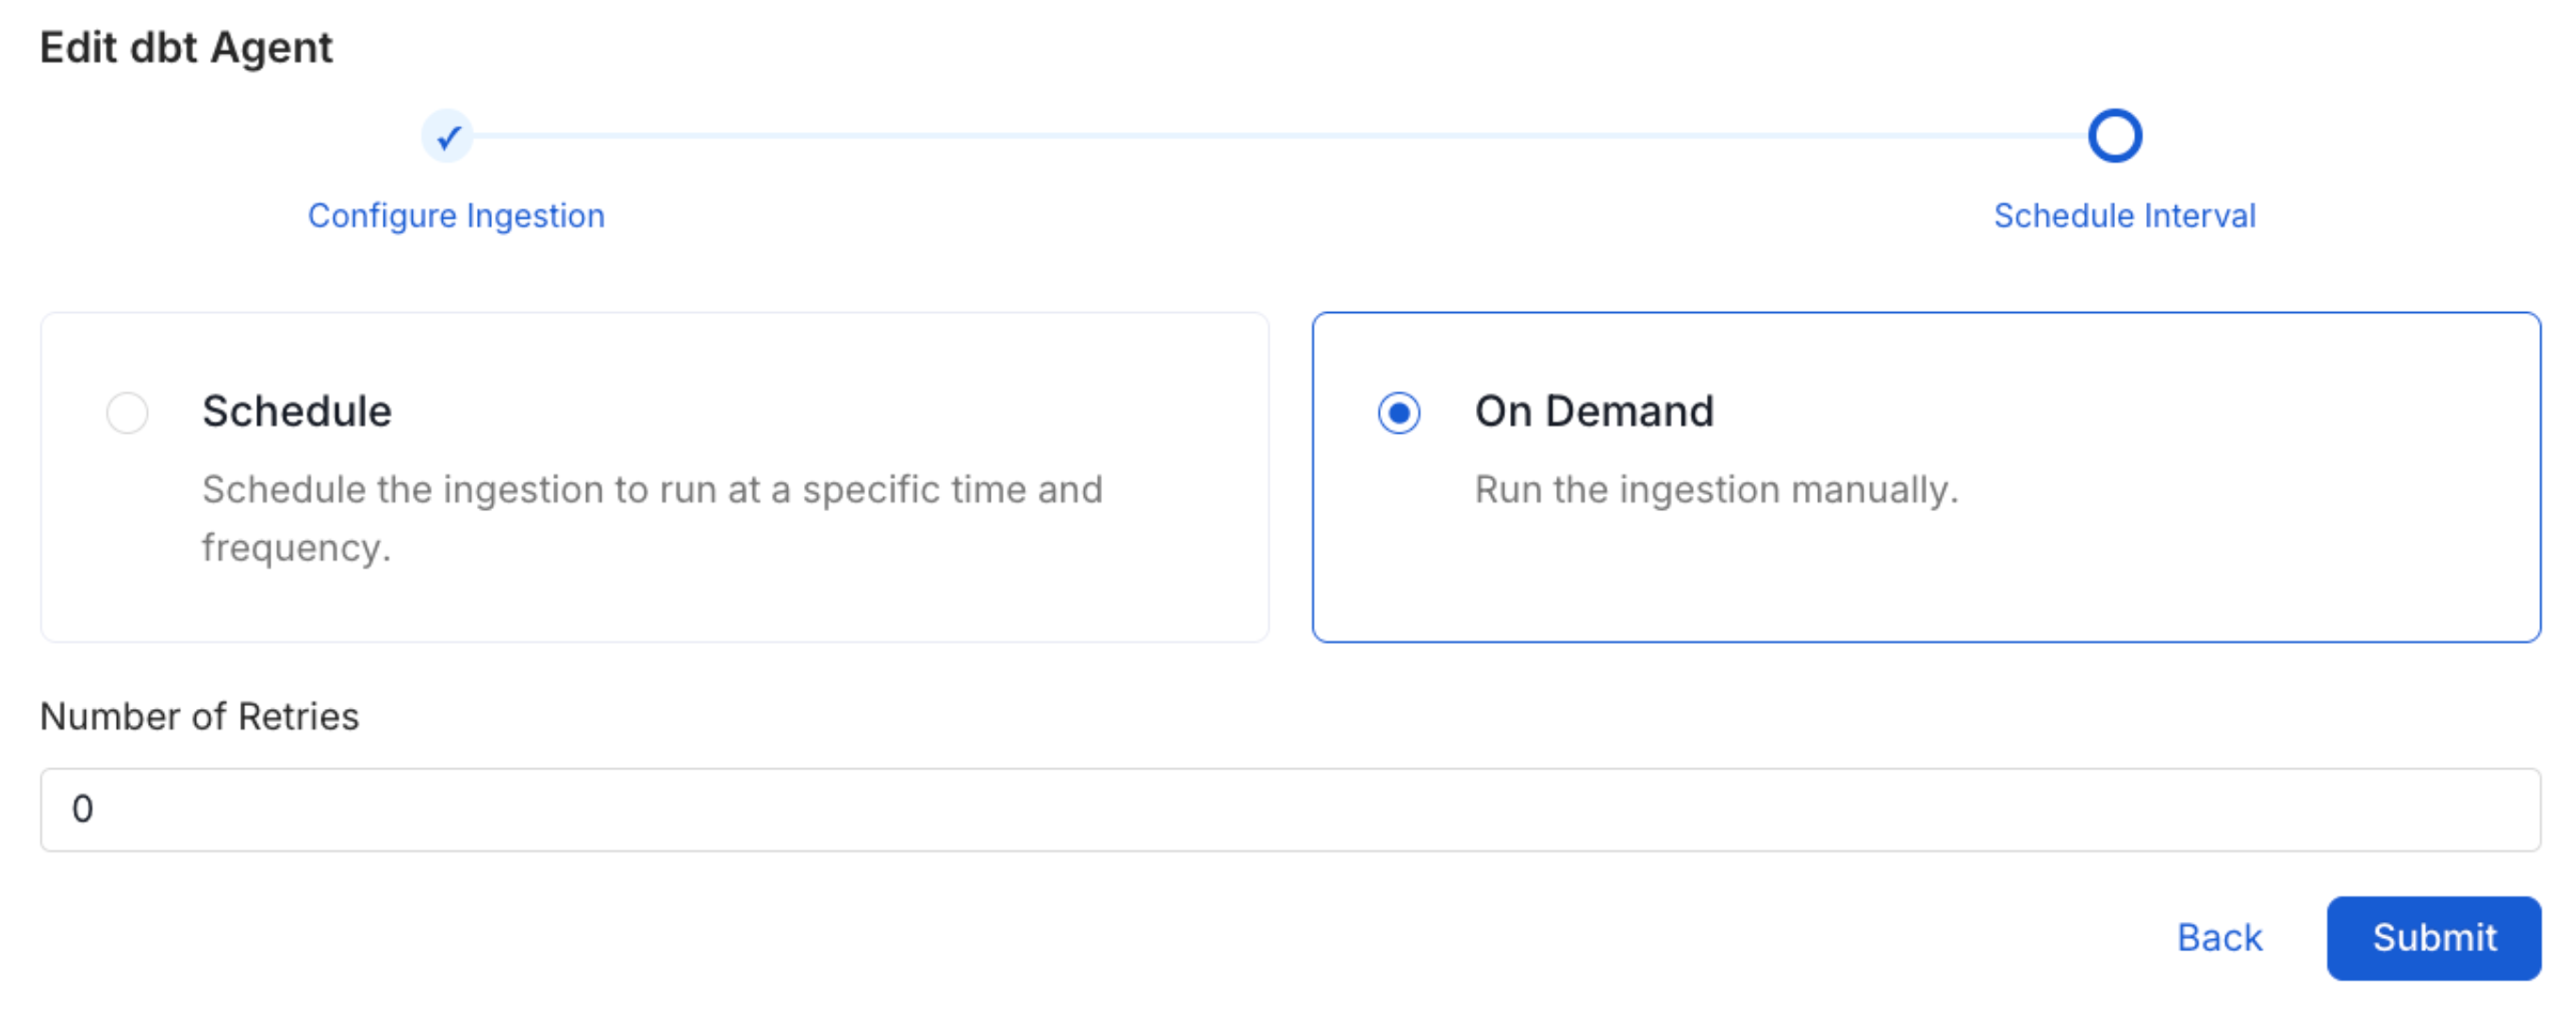
 Scheduling can be set up at an hourly, daily, weekly, or manual cadence. The
timezone is in UTC. Select a Start Date to schedule for ingestion. It is
optional to add an End Date.
Review your configuration settings. If they match what you intended,
click Deploy to create the service and schedule metadata ingestion.
If something doesn't look right, click the Back button to return to the
appropriate step and change the settings as needed.
After configuring the workflow, you can click on Deploy to create the
pipeline.
Scheduling can be set up at an hourly, daily, weekly, or manual cadence. The
timezone is in UTC. Select a Start Date to schedule for ingestion. It is
optional to add an End Date.
Review your configuration settings. If they match what you intended,
click Deploy to create the service and schedule metadata ingestion.
If something doesn't look right, click the Back button to return to the
appropriate step and change the settings as needed.
After configuring the workflow, you can click on Deploy to create the
pipeline.
 Once the workflow has been successfully deployed, you can view the
Ingestion Pipeline running from the Service Page.
Once the workflow has been successfully deployed, you can view the
Ingestion Pipeline running from the Service Page.
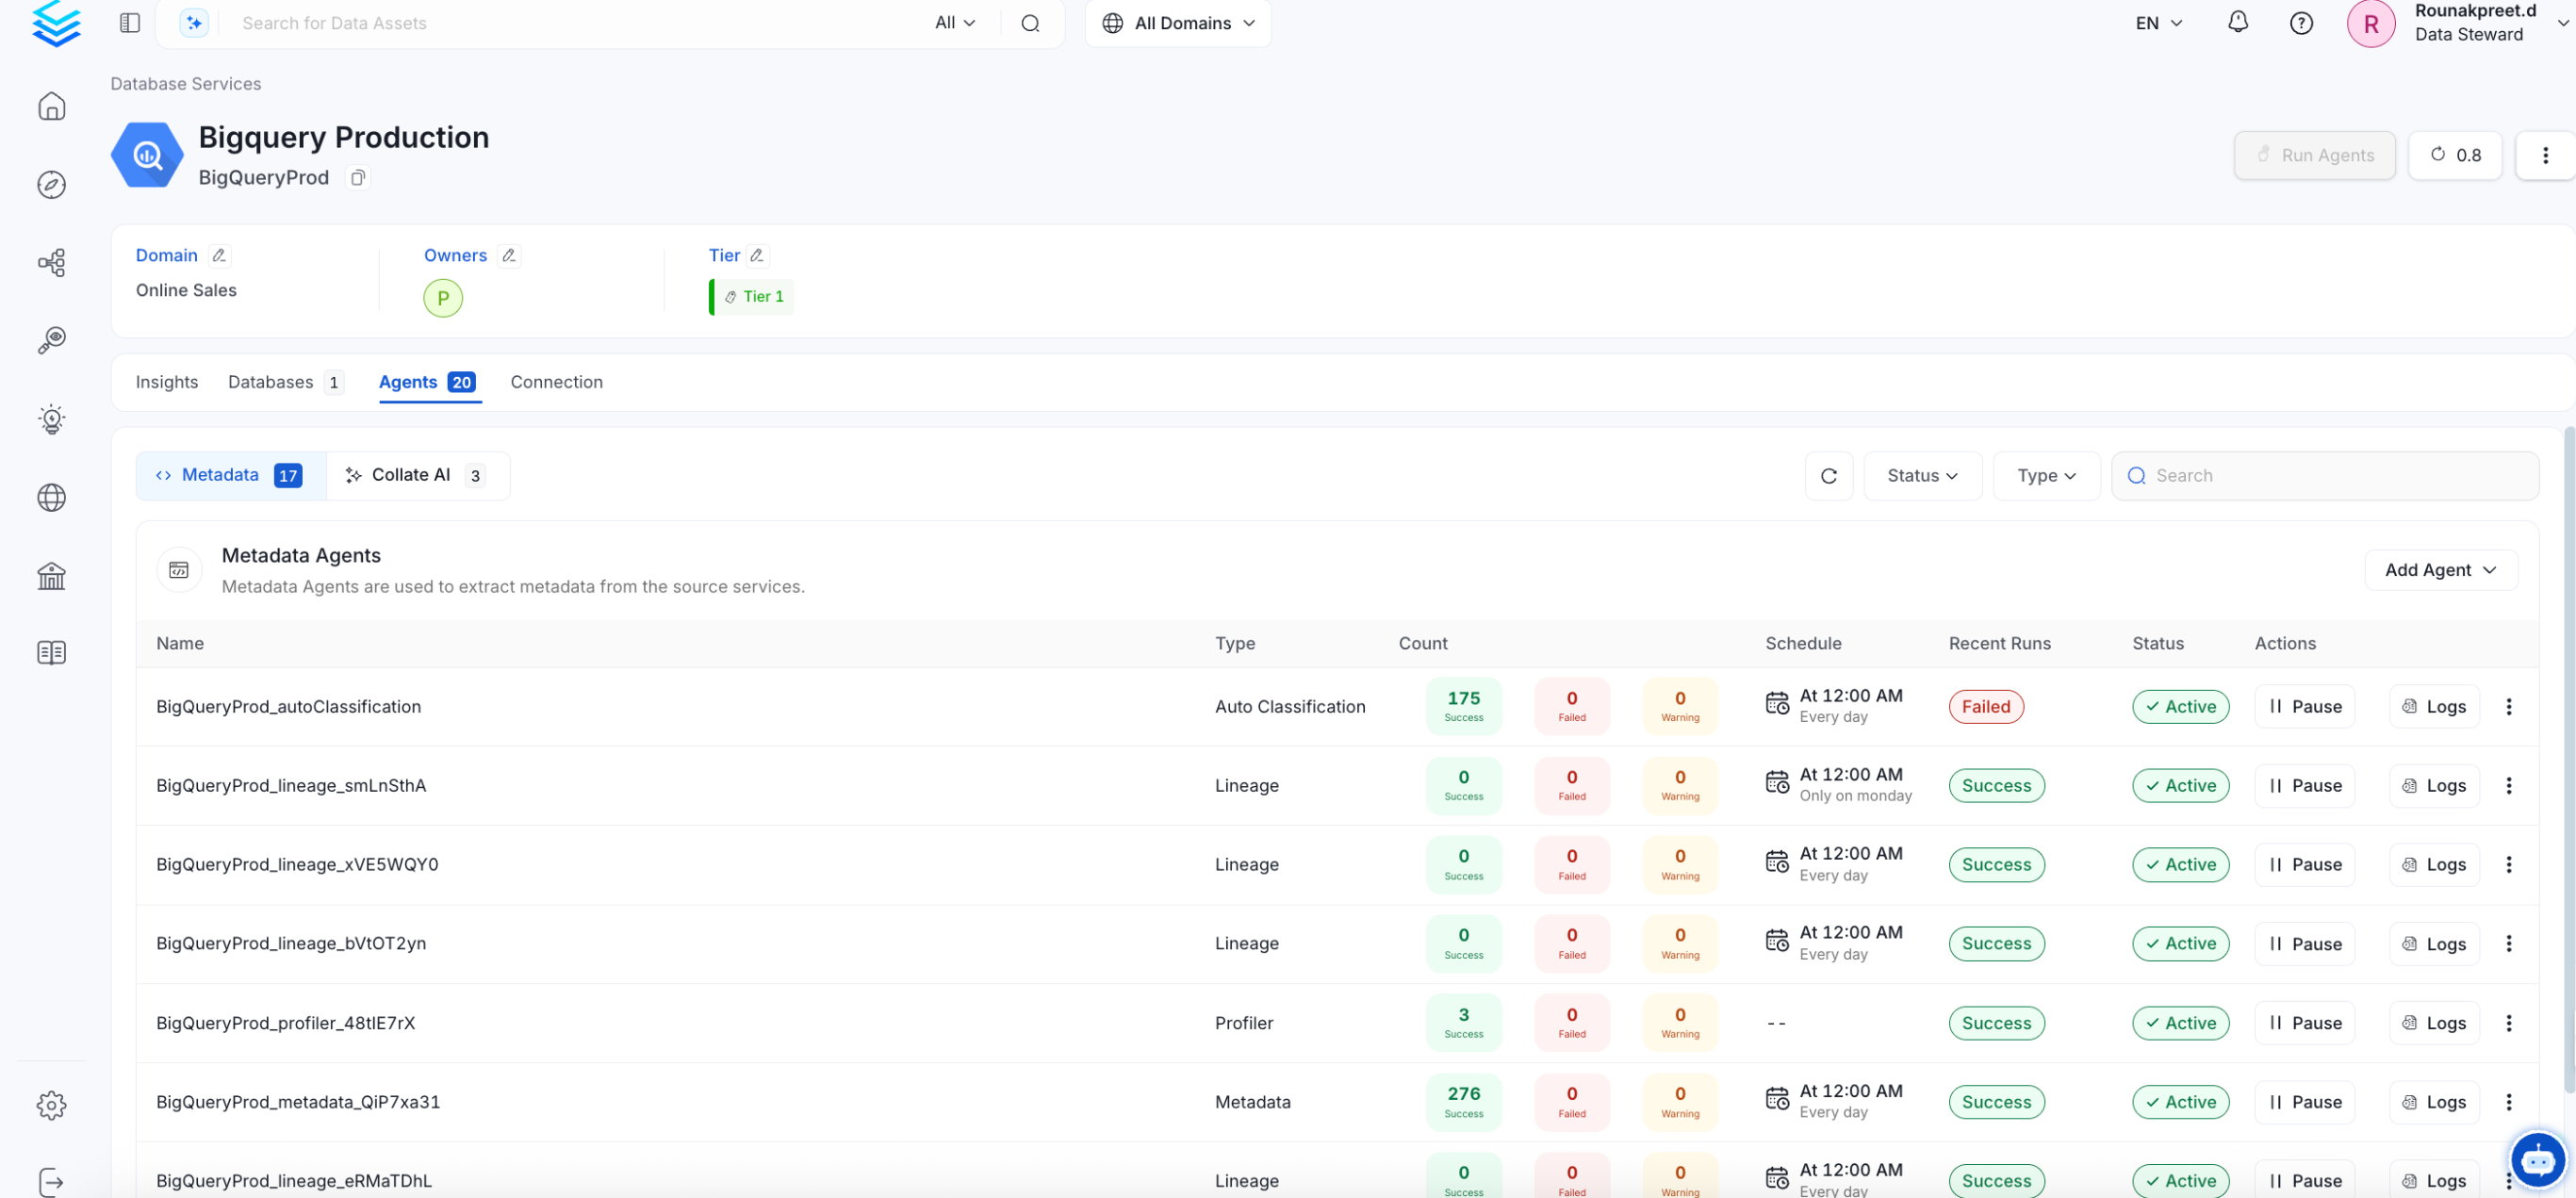 If AutoPilot is enabled, workflows like usage tracking, data lineage, and similar tasks will be handled automatically. Users don’t need to set up or manage them - AutoPilot takes care of everything in the system.