> ## Documentation Index
> Fetch the complete documentation index at: https://docs.open-metadata.org/llms.txt
> Use this file to discover all available pages before exploring further.
# Alation Sink | OpenMetadata Metadata Integration
> Connect Alation to OpenMetadata seamlessly with our AlationSink connector. Complete setup guide, configuration steps, and metadata sync instructions.
export const MetadataIngestionUi = ({connector, selectServicePath, addNewServicePath, serviceConnectionPath}) => {
return <>
To ingest metadata from your sources, you need to create a service connection.
The service connects your source system with OpenMetadata. Once you create
a service, you can use it to configure your ingestion workflows.
To create a service connection and ingest your metadata, follow the steps below:
-
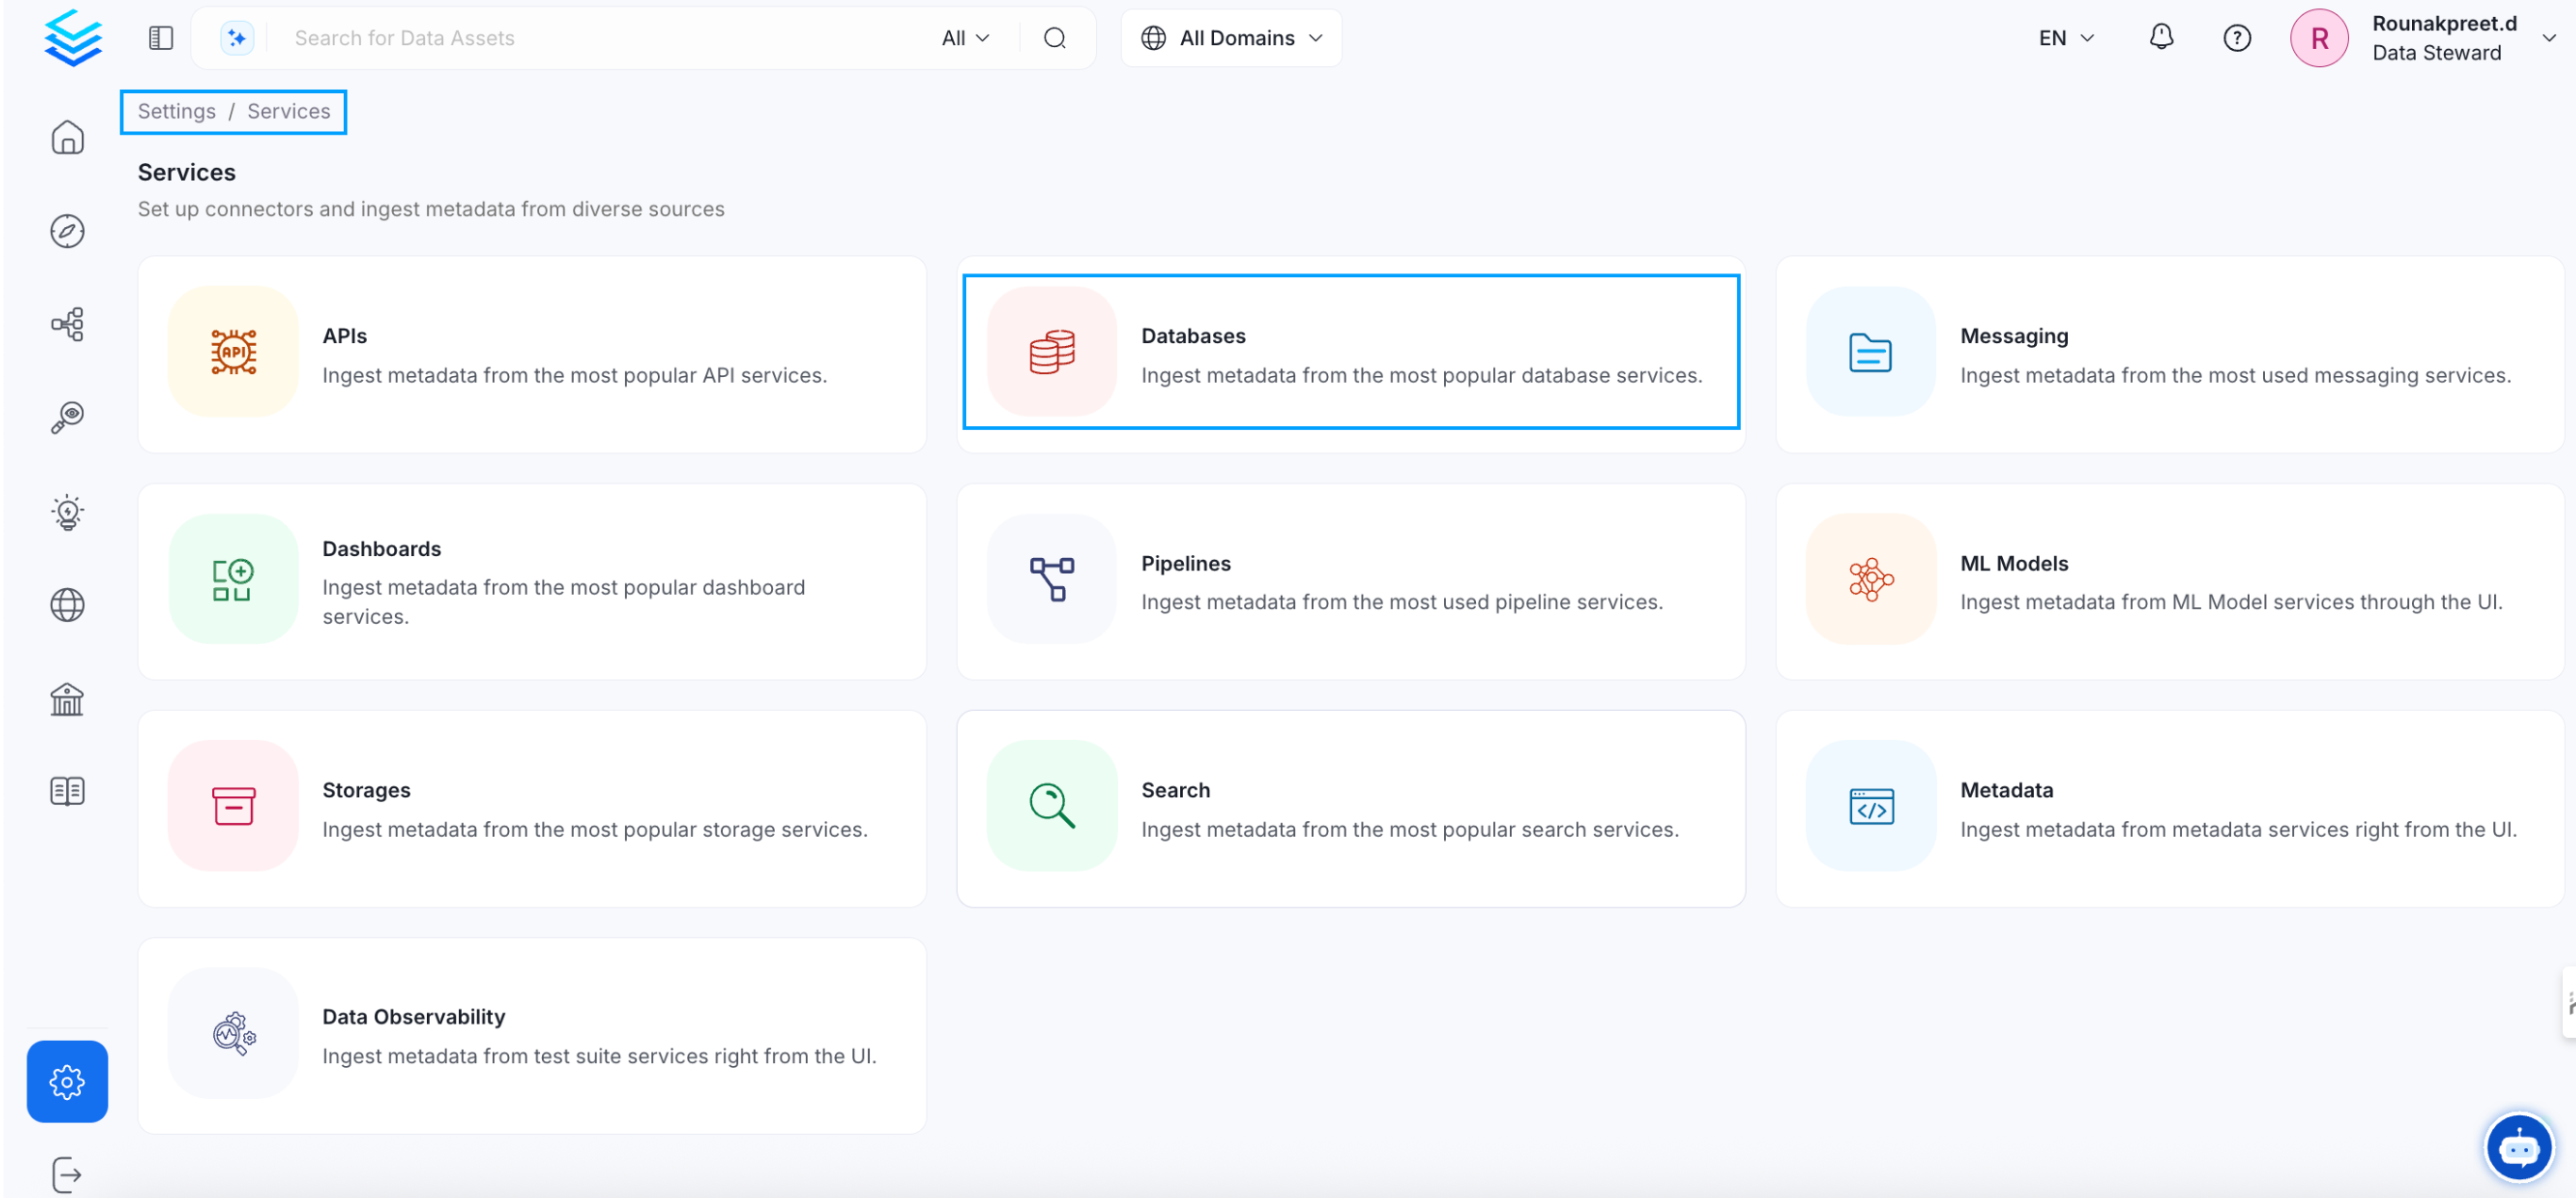
On the left navigation bar, click Settings.
-
On the next page, click Services, and then select the service.
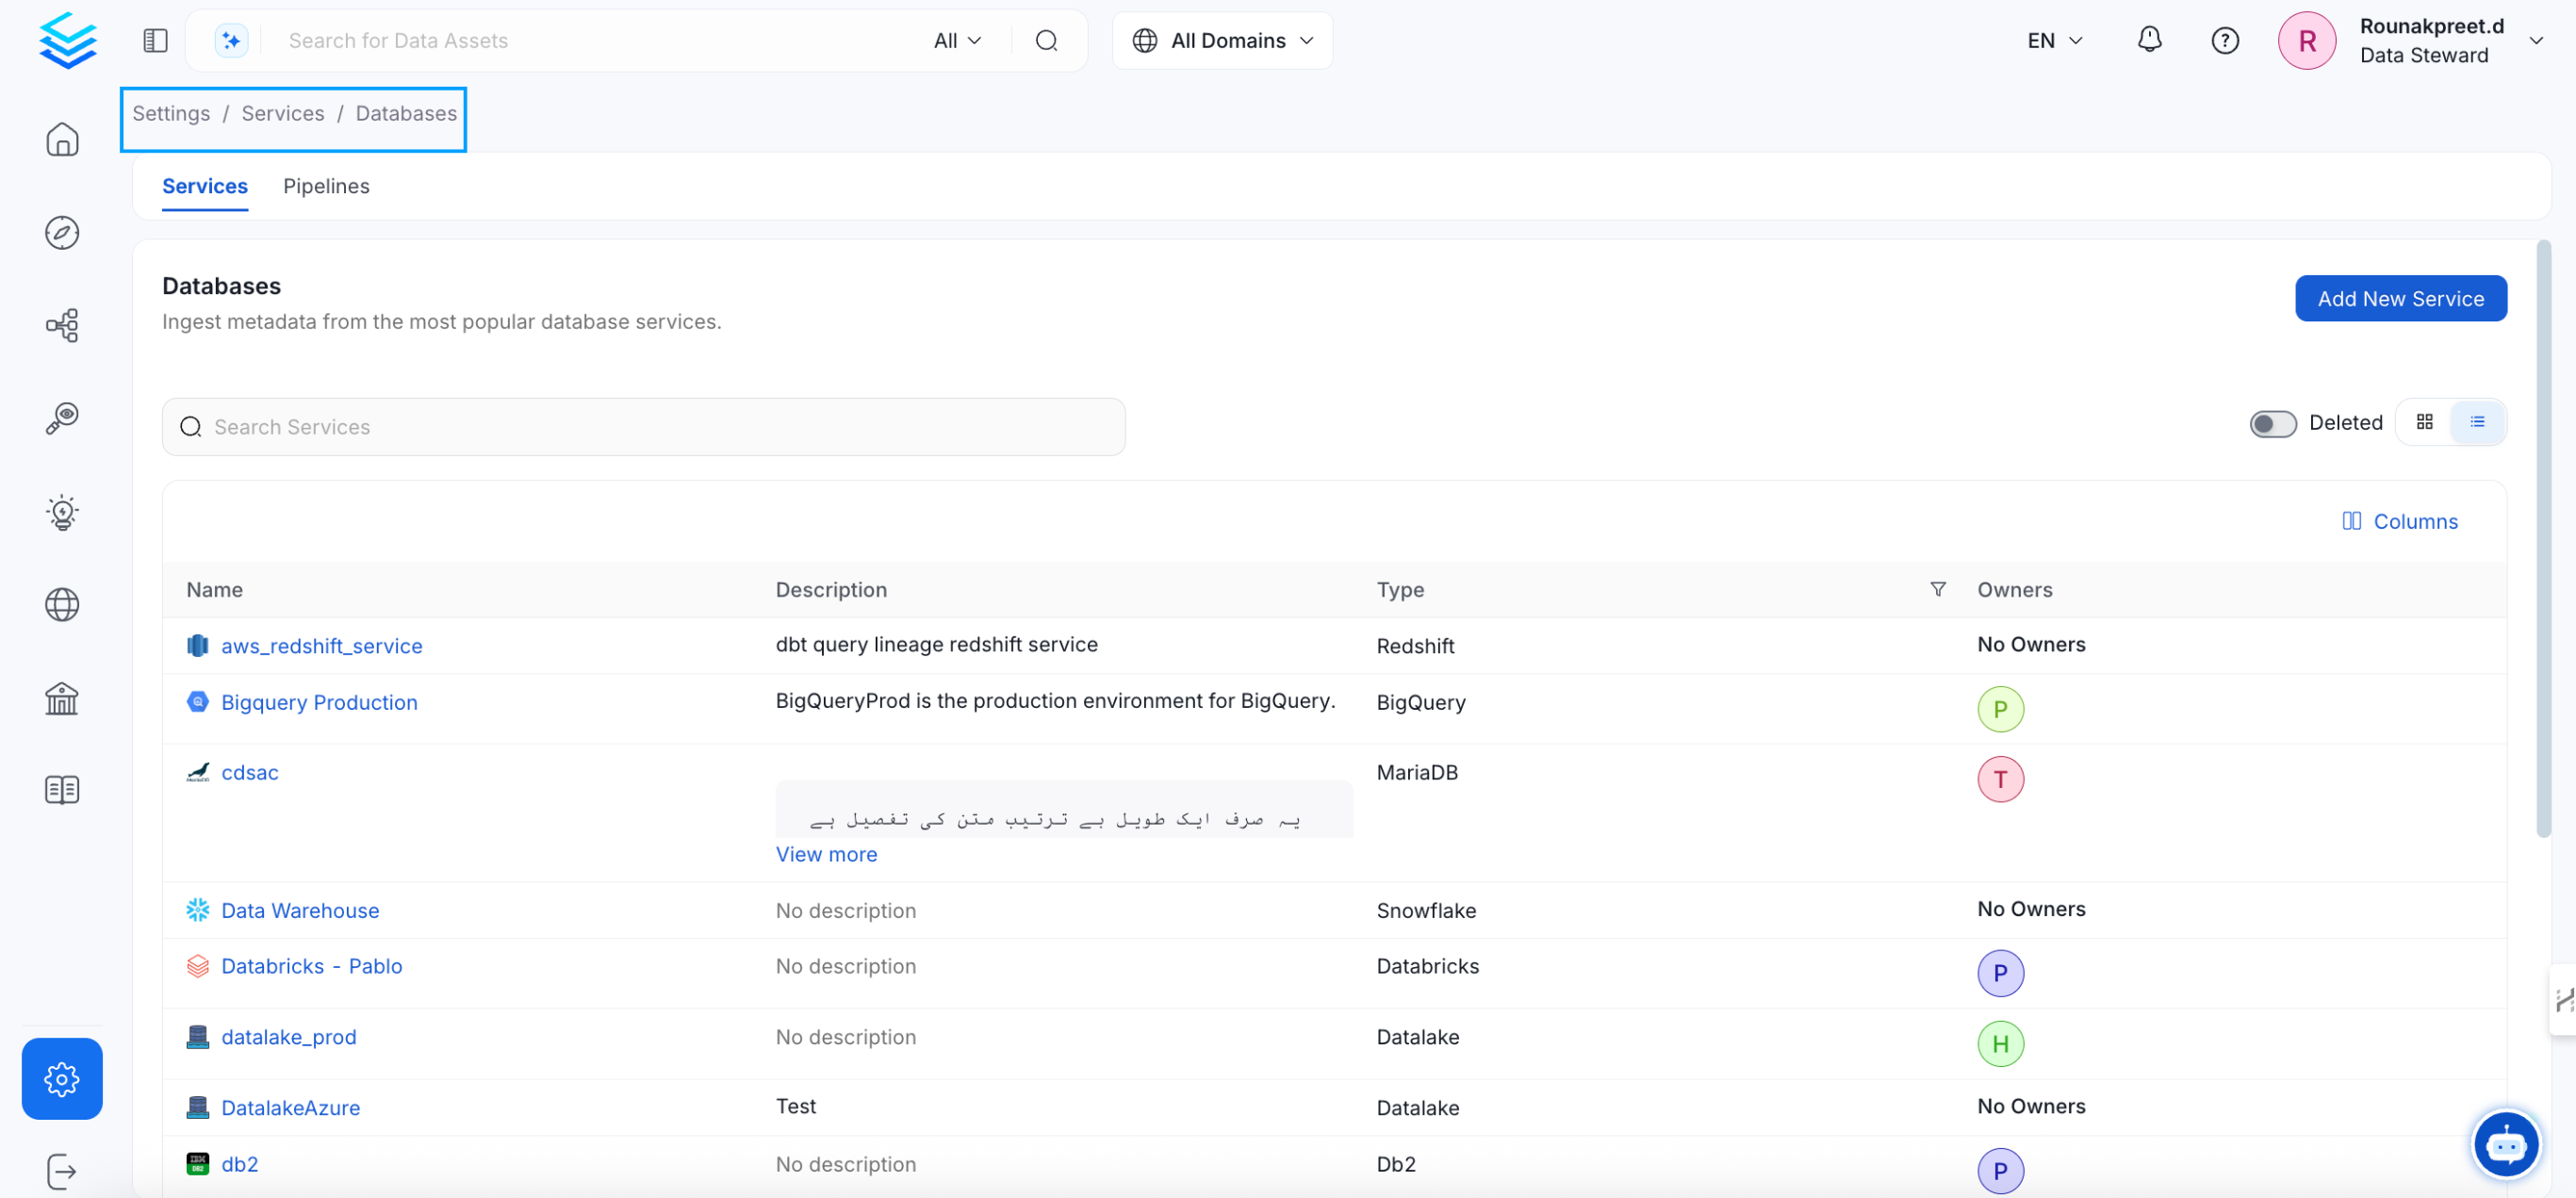
To add a new service connection, click Add New Service.
 Select {connector} as the service type and click Next.
{selectServicePath &&
Select {connector} as the service type and click Next.
{selectServicePath &&  }
Enter a unique Service Name and Description.
}
Enter a unique Service Name and Description.
- Service Name: OpenMetadata identifies services by their service name. Enter a name that distinguishes this deployment from other services, including other {connector} services you are ingesting metadata from.
The service name cannot be changed after it is set.
{addNewServicePath &&  }
Set up the connection settings required for {connector} to set up the service and start ingesting metadata from your sources. The right-hand panel displays help documentation for the selected connection type in the product UI.
{serviceConnectionPath &&
}
Set up the connection settings required for {connector} to set up the service and start ingesting metadata from your sources. The right-hand panel displays help documentation for the selected connection type in the product UI.
{serviceConnectionPath &&  }
;
};
export const ConnectorDetailsHeader = ({name, icon, stage, availableFeatures, unavailableFeatures = [], availableFeaturesCollate = []}) => {
const showSubHeading = availableFeatures?.length > 0 || unavailableFeatures?.length > 0 || availableFeaturesCollate?.length > 0;
const totalAvailableFeatures = [...availableFeatures || [], ...availableFeaturesCollate || []];
return
}
;
};
export const ConnectorDetailsHeader = ({name, icon, stage, availableFeatures, unavailableFeatures = [], availableFeaturesCollate = []}) => {
const showSubHeading = availableFeatures?.length > 0 || unavailableFeatures?.length > 0 || availableFeaturesCollate?.length > 0;
const totalAvailableFeatures = [...availableFeatures || [], ...availableFeaturesCollate || []];
return
{icon &&
}
{name}
{stage}
{showSubHeading &&
Feature List
{totalAvailableFeatures.map(feature =>
✓ {feature}
)}
{unavailableFeatures.map(feature =>
✕ {feature}
)}
}
;
};
The connector will ingest data from OpenMetadata into Alation.
Configure and schedule Alation Sink metadata workflow from the OpenMetadata UI:
* [Requirements](#requirements)
* [Data Mapping and Assumptions](#data-mapping-and-assumptions)
* [Metadata Ingestion](#metadata-ingestion)
* [Troubleshooting](/v1.12.x/connectors/metadata/alationsink/troubleshooting)
## How to Run the Connector Externally
To run the Ingestion via the UI you'll need to use the OpenMetadata Ingestion Container, which comes shipped with
custom Airflow plugins to handle the workflow deployment.
If, instead, you want to manage your workflows externally on your preferred orchestrator, you can check
the following docs to run the Ingestion Framework **anywhere**.
Get more information about running the Ingestion Framework Externally
## Requirements
The connector uses `POST` requests to write the data into Alation.
Hence, an user credentials or an access token with `Source Admin` or `Catalog Admin` or `Server Admin` permissions will be required.
Follow the link [here](https://developer.alation.com/dev/docs/authentication-into-alation-apis#create-via-ui) to create the access token.
## Data Mapping and Assumptions
Following entities are supported and will be mapped to the from OpenMetadata to the entities in Alation.
| Alation Entity | OpenMetadata Entity |
| :---------------- | :------------------ |
| Data Source (OCF) | Database |
| Schema | Schema |
| Table | Table |
| Columns | Columns |
## Metadata Ingestion
Then, prepare the Alation Sink Service and configure the Ingestion:
# Connection Details
When using a **Hybrid Ingestion Runner**, any sensitive credential fields—such as passwords, API keys, or private keys—must reference secrets using the following format:
```
password: secret:/my/database/password
```
This applies **only to fields marked as secrets** in the connection form (these typically mask input and show a visibility toggle icon).
For a complete guide on managing secrets in hybrid setups, see the [Hybrid Ingestion Runner Secret Management Guide](https://docs.getcollate.io/getting-started/day-1/hybrid-saas/hybrid-ingestion-runner#3.-manage-secrets-securely).
* **Host and Port**: Host and port of the Alation service.
* **Authentication Types**:
1. Basic Authentication
* Username: The name of the user whose credentials will be used to sign in.
* Password: The password of the user.
2. Access Token Authentication
The access token created using the steps mentioned [here](https://developer.alation.com/dev/docs/authentication-into-alation-apis#create-via-ui) can directly be entered. We'll use that directly to authenticate the Alation APIs
* accessToken: Generated access token
* **Project Name**: Project name to create the refreshToken. Can be anything.
* **Pagination Limit**: Pagination limit used for Alation APIs pagination
* **DataSource Links**: Add a custom mapping between OpenMetadata databases and Alation DataSources.
If this mapping is present the connector will only look for the datasource in Alation to create other entities inside it. It will not create the datasource in Alation and it'll need to be created beforehand.
The mapping needs to be of the format `alation_datasource_id: openmetadata_database_fqn`
Here `alation_datasource_id` corresponds to the numerical id of the datasource in alation.
And `openmetadata_database_fqn` corresponds to the fullyQualifiedName of the database in OpenMetadata.
Below is an example of the mapping:
```yaml theme={null}
datasourceLinks: {
"23": "sample_data.ecommerce_db",
"15": "mysql_prod.customers_db",
}
```
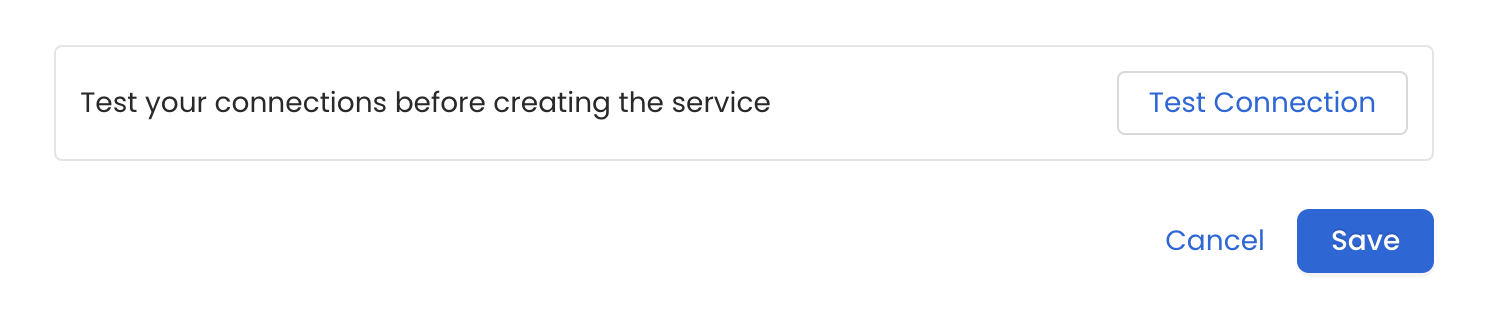
Once the credentials have been added, click on *Test Connection* and *Save* the changes.
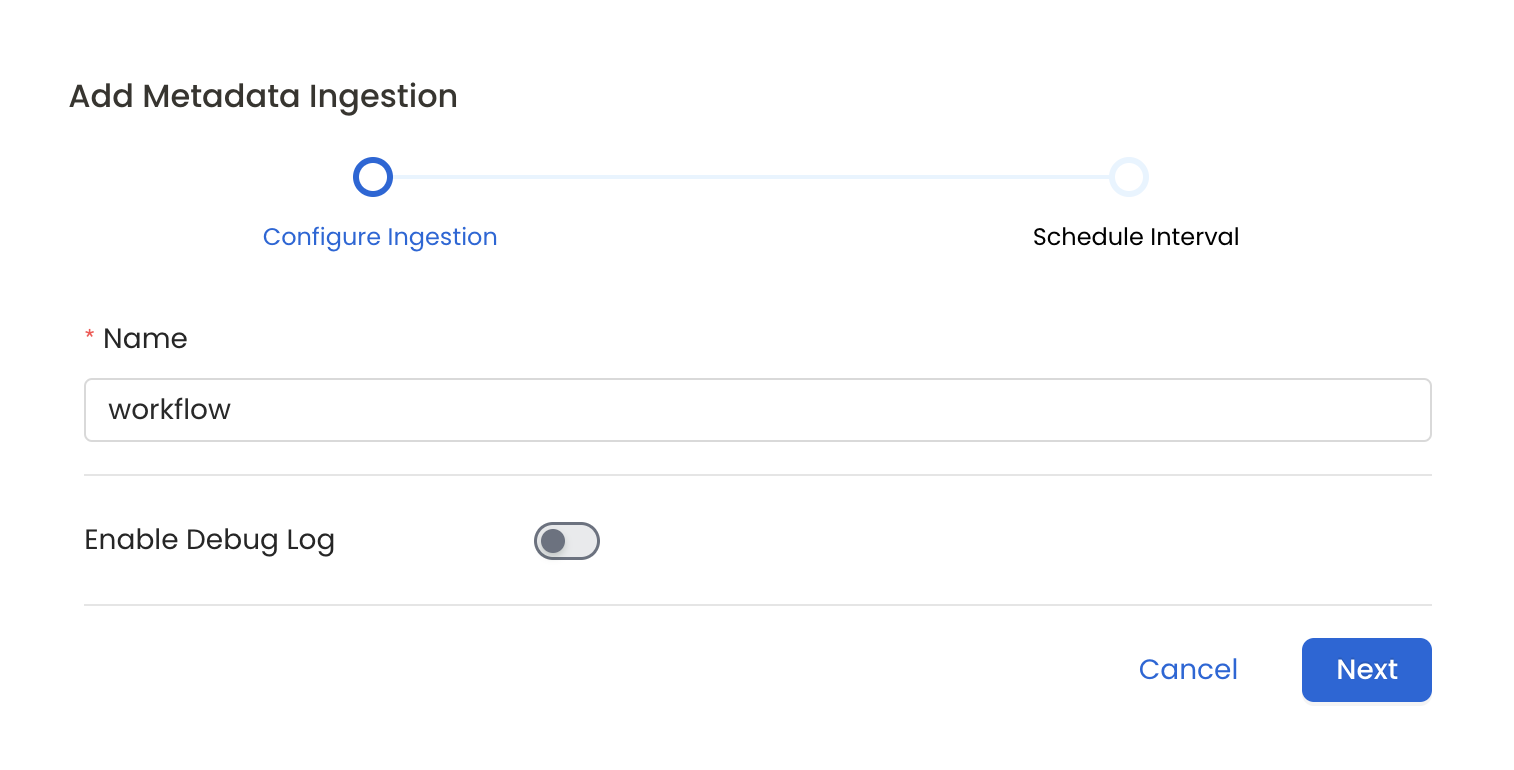
 In this step we will configure the metadata ingestion pipeline,
Please follow the instructions below
In this step we will configure the metadata ingestion pipeline,
Please follow the instructions below
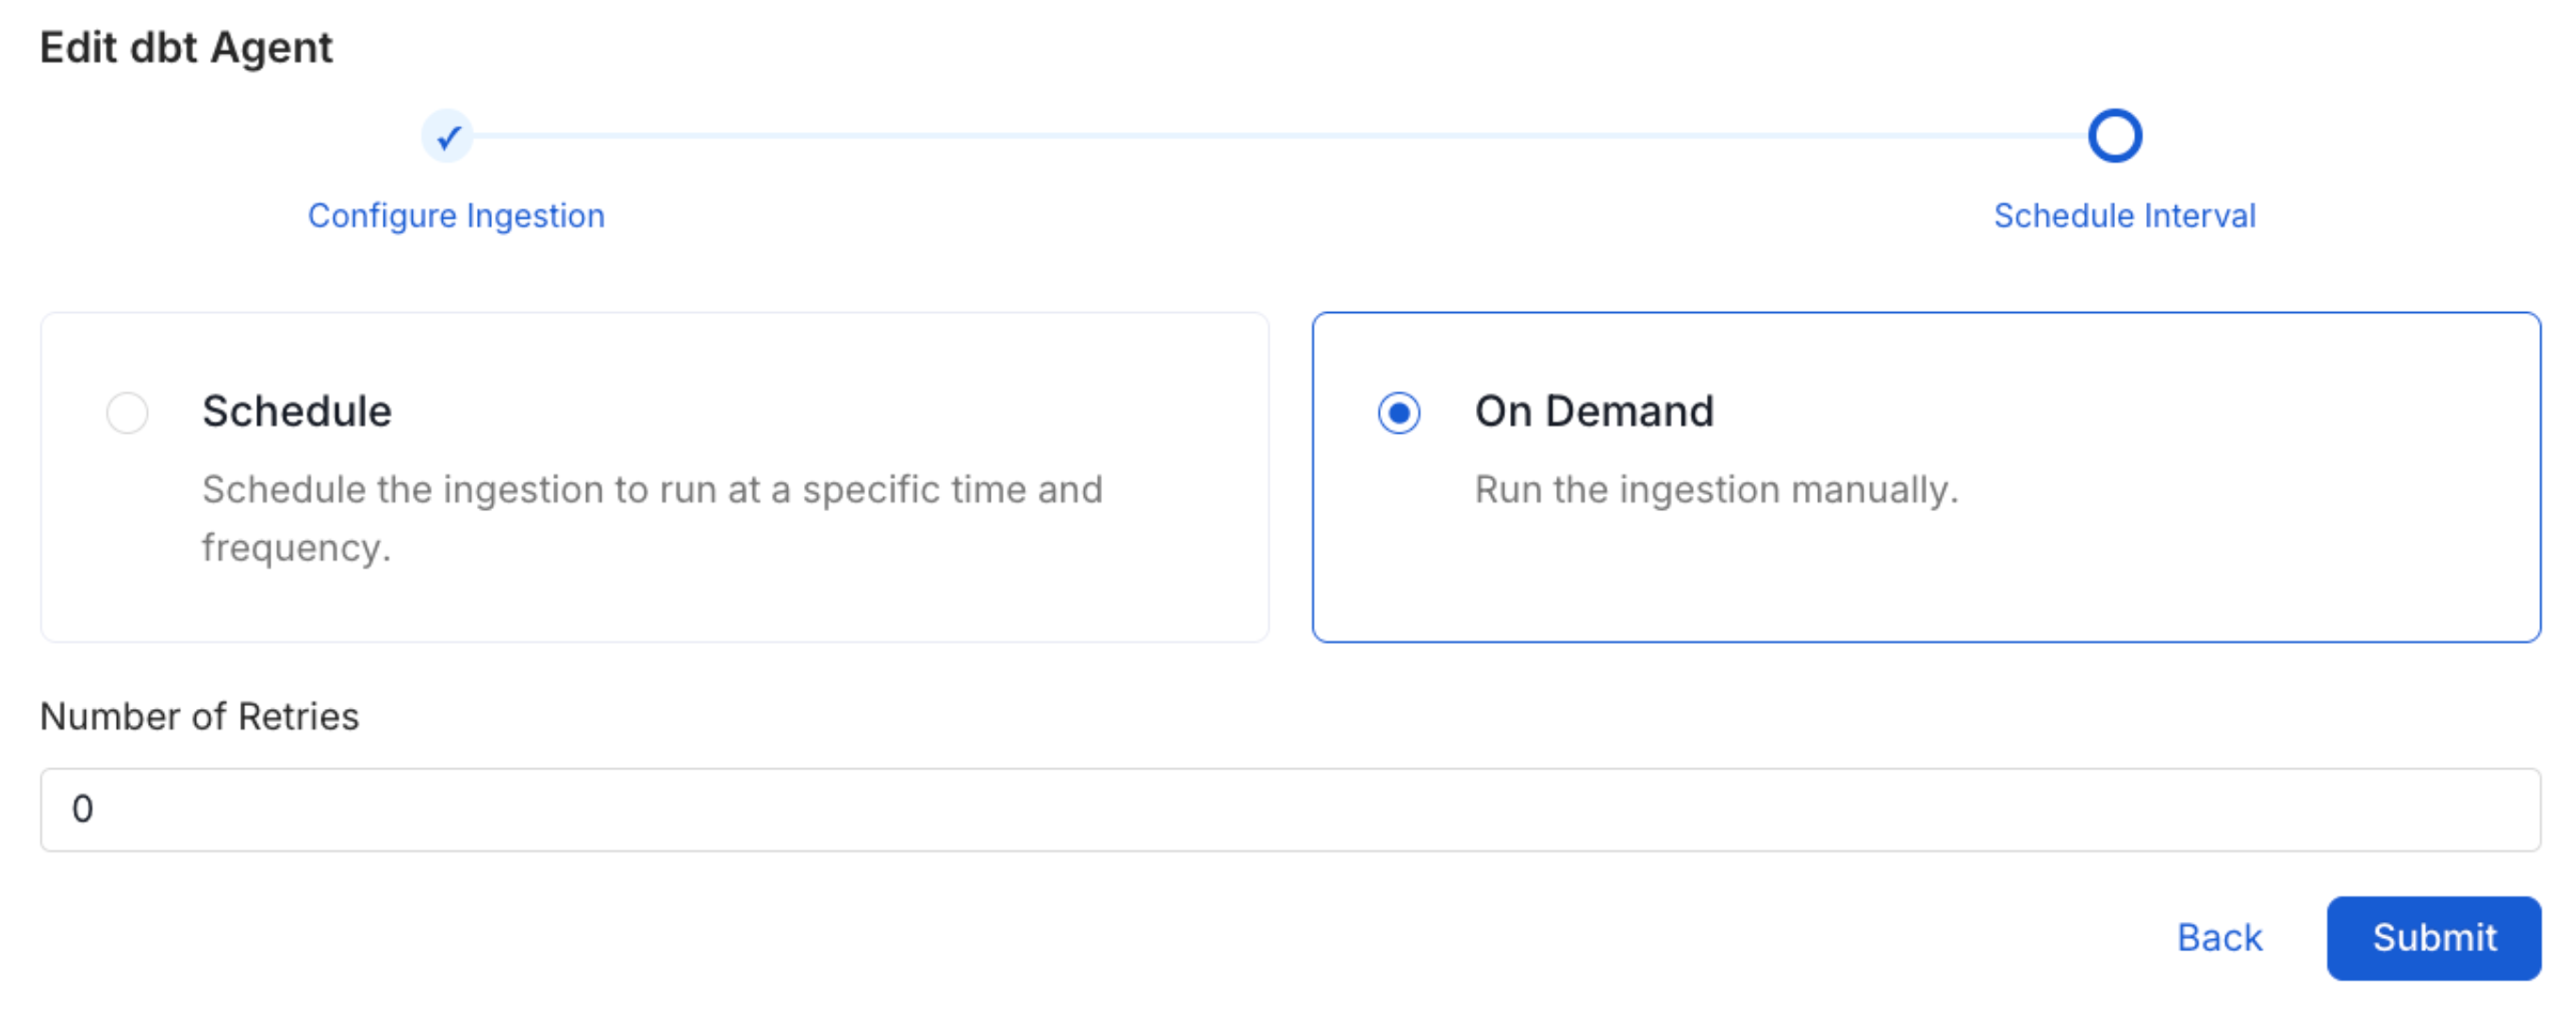
 Scheduling can be set up at an hourly, daily, weekly, or manual cadence. The
timezone is in UTC. Select a Start Date to schedule for ingestion. It is
optional to add an End Date.
Review your configuration settings. If they match what you intended,
click Deploy to create the service and schedule metadata ingestion.
If something doesn't look right, click the Back button to return to the
appropriate step and change the settings as needed.
After configuring the workflow, you can click on Deploy to create the
pipeline.
Scheduling can be set up at an hourly, daily, weekly, or manual cadence. The
timezone is in UTC. Select a Start Date to schedule for ingestion. It is
optional to add an End Date.
Review your configuration settings. If they match what you intended,
click Deploy to create the service and schedule metadata ingestion.
If something doesn't look right, click the Back button to return to the
appropriate step and change the settings as needed.
After configuring the workflow, you can click on Deploy to create the
pipeline.
 Once the workflow has been successfully deployed, you can view the
Ingestion Pipeline running from the Service Page.
Once the workflow has been successfully deployed, you can view the
Ingestion Pipeline running from the Service Page.
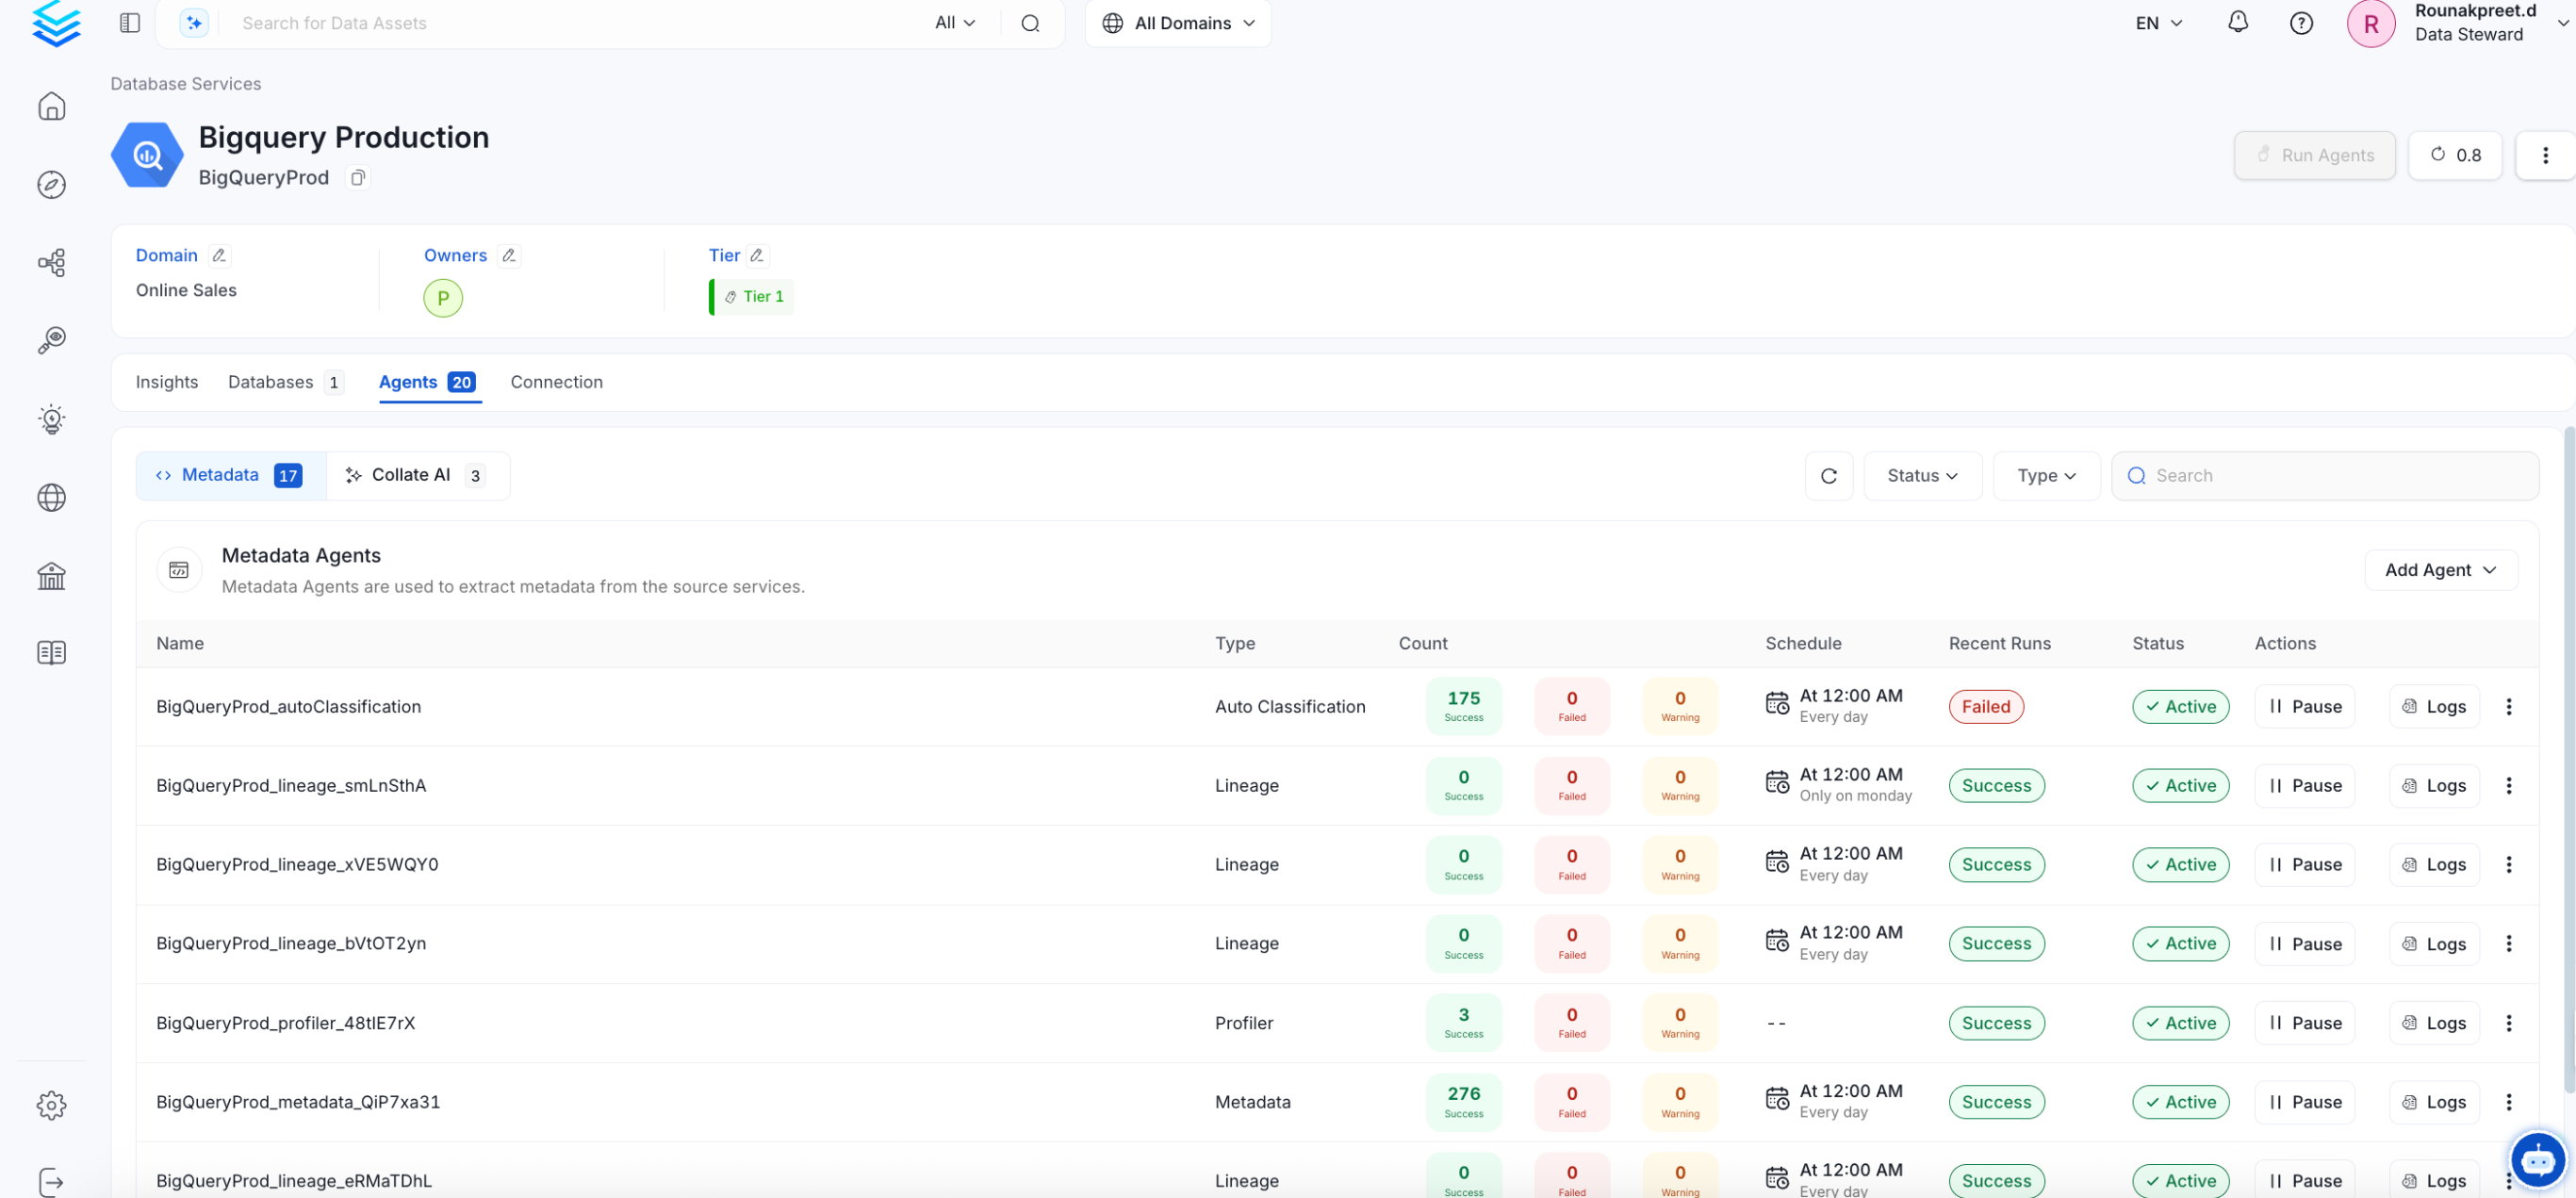 If AutoPilot is enabled, workflows like usage tracking, data lineage, and similar tasks will be handled automatically. Users don’t need to set up or manage them - AutoPilot takes care of everything in the system.