> ## Documentation Index
> Fetch the complete documentation index at: https://docs.open-metadata.org/llms.txt
> Use this file to discover all available pages before exploring further.
# Glue Pipeline | OpenMetadata Data Integration Pipeline
> Set up metadata ingestion from Glue pipelines to track source-to-target flows, logic, and job parameters.
export const MetadataIngestionUi = ({connector, selectServicePath, addNewServicePath, serviceConnectionPath}) => {
return <>
To ingest metadata from your sources, you need to create a service connection.
The service connects your source system with OpenMetadata. Once you create
a service, you can use it to configure your ingestion workflows.
To create a service connection and ingest your metadata, follow the steps below:
-
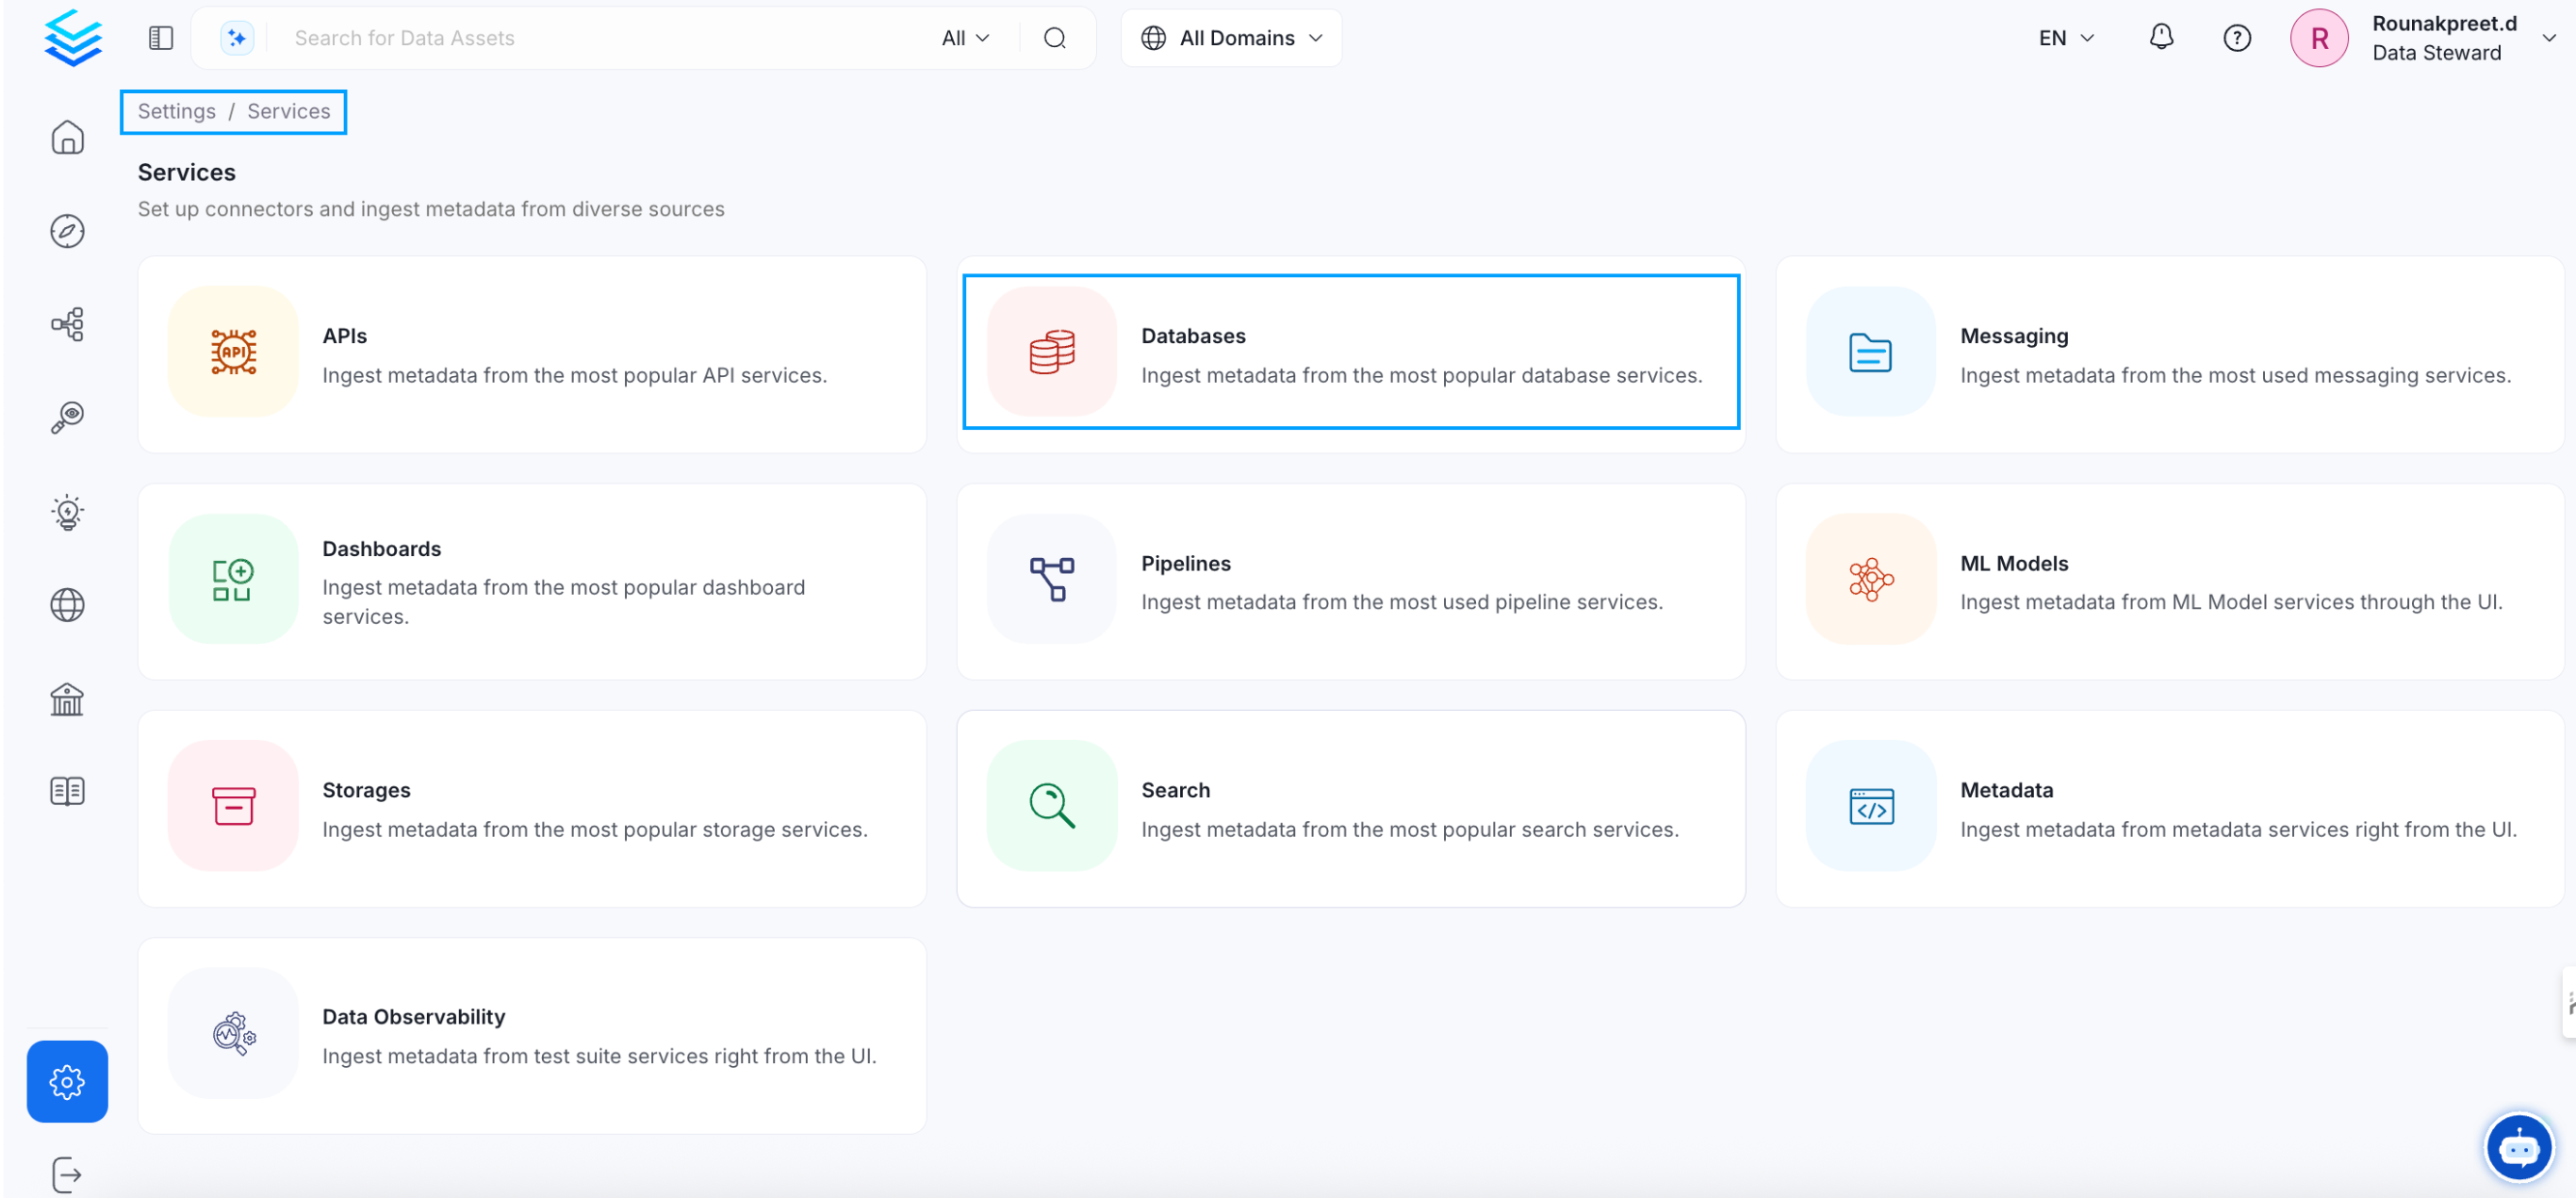
On the left navigation bar, click Settings.
-
On the next page, click Services, and then select the service.
To add a new service connection, click Add New Service.
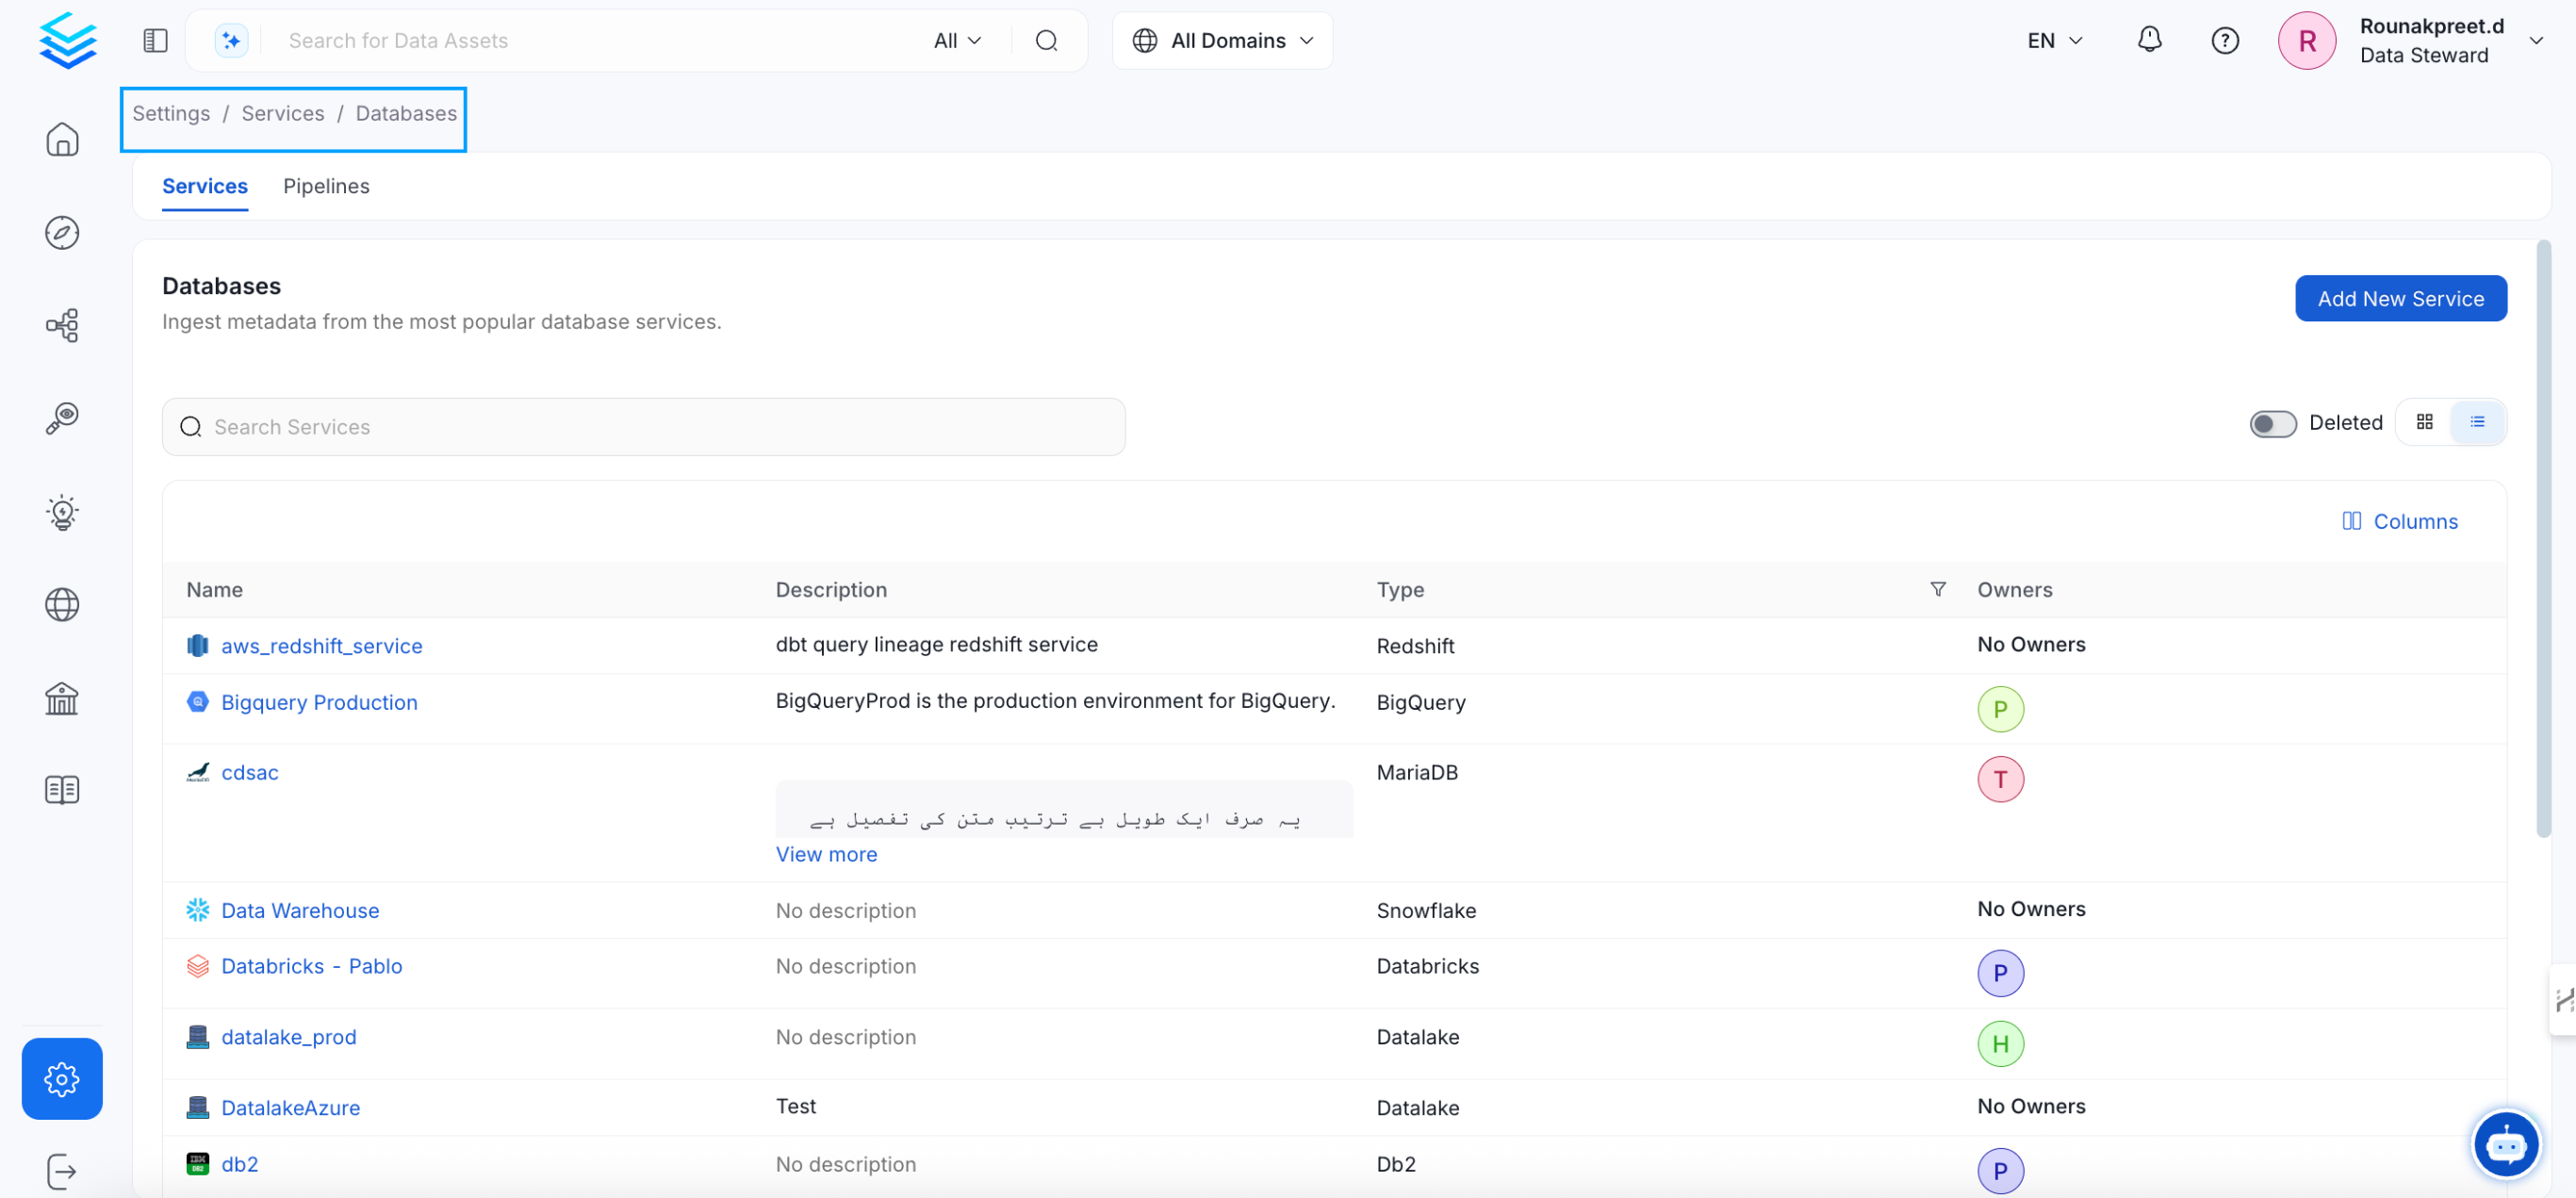 Select {connector} as the service type and click Next.
{selectServicePath &&
Select {connector} as the service type and click Next.
{selectServicePath &&  }
Enter a unique Service Name and Description.
}
Enter a unique Service Name and Description.
- Service Name: OpenMetadata identifies services by their service name. Enter a name that distinguishes this deployment from other services, including other {connector} services you are ingesting metadata from.
The service name cannot be changed after it is set.
{addNewServicePath &&  }
Set up the connection settings required for {connector} to set up the service and start ingesting metadata from your sources. The right-hand panel displays help documentation for the selected connection type in the product UI.
{serviceConnectionPath &&
}
Set up the connection settings required for {connector} to set up the service and start ingesting metadata from your sources. The right-hand panel displays help documentation for the selected connection type in the product UI.
{serviceConnectionPath &&  }
;
};
export const ConnectorDetailsHeader = ({name, icon, stage, availableFeatures, unavailableFeatures = [], availableFeaturesCollate = []}) => {
const showSubHeading = availableFeatures?.length > 0 || unavailableFeatures?.length > 0 || availableFeaturesCollate?.length > 0;
const totalAvailableFeatures = [...availableFeatures || [], ...availableFeaturesCollate || []];
return
}
;
};
export const ConnectorDetailsHeader = ({name, icon, stage, availableFeatures, unavailableFeatures = [], availableFeaturesCollate = []}) => {
const showSubHeading = availableFeatures?.length > 0 || unavailableFeatures?.length > 0 || availableFeaturesCollate?.length > 0;
const totalAvailableFeatures = [...availableFeatures || [], ...availableFeaturesCollate || []];
return
{icon &&
}
{name}
{stage}
{showSubHeading &&
Feature List
{totalAvailableFeatures.map(feature =>
✓ {feature}
)}
{unavailableFeatures.map(feature =>
✕ {feature}
)}
}
;
};
In this section, we provide guides and references to use the Glue connector.
Configure and schedule Glue metadata and profiler workflows from the OpenMetadata UI:
* [Requirements](#requirements)
* [Metadata Ingestion](#metadata-ingestion)
* [Troubleshooting](/v1.12.x/connectors/pipeline/glue-pipeline/troubleshooting)
## Requirements
The Glue connector ingests metadata through AWS [Boto3](https://boto3.amazonaws.com/v1/documentation/api/latest/reference/services/glue.html) Client.
We will ingest Workflows, its jobs and their run status.
The user must have the following permissions for the ingestion to run successfully:
* `glue:ListWorkflows`
* `glue:GetWorkflow`
* `glue:GetJobRuns`
## Metadata Ingestion
# Connection Details
When using a **Hybrid Ingestion Runner**, any sensitive credential fields—such as passwords, API keys, or private keys—must reference secrets using the following format:
```
password: secret:/my/database/password
```
This applies **only to fields marked as secrets** in the connection form (these typically mask input and show a visibility toggle icon).
For a complete guide on managing secrets in hybrid setups, see the [Hybrid Ingestion Runner Secret Management Guide](https://docs.getcollate.io/getting-started/day-1/hybrid-saas/hybrid-ingestion-runner#3.-manage-secrets-securely).
* **AWS Access Key ID** & **AWS Secret Access Key**: When you interact with AWS, you specify your AWS security credentials to verify who you are and whether you have
permission to access the resources that you are requesting. AWS uses the security credentials to authenticate and
authorize your requests ([docs](https://docs.aws.amazon.com/IAM/latest/UserGuide/security-creds.html)).
Access keys consist of two parts: An **access key ID** (for example, `AKIAIOSFODNN7EXAMPLE`), and a **secret access key** (for example, `wJalrXUtnFEMI/K7MDENG/bPxRfiCYEXAMPLEKEY`).
You must use both the access key ID and secret access key together to authenticate your requests.
You can find further information on how to manage your access keys [here](https://docs.aws.amazon.com/IAM/latest/UserGuide/id_credentials_access-keys.html).
* **AWS Region**: Each AWS Region is a separate geographic area in which AWS clusters data centers ([docs](https://docs.aws.amazon.com/AmazonRDS/latest/UserGuide/Concepts.RegionsAndAvailabilityZones.html)).
As AWS can have instances in multiple regions, we need to know the region the service you want reach belongs to.
Note that the AWS Region is the only required parameter when configuring a connection. When connecting to the
services programmatically, there are different ways in which we can extract and use the rest of AWS configurations.
You can find further information about configuring your credentials [here](https://boto3.amazonaws.com/v1/documentation/api/latest/guide/credentials.html#configuring-credentials).
* **AWS Session Token (optional)**: If you are using temporary credentials to access your services, you will need to inform the AWS Access Key ID
and AWS Secrets Access Key. Also, these will include an AWS Session Token.
You can find more information on [Using temporary credentials with AWS resources](https://docs.aws.amazon.com/IAM/latest/UserGuide/id_credentials_temp_use-resources.html).
* **Endpoint URL (optional)**: To connect programmatically to an AWS service, you use an endpoint. An *endpoint* is the URL of the
entry point for an AWS web service. The AWS SDKs and the AWS Command Line Interface (AWS CLI) automatically use the
default endpoint for each service in an AWS Region. But you can specify an alternate endpoint for your API requests.
Find more information on [AWS service endpoints](https://docs.aws.amazon.com/general/latest/gr/rande.html).
* **Profile Name**: A named profile is a collection of settings and credentials that you can apply to a AWS CLI command.
When you specify a profile to run a command, the settings and credentials are used to run that command.
Multiple named profiles can be stored in the config and credentials files.
You can inform this field if you'd like to use a profile other than `default`.
Find here more information about [Named profiles for the AWS CLI](https://docs.aws.amazon.com/cli/latest/userguide/cli-configure-profiles.html).
* **Assume Role Arn**: Typically, you use `AssumeRole` within your account or for cross-account access. In this field you'll set the
`ARN` (Amazon Resource Name) of the policy of the other account.
A user who wants to access a role in a different account must also have permissions that are delegated from the account
administrator. The administrator must attach a policy that allows the user to call `AssumeRole` for the `ARN` of the role in the other account.
This is a required field if you'd like to `AssumeRole`.
Find more information on [AssumeRole](https://docs.aws.amazon.com/STS/latest/APIReference/API_AssumeRole.html).
When using Assume Role authentication, ensure you provide the following details:
* **AWS Region**: Specify the AWS region for your deployment.
* **Assume Role ARN**: Provide the ARN of the role in your AWS account that OpenMetadata will assume.
* **Assume Role Session Name**: An identifier for the assumed role session. Use the role session name to uniquely identify a session when the same role
is assumed by different principals or for different reasons.
By default, we'll use the name `OpenMetadataSession`.
Find more information about the [Role Session Name](https://docs.aws.amazon.com/STS/latest/APIReference/API_AssumeRole.html#:~:text=An%20identifier%20for%20the%20assumed%20role%20session.).
* **Assume Role Source Identity**: The source identity specified by the principal that is calling the `AssumeRole` operation. You can use source identity
information in AWS CloudTrail logs to determine who took actions with a role.
Find more information about [Source Identity](https://docs.aws.amazon.com/STS/latest/APIReference/API_AssumeRole.html#:~:text=Required%3A%20No-,SourceIdentity,-The%20source%20identity).
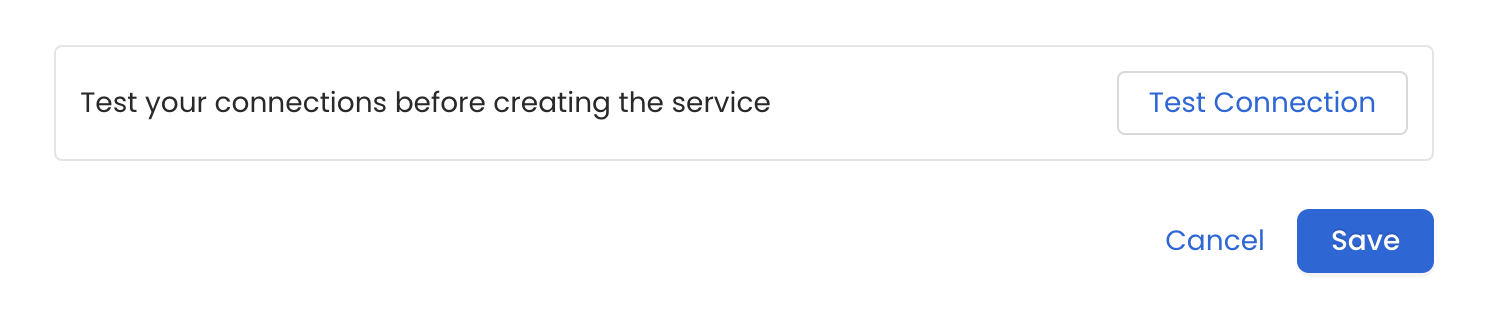
Once the credentials have been added, click on *Test Connection* and *Save* the changes.
 In this step we will configure the metadata ingestion pipeline,
Please follow the instructions below
In this step we will configure the metadata ingestion pipeline,
Please follow the instructions below
 #### Metadata Ingestion Options
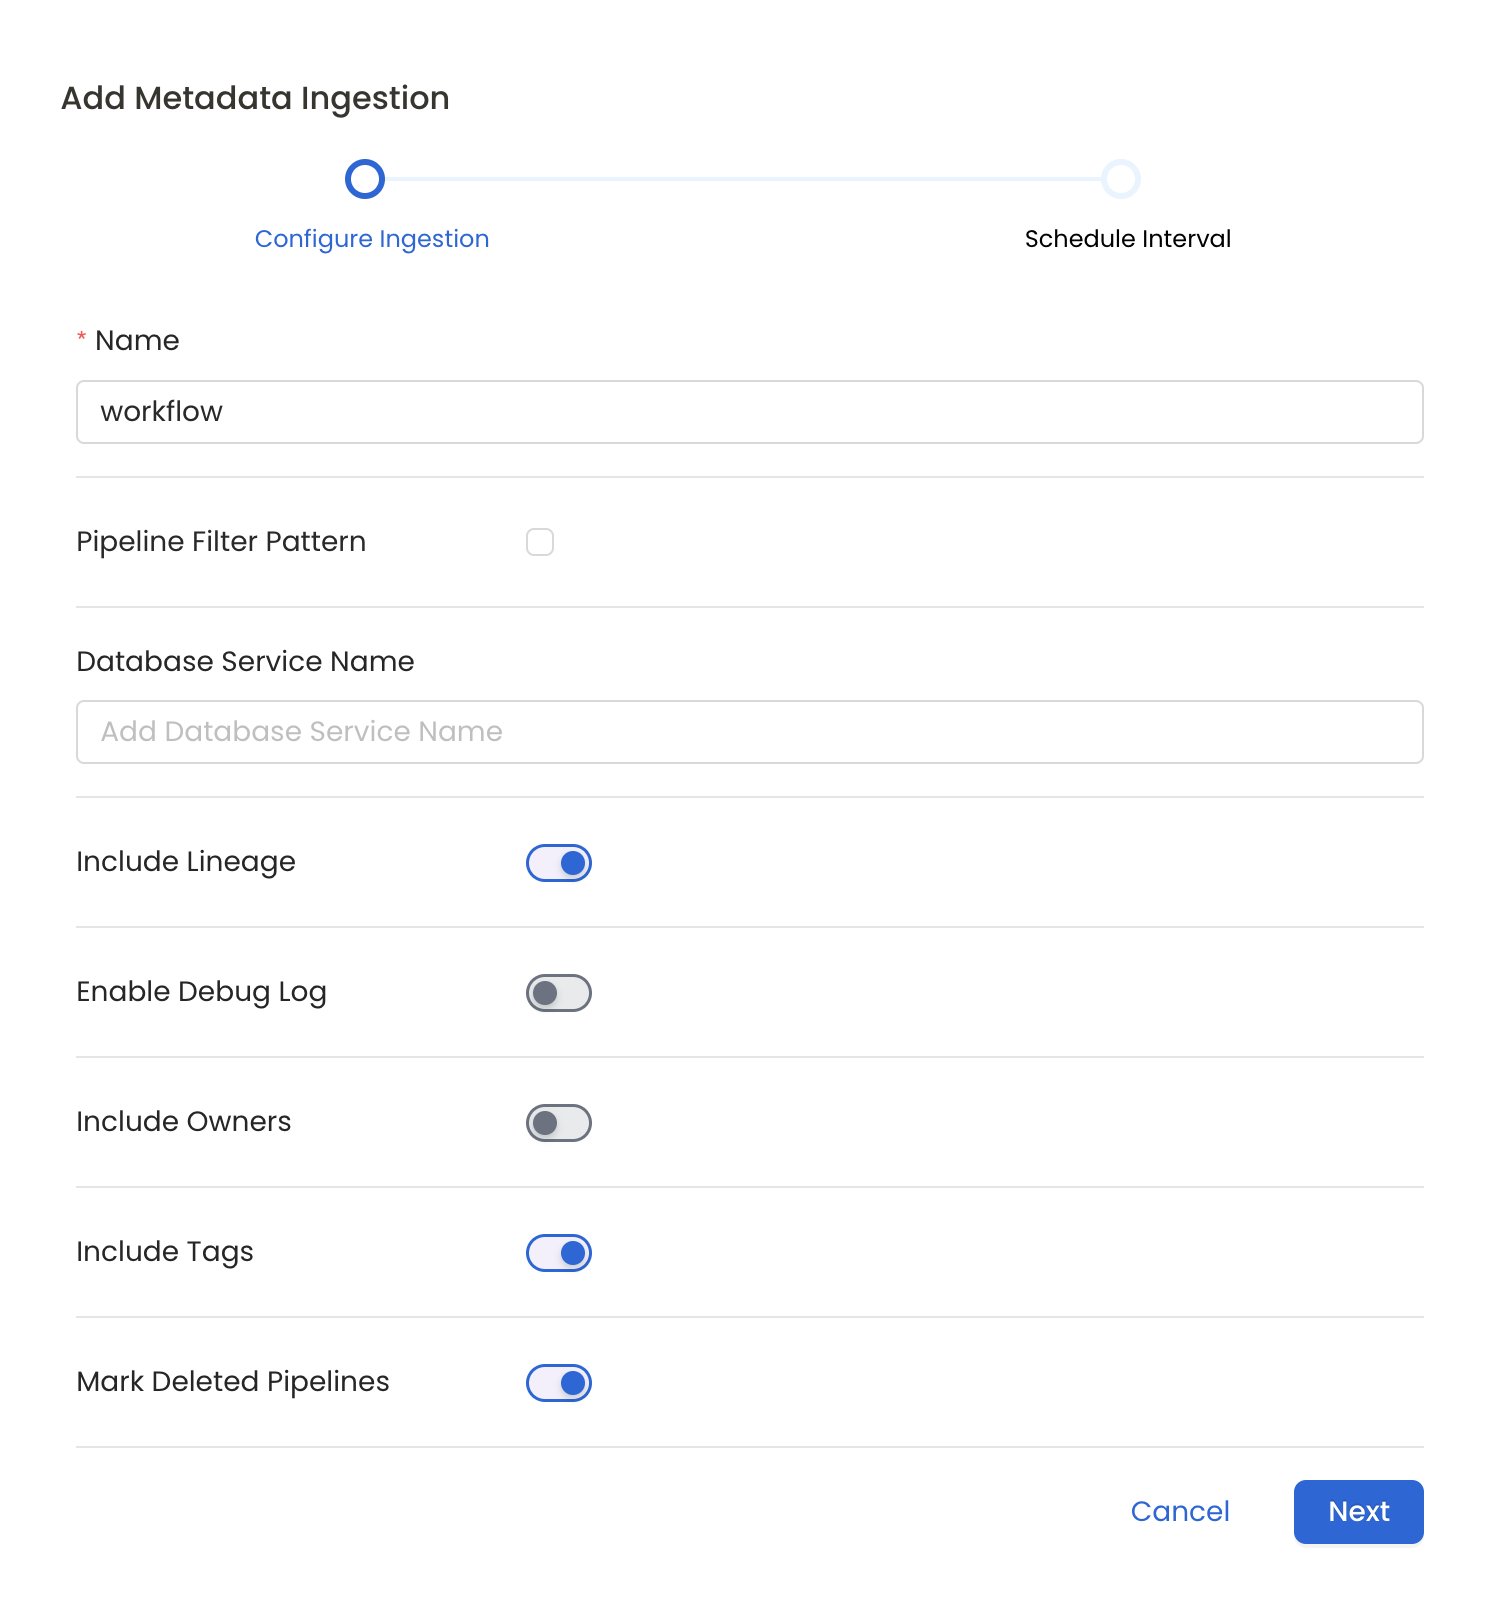
* **Name**: This field refers to the name of ingestion pipeline, you can customize the name or use the generated name.
* **Pipeline Filter Pattern (Optional)**: Use to pipeline filter patterns to control whether or not to include pipeline as part of metadata ingestion.
* **Include**: Explicitly include pipeline by adding a list of comma-separated regular expressions to the Include field. OpenMetadata will include all pipeline with names matching one or more of the supplied regular expressions. All other schemas will be excluded.
* **Exclude**: Explicitly exclude pipeline by adding a list of comma-separated regular expressions to the Exclude field. OpenMetadata will exclude all pipeline with names matching one or more of the supplied regular expressions. All other schemas will be included.
* **Include lineage (toggle)**: Set the Include lineage toggle to control whether to include lineage between pipelines and data sources as part of metadata ingestion.
* **Enable Debug Log (toggle)**: Set the Enable Debug Log toggle to set the default log level to debug.
* **Mark Deleted Pipelines (toggle)**: Set the Mark Deleted Pipelines toggle to flag pipelines as soft-deleted if they are not present anymore in the source system.
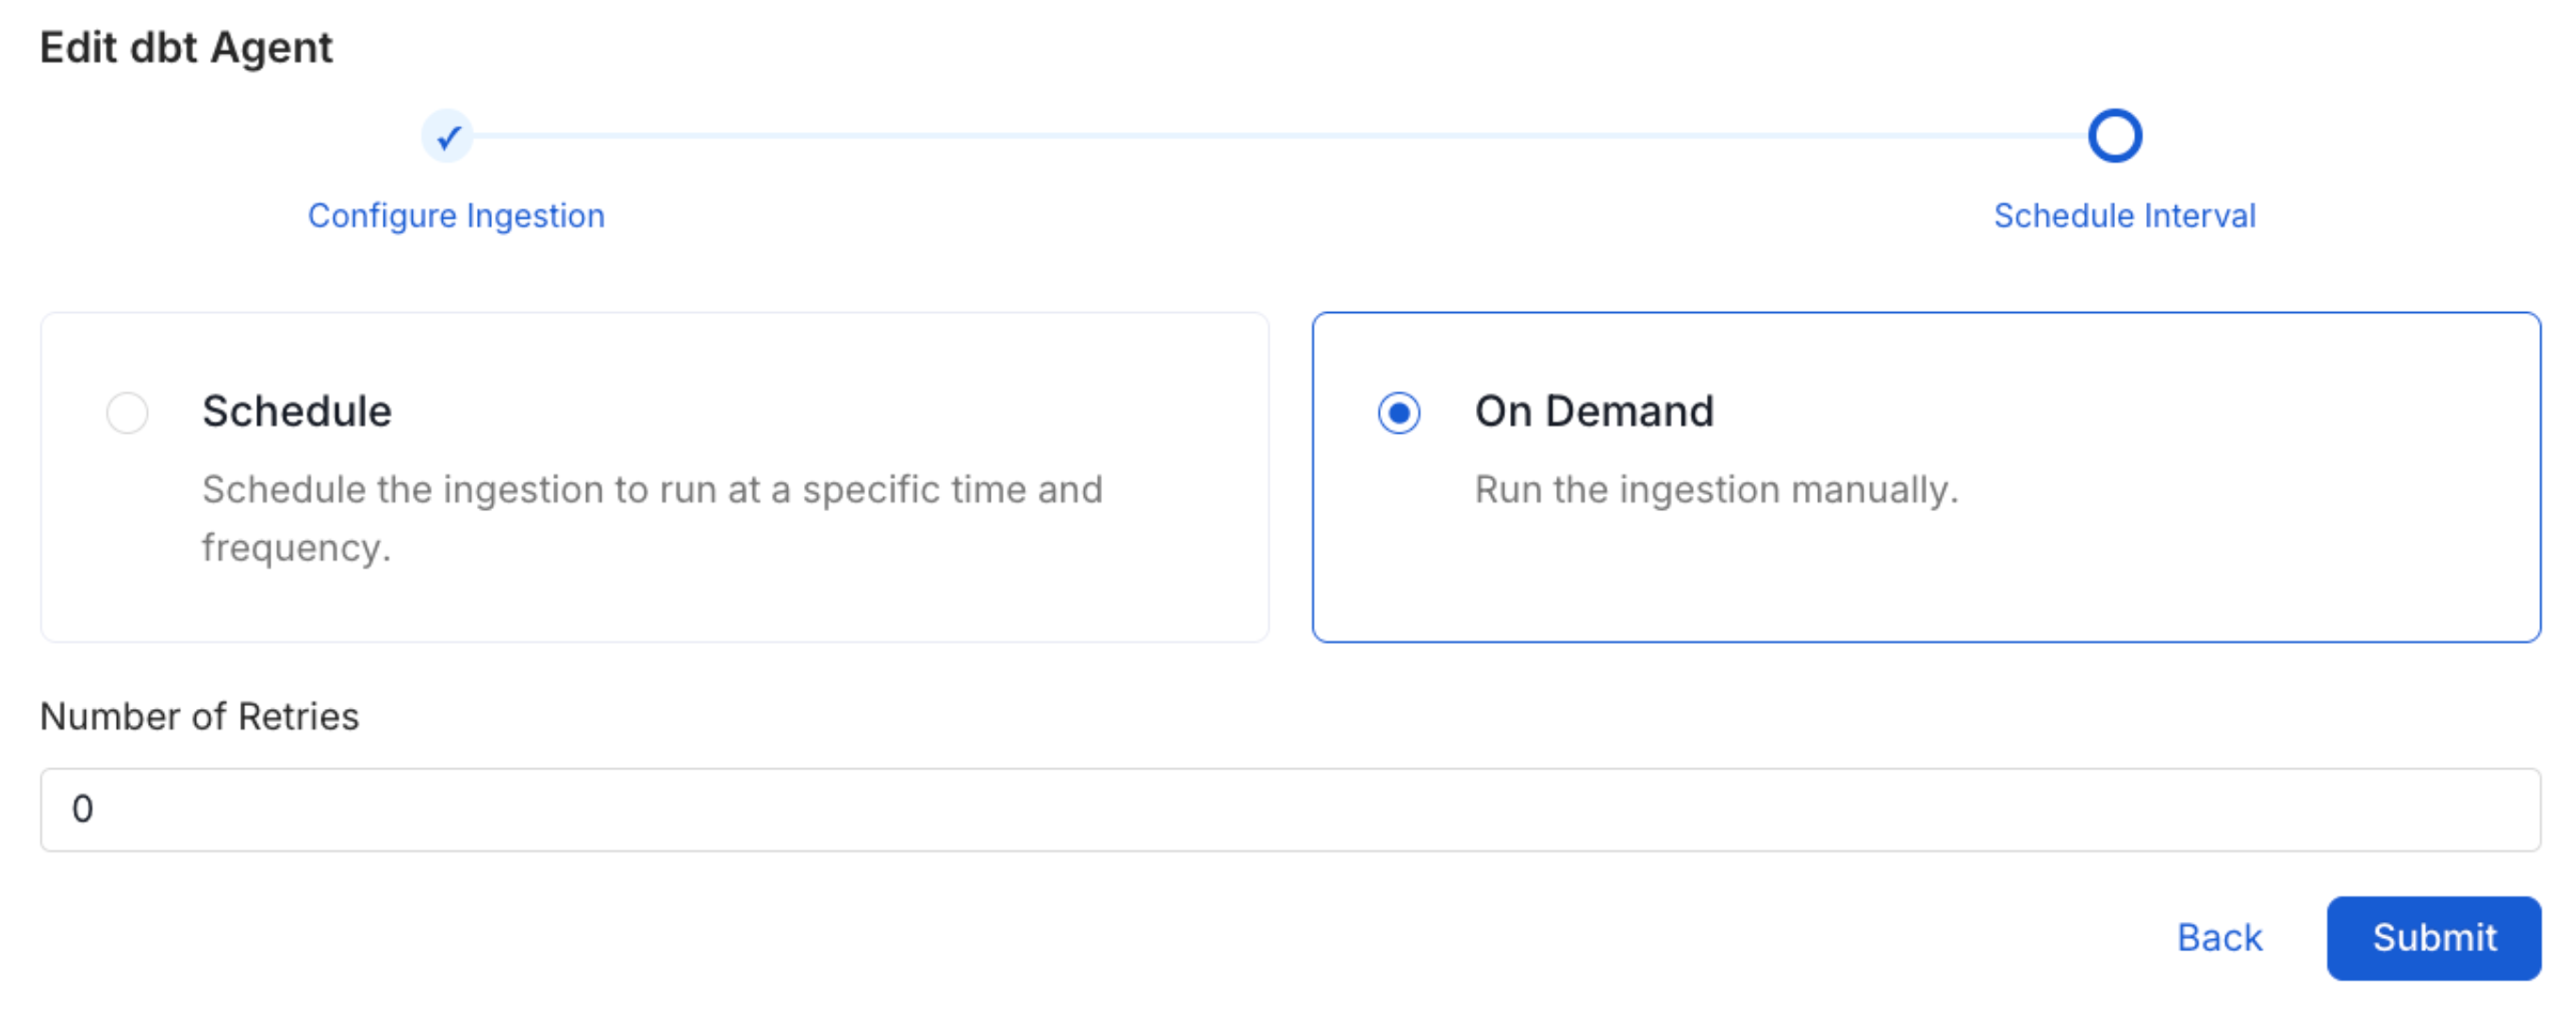
Scheduling can be set up at an hourly, daily, weekly, or manual cadence. The
timezone is in UTC. Select a Start Date to schedule for ingestion. It is
optional to add an End Date.
Review your configuration settings. If they match what you intended,
click Deploy to create the service and schedule metadata ingestion.
If something doesn't look right, click the Back button to return to the
appropriate step and change the settings as needed.
After configuring the workflow, you can click on Deploy to create the
pipeline.
#### Metadata Ingestion Options
* **Name**: This field refers to the name of ingestion pipeline, you can customize the name or use the generated name.
* **Pipeline Filter Pattern (Optional)**: Use to pipeline filter patterns to control whether or not to include pipeline as part of metadata ingestion.
* **Include**: Explicitly include pipeline by adding a list of comma-separated regular expressions to the Include field. OpenMetadata will include all pipeline with names matching one or more of the supplied regular expressions. All other schemas will be excluded.
* **Exclude**: Explicitly exclude pipeline by adding a list of comma-separated regular expressions to the Exclude field. OpenMetadata will exclude all pipeline with names matching one or more of the supplied regular expressions. All other schemas will be included.
* **Include lineage (toggle)**: Set the Include lineage toggle to control whether to include lineage between pipelines and data sources as part of metadata ingestion.
* **Enable Debug Log (toggle)**: Set the Enable Debug Log toggle to set the default log level to debug.
* **Mark Deleted Pipelines (toggle)**: Set the Mark Deleted Pipelines toggle to flag pipelines as soft-deleted if they are not present anymore in the source system.
Scheduling can be set up at an hourly, daily, weekly, or manual cadence. The
timezone is in UTC. Select a Start Date to schedule for ingestion. It is
optional to add an End Date.
Review your configuration settings. If they match what you intended,
click Deploy to create the service and schedule metadata ingestion.
If something doesn't look right, click the Back button to return to the
appropriate step and change the settings as needed.
After configuring the workflow, you can click on Deploy to create the
pipeline.
 Once the workflow has been successfully deployed, you can view the
Ingestion Pipeline running from the Service Page.
Once the workflow has been successfully deployed, you can view the
Ingestion Pipeline running from the Service Page.
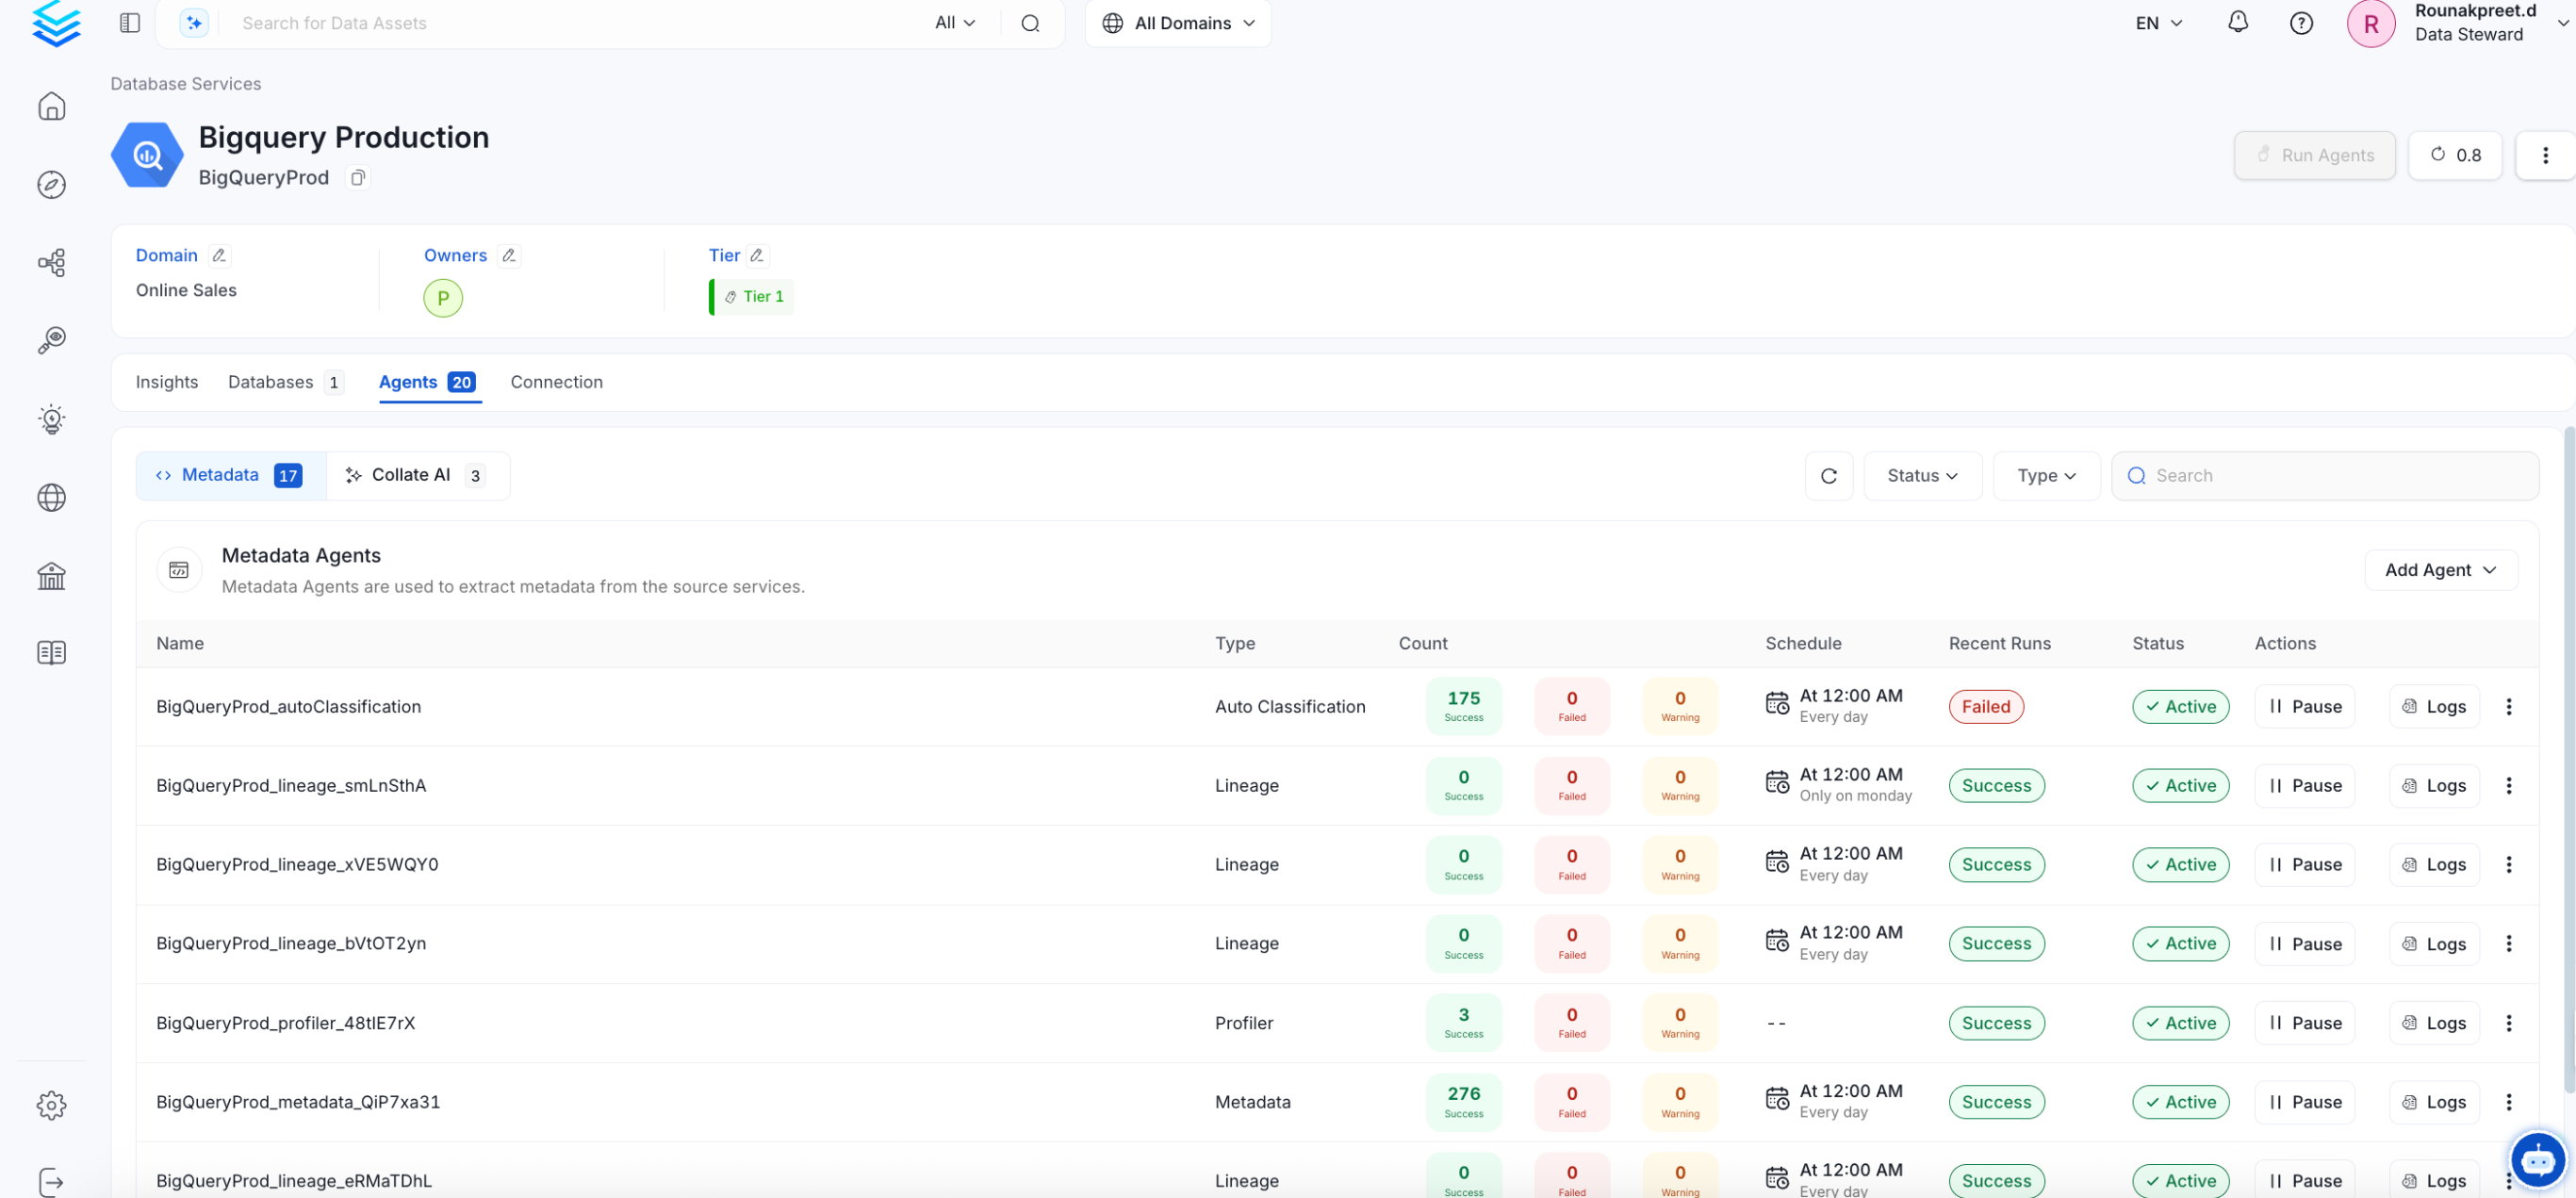 If AutoPilot is enabled, workflows like usage tracking, data lineage, and similar tasks will be handled automatically. Users don’t need to set up or manage them - AutoPilot takes care of everything in the system.