deployment

No menu items for this category

Okta SSO

Follow the sections in this guide to set up Okta SSO.

Security requirements for your production environment:

  • DELETE the admin default account shipped by OM in case you had Basic Authentication enabled before configuring the authentication with Okta SSO.
  • UPDATE the Private / Public keys used for the JWT Tokens. The keys we provide by default are aimed only for quickstart and testing purposes. They should NEVER be used in a production installation.

This document will explain how to create an Okta app and configure it for OAuth. This will generate the information required for Single Sign On with Okta.

  • Go to Create Okta Account.
  • Provide the required input and click on Sign Up.
  • Else you can continue with Google or GitHub.
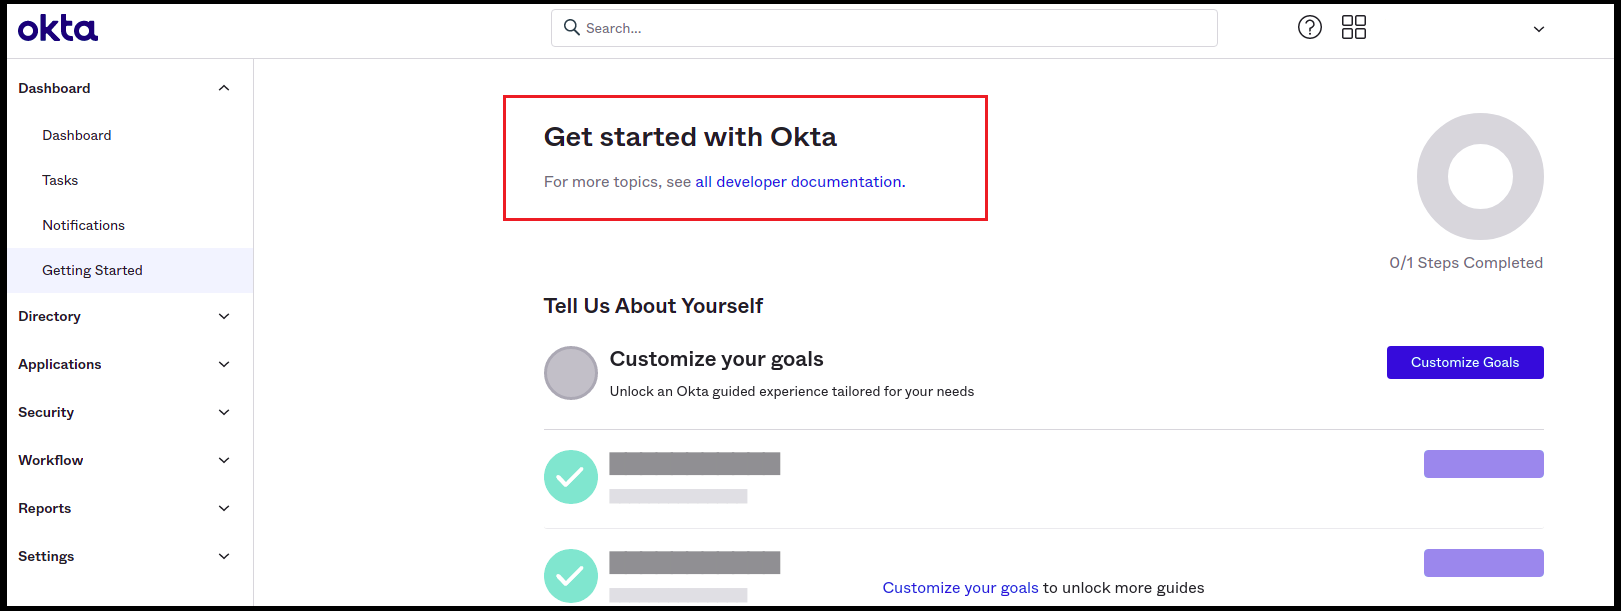
  • Once done with Signup/Sign in, you will be redirected to the Getting Started page in Okta.
create-oidc-app-integration
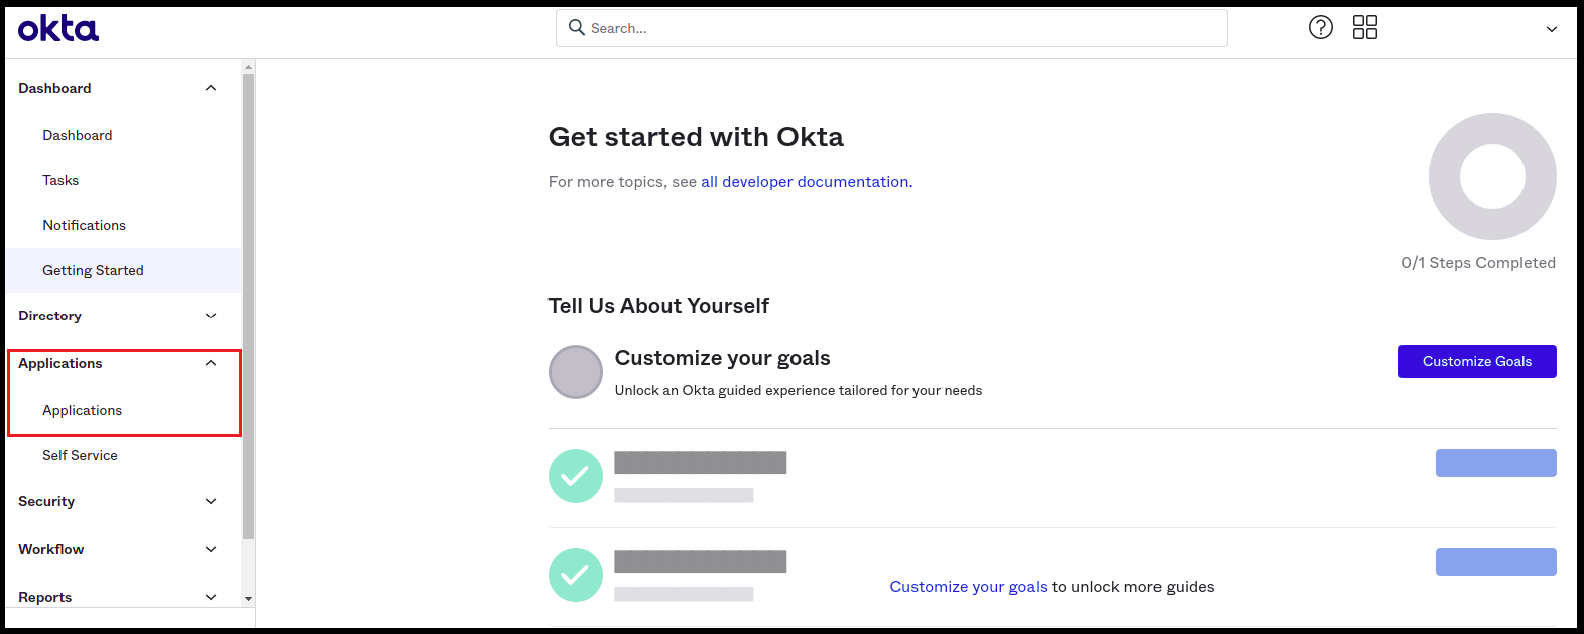
  • Click on Applications -> Applications in the left navigation panel.
click-applications
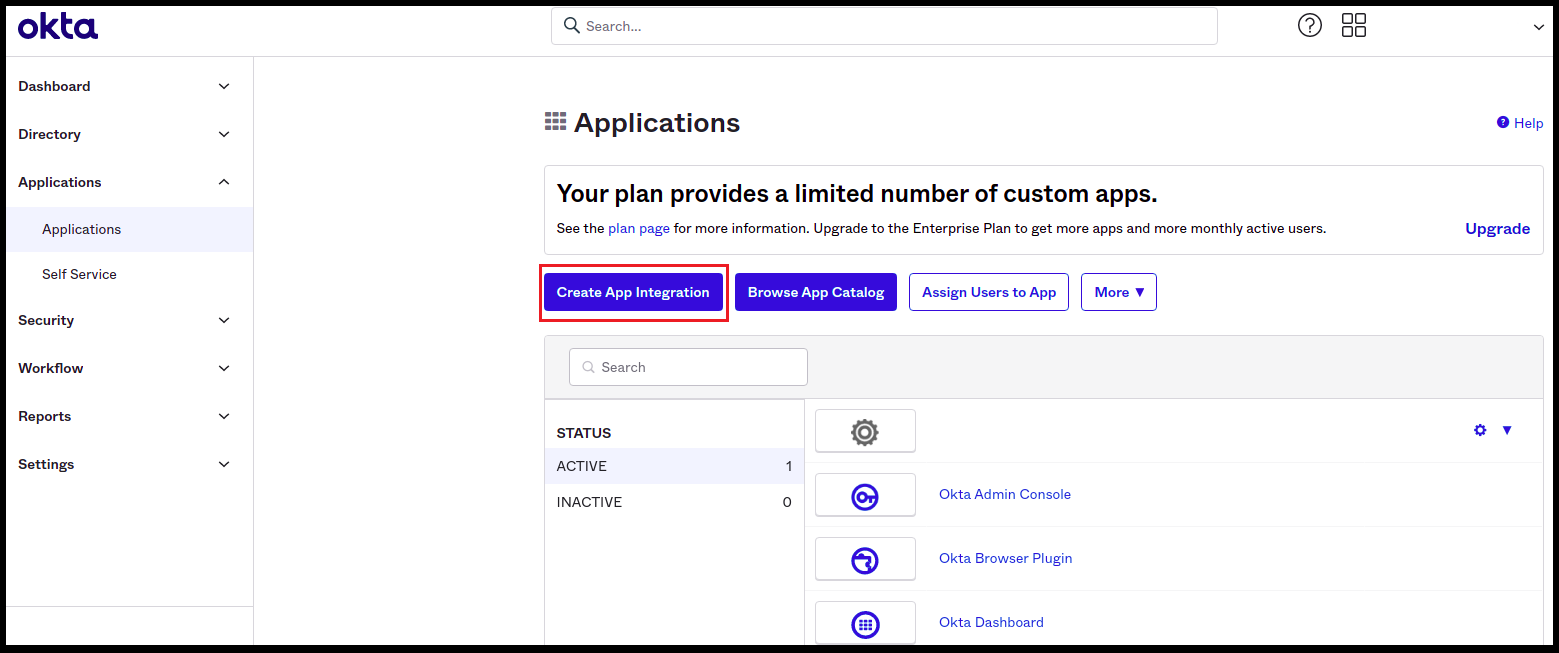
  • Click on the Create App Integration button.
create-app-integration
  • Once you are in the Create a new app integration page, select OIDC - OpenID Connect.
  • Next, select the Application type -> Single-Page Application.
  • Once selected, click Next.
configuring-the-app
  • From the General Settings page,
    • Enter an App integration name
    • Select the following in Grant type:
      • Authorization Code
      • Refresh Token - For the refresh token behavior, it is recommended to select the option to 'Rotate token after every use'.
      • Implicit (hybrid) - Select the options to allow ID Token and Access Token with implicit grant type.
    • Enter the Sign-in redirect URIs
      • http://localhost:8585/callback
      • http://localhost:8585/silent-callback
    • Enter the Sign-out redirect URIs
    • Enter the Base URIs
    • Select the required option for Controlled access
  • Click Save.
general-settings-click-save
  • The app is now configured.
app-is-configured

It is recommended to create a separate authorization server for different applications. The authorization server needs an endpoint, which'll be the Issuer URL.

  • Click on Security -> API in the left navigation panel.
click-security-api
  • From the Authorization Servers tab, click on Add Authorization Server button.
click-add-authorization-server
  • Enter a Name and Description.
  • While creating the authorization server, an Audience must be provided for the server. The Audience is the Client ID of the single page application that was created. Refer the next Step 7 to locate the Client ID.
  • Save the changes.
add-auth-server-save-changes

This will generate the Issuer URL.

It is recommended to create a separate authorization server for different applications. The authorization server needs an endpoint, which'll be the Issuer URL.

  • Click on Security -> API in the left navigation panel.
click-security-api
  • From the Authorization Servers tab, click on default server.
default-server

Once the Authorization Server has been added, navigate to Security >> API >> Authorization Servers and click on the authorization server created in the previous step.

click-auth-server-from-prev-step

The Issuer URL shows up as Dynamic by default. Change the Issuer URL to Okta URL and save the changes.

change-issuer-url
  • To create a default scope from Security -> API, click on the required Authorization Server.
click-req-auth-server
  • In the resulting page, click on the Scopes tab
  • Click on Add Scope
add-scope
  • Set as a Default Scope.
set-default-scope
  • From Security -> API, click on the required Authorization Server
  • Navigate to the Access Policies Tab
  • Click on Add New Access Policy
add-new-access-policy
  • To create a policy, add a Name and Description.
  • Assign the policy to the required clients.
  • Add a new Rule inside the policy as required. Rules can be created with just a few grant type details, such as Client Credentials, Authorization Code, Device Authorization, and Token Exchange.
  • Click on Create Rule to save the changes.
add-rule
  • Once the app is configured, the Client ID can be used.
  • You can also go to Application -> Application as in step 2.
  • You should be able to see your application in the list.
see-your-application
  • Click on your application.
  • You will find your Client ID and Okta domain.
  • The Client authentication is enabled by default.
  • By clicking on the Edit **** option for General Settings, you can deselect the option for User consent. Save the changes.
deselect-user-consent
  • Click on the Sign On tab from the top navigation bar.
  • Click on Edit for OpenID Connect ID Token.
  • For Issuer, change from the Dynamic (based on request domain) option to the Okta URL option.
  • The Audience is the same as the Client ID.
click-edit-token

After the applying these steps, you can update the configuration of your deployment:

Once your server security is set, it's time to review the ingestion configuration. Our bots support JWT tokens to authenticate to the server when sending requests.

Find more information on Enabling JWT Tokens.