SAML AZURE SSO
Follow the sections in this guide to set up Azure SSO using SAML.
Security requirements for your production environment:
- DELETE the admin default account shipped by OM.
- UPDATE the Private / Public keys used for the JWT Tokens in case it is enabled.
Key Notes on SAML Configuration
Set
AUTHENTICATION_PROVIDERtosaml(lowercase):
Ensure theAUTHENTICATION_PROVIDERfield in your environment variables is explicitly set tosamlfor SAML authentication to function correctly. Without this, SAML integration will not work.Routing to IDP:
Users will only be routed to the IDP upon sign-in ifAUTHENTICATION_PROVIDERis set tosaml.
Create OpenMetadata application
Step 1: Configure a new Application in Microsoft Entra ID
- Login to Azure Portal as an administrator and search for Microsoft Entra ID.
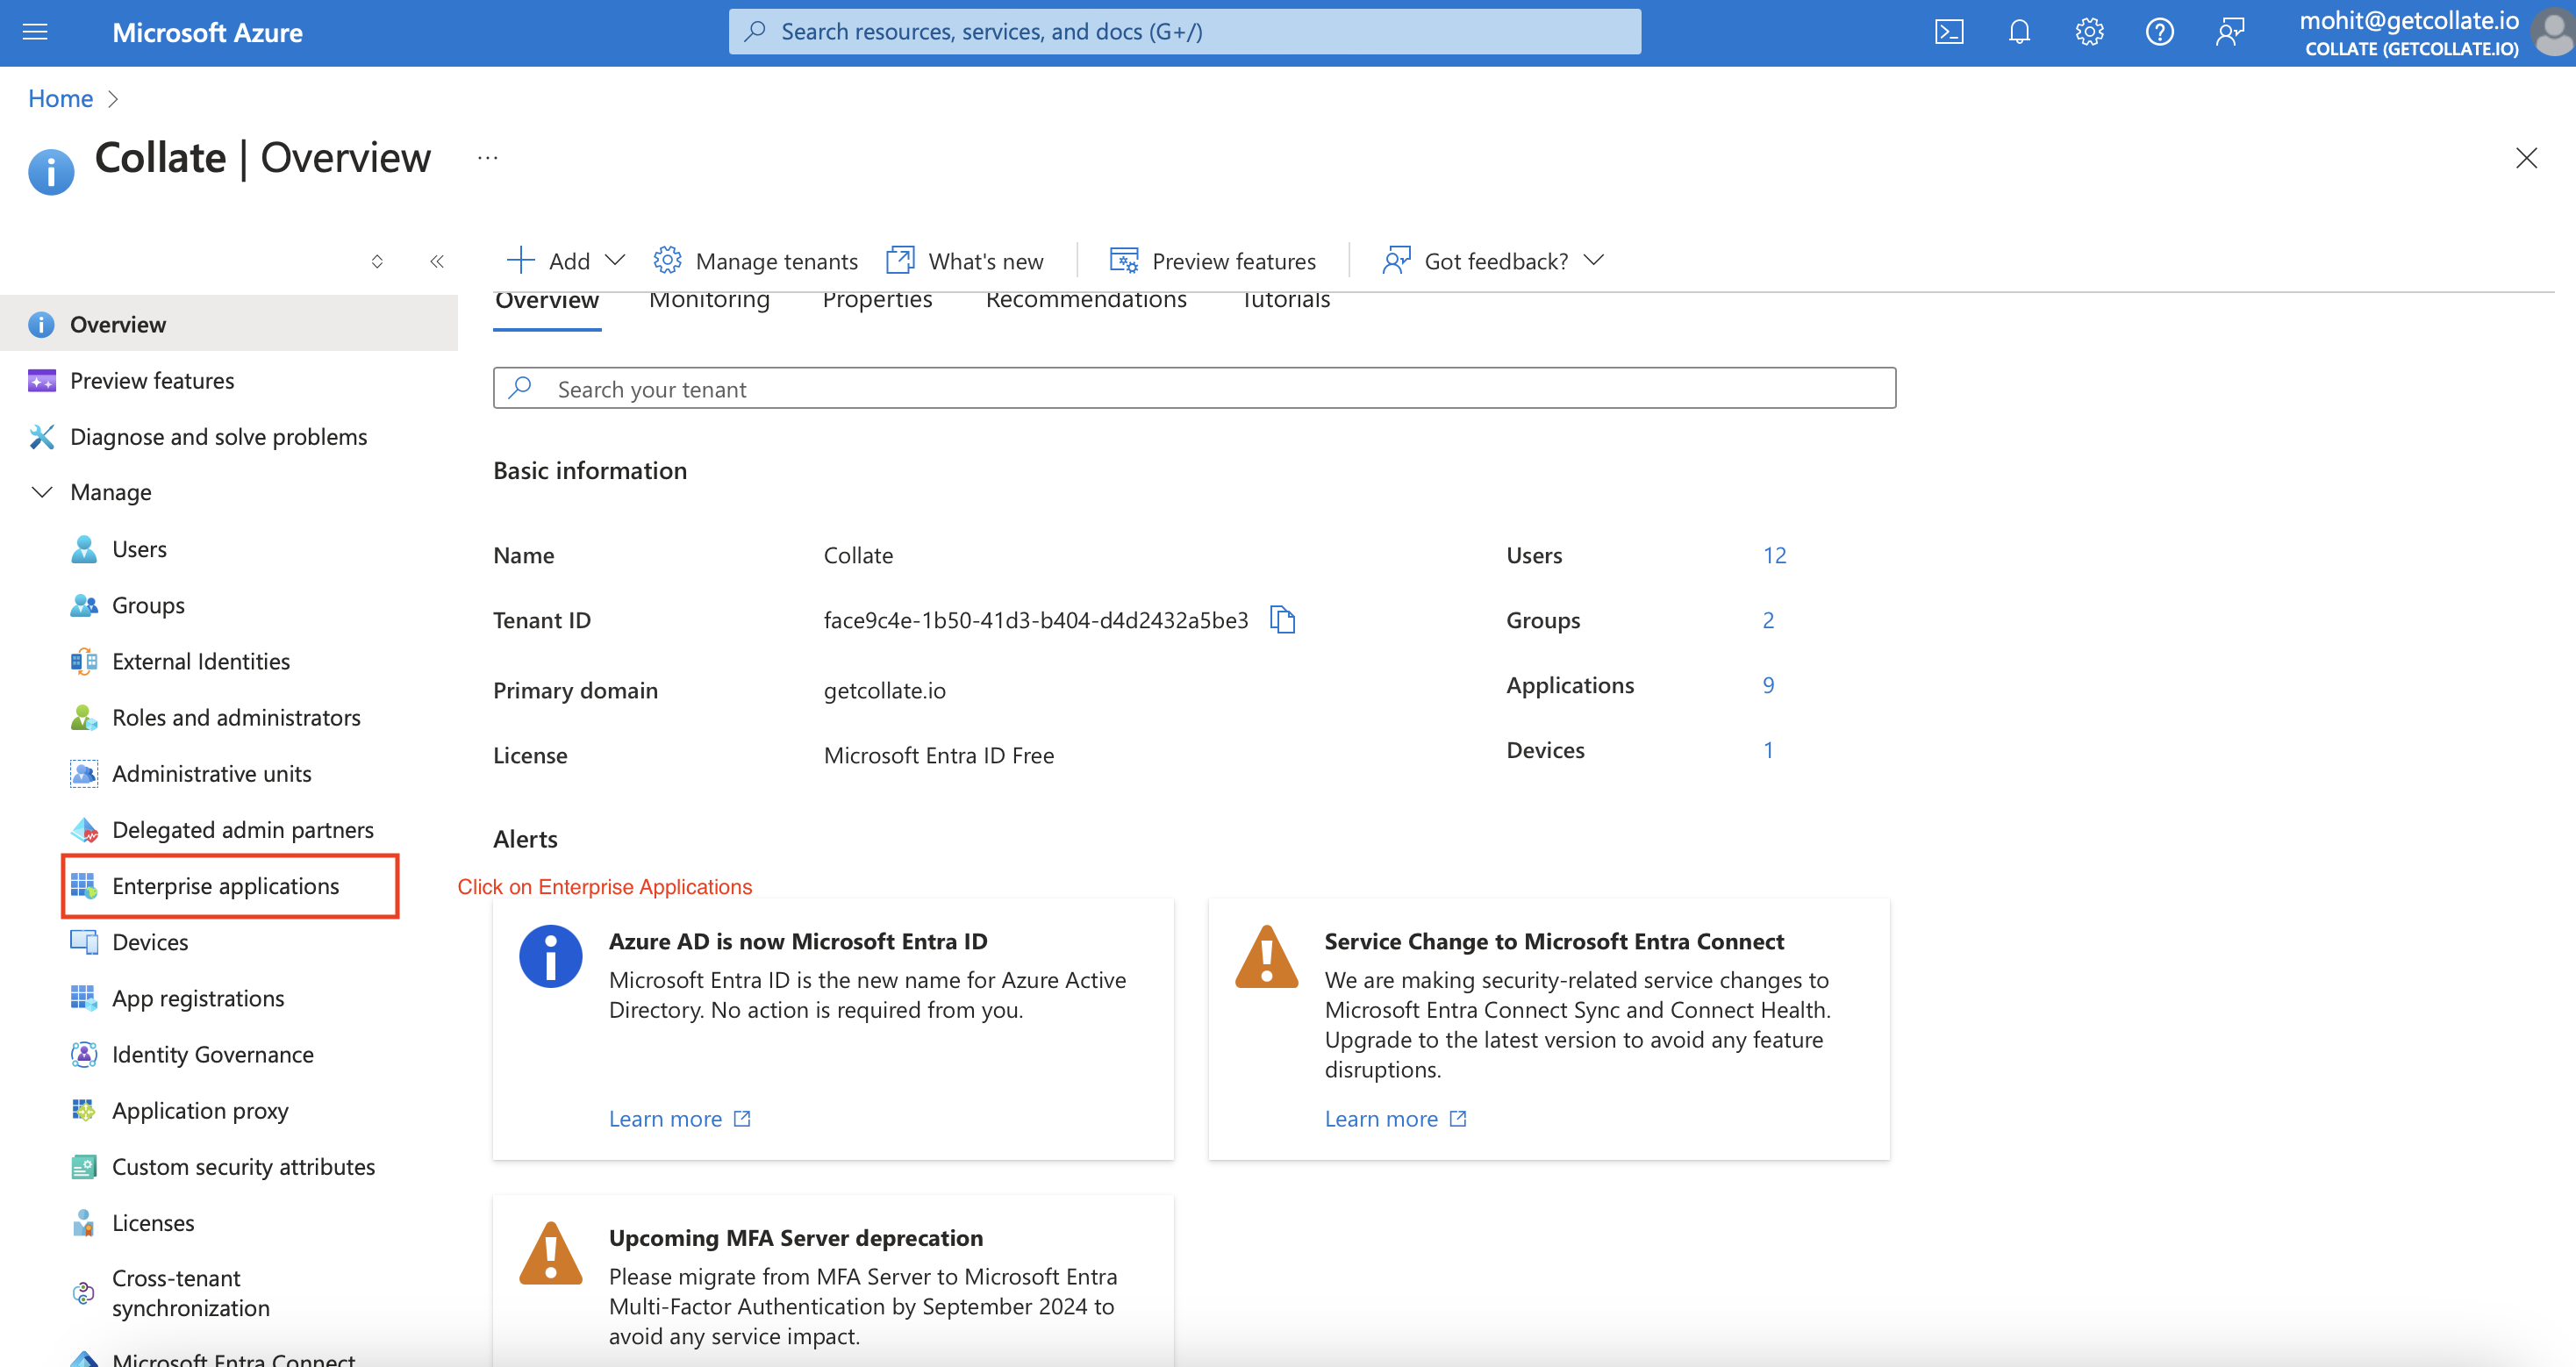
- Click on
Enterprise Applicationsand then+ New Application.

- After that a new window will appear with different applications, click on
Create your own application.
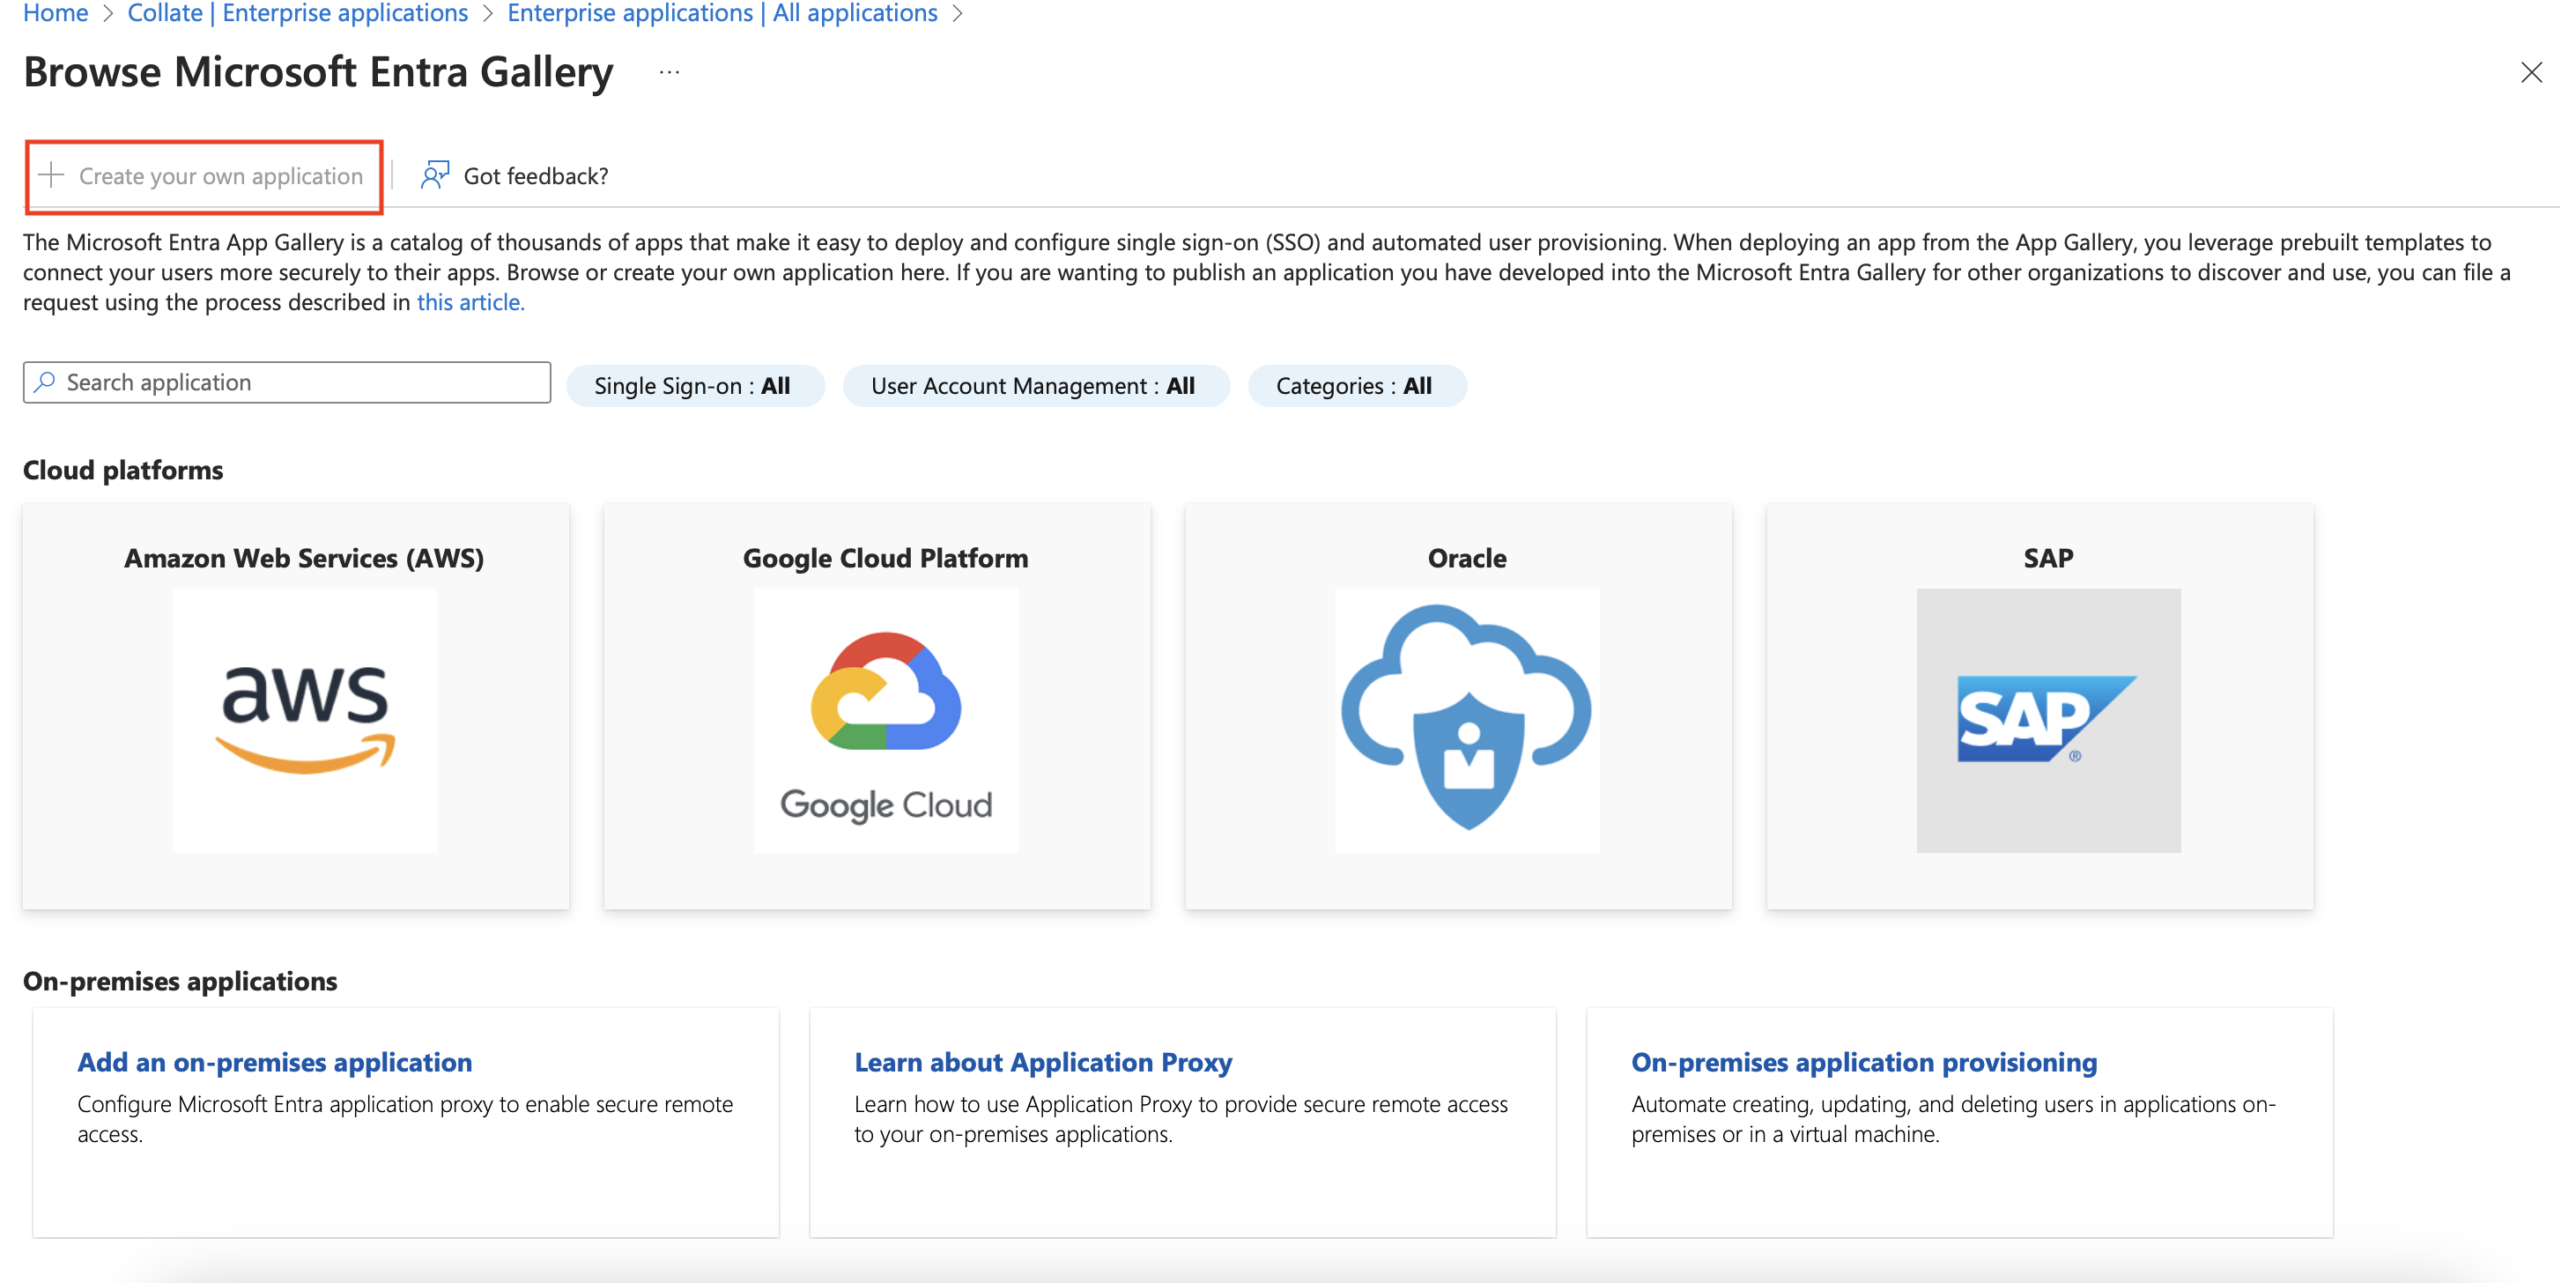
- Give your application a name and select
Integrate any other application you don't find in the galleryand then clickCreate.

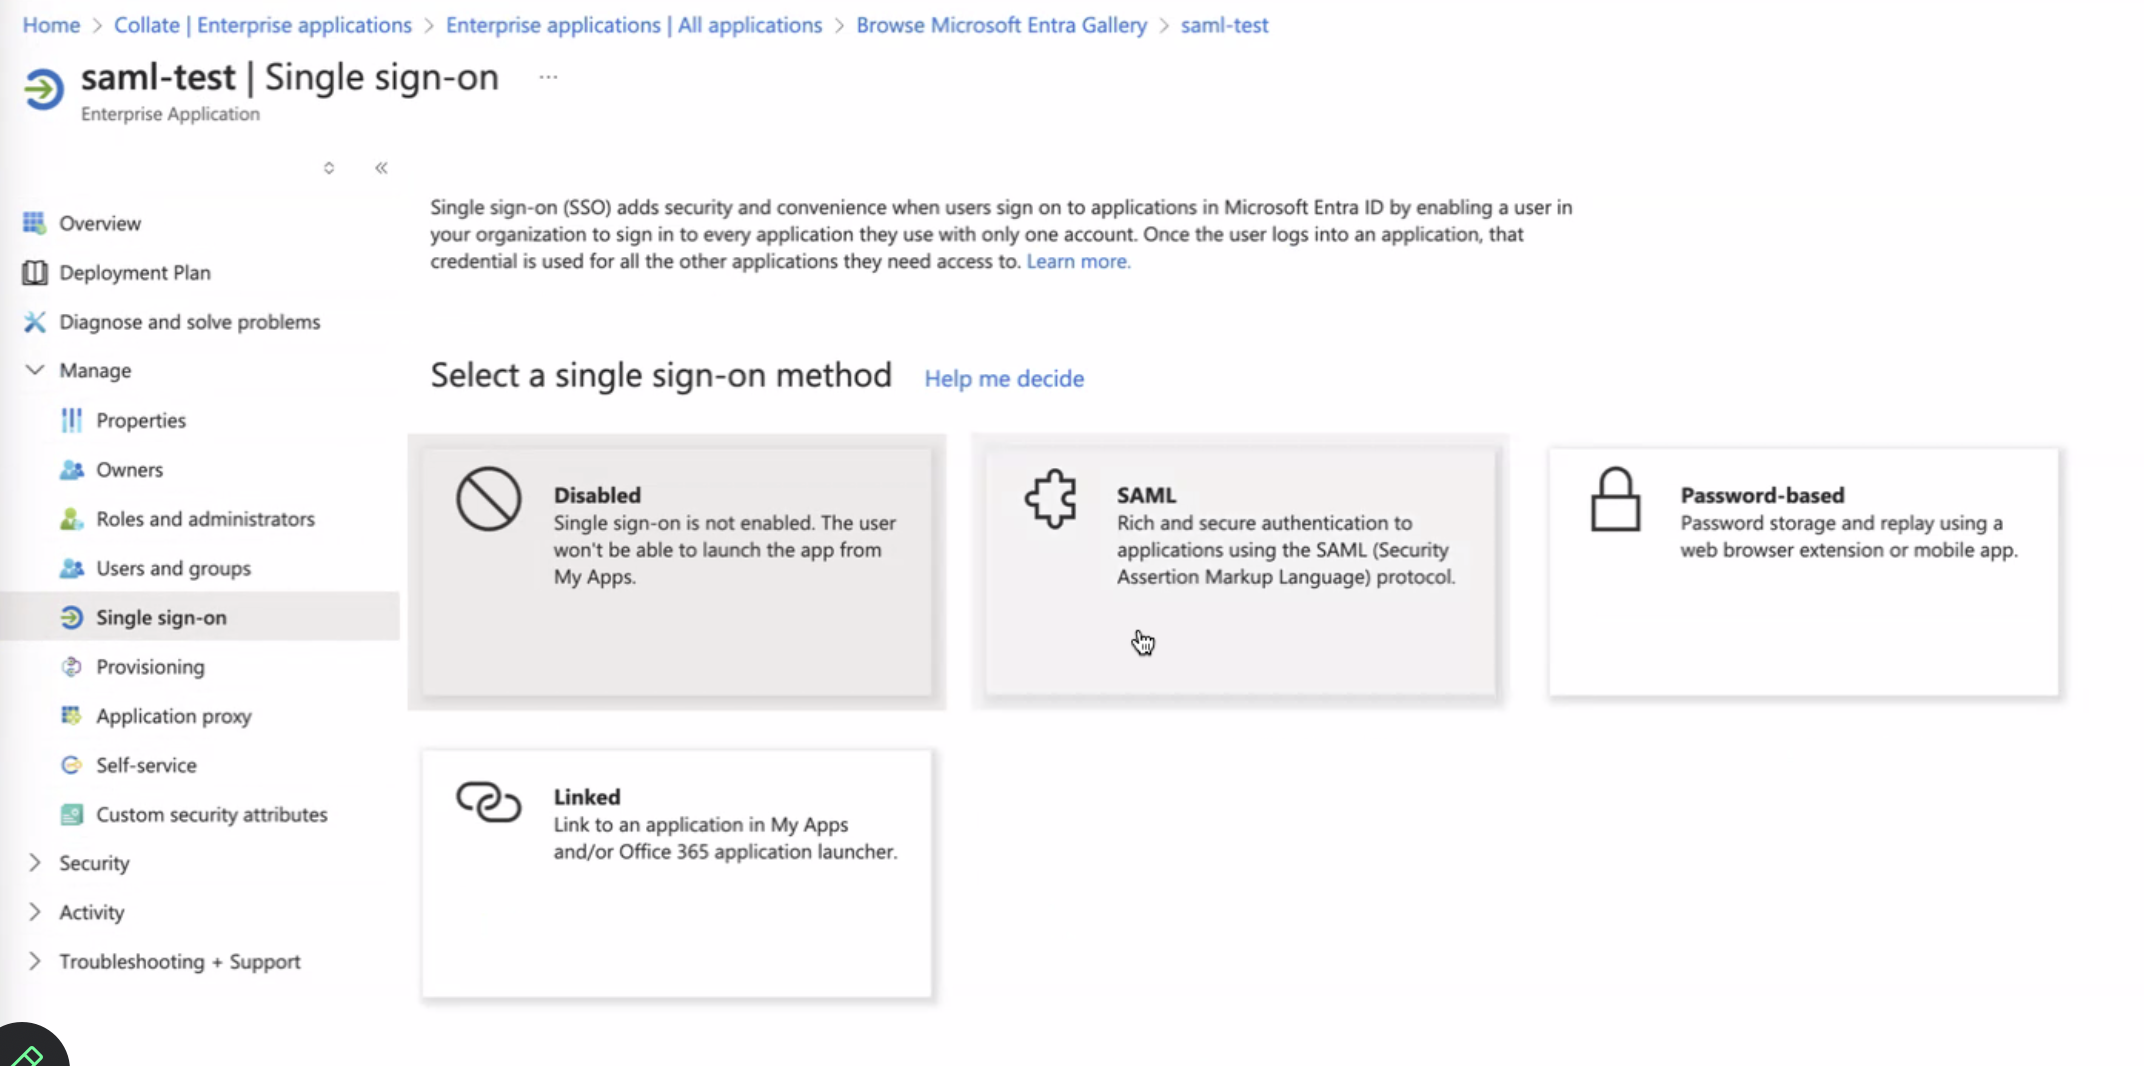
- Once you have the application created, open the app from list , and then click on
Single Sign-Onand thenSAML.
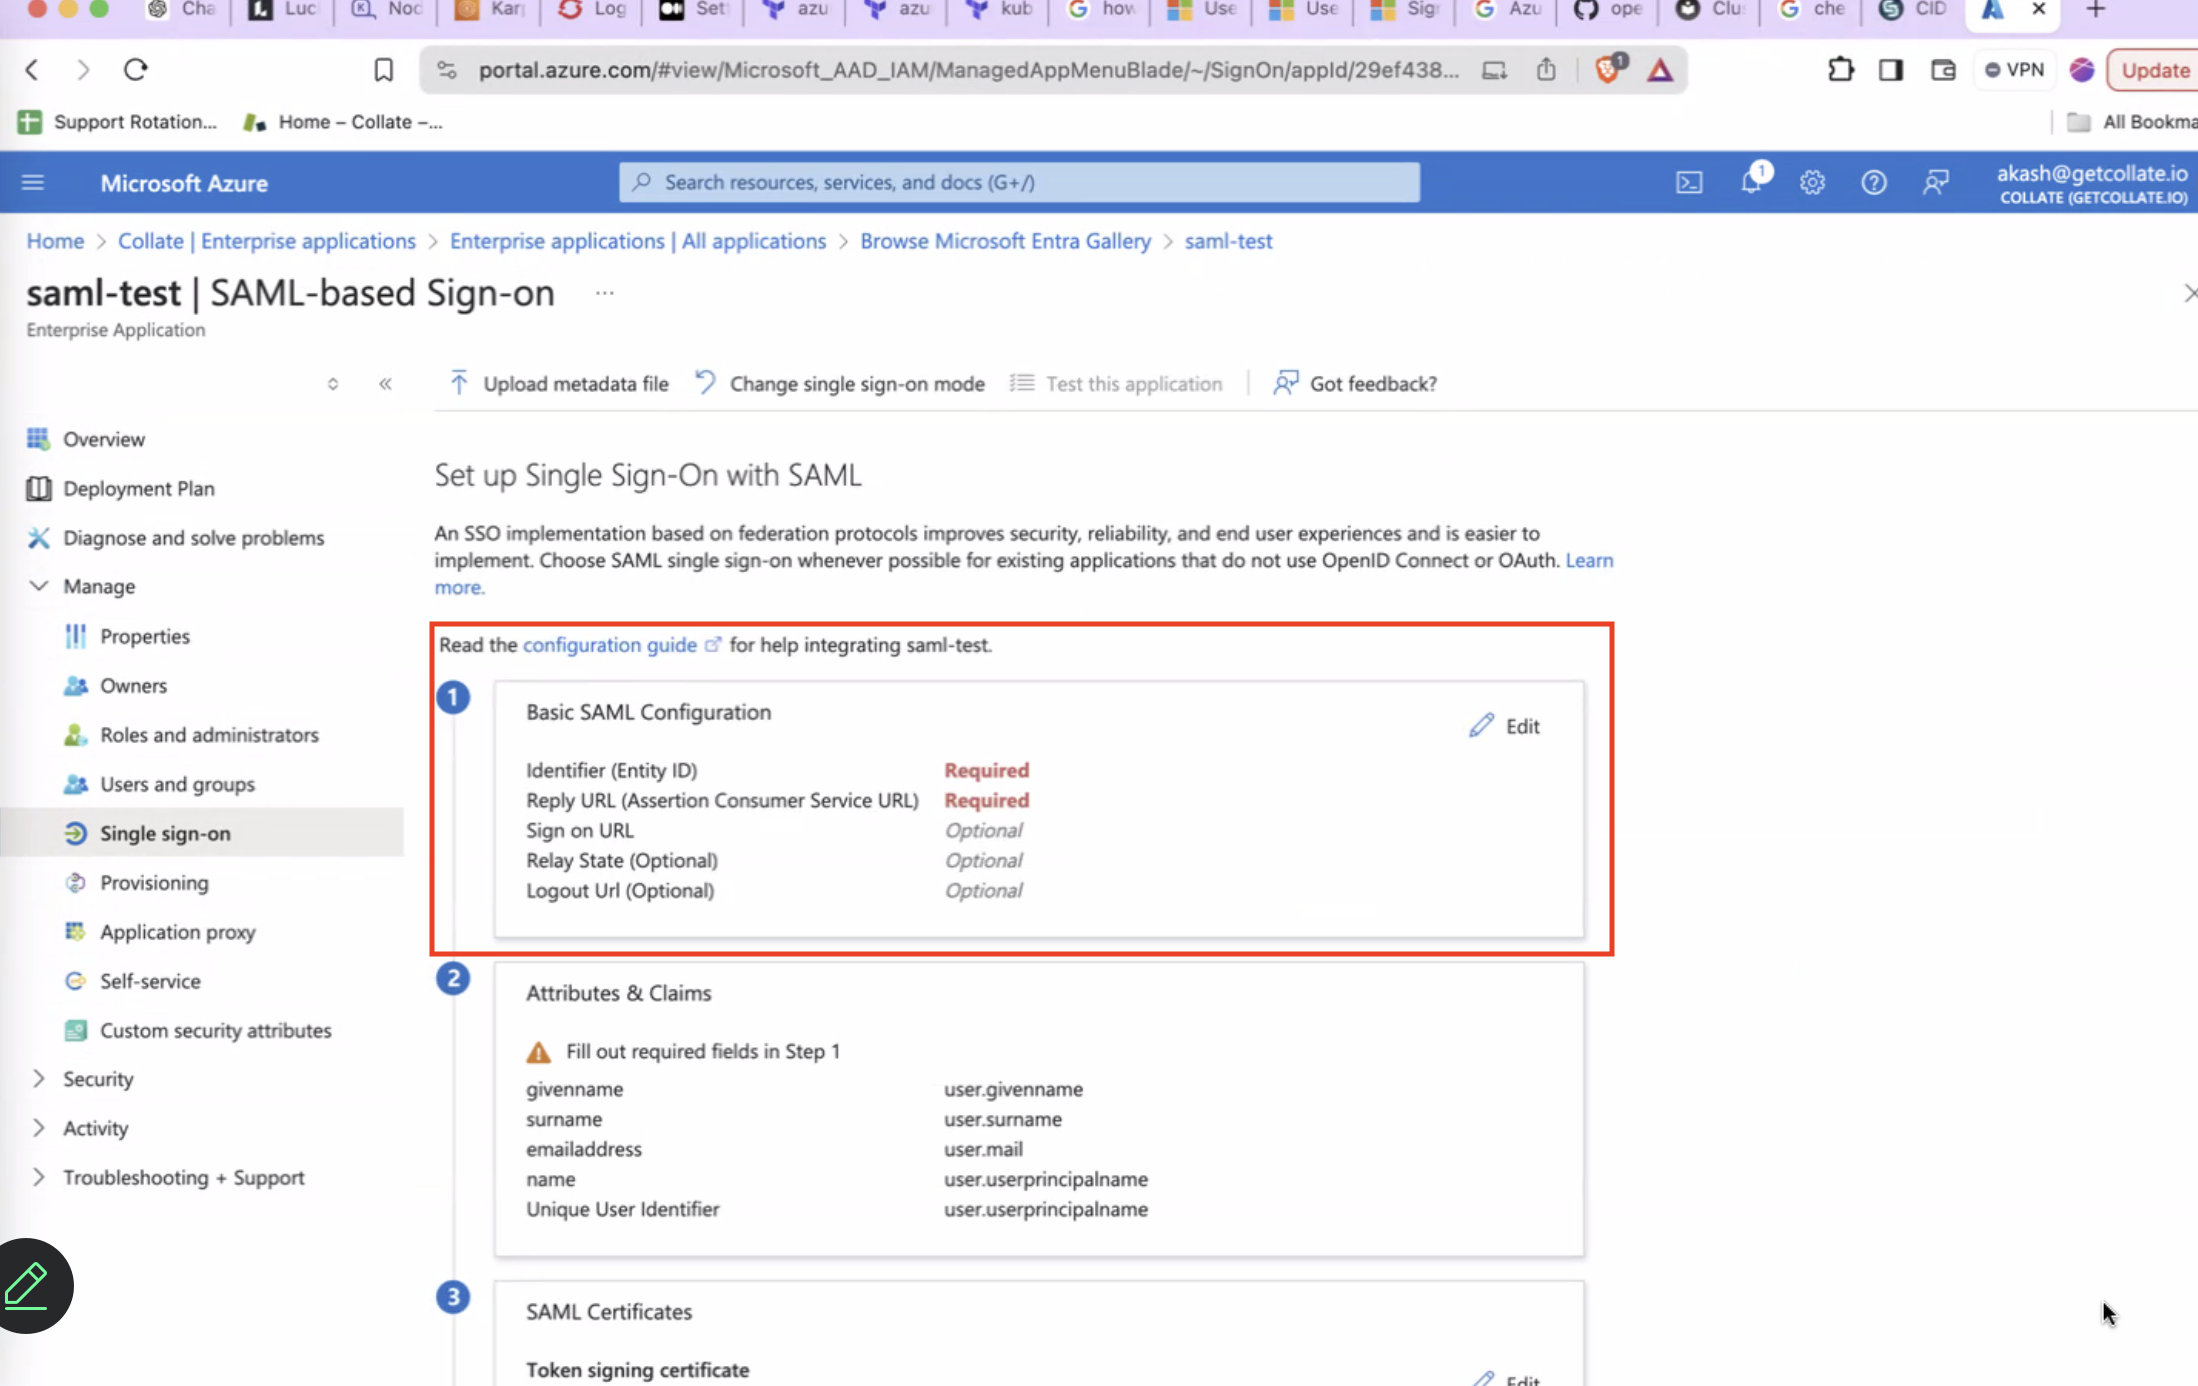
- Edit
Basic SAML Configurationand populate the values as shown below forEntityIdandAssertion Consumer Service Url. These value should match the one configured with Openmetadata Server side forsamlConfiguration.sp.entityIdandsamlConfiguration.sp.acsrespectively. After this clickSave.
- Click on
Attributes and Claimsand click on theRequired Claim (NameId).
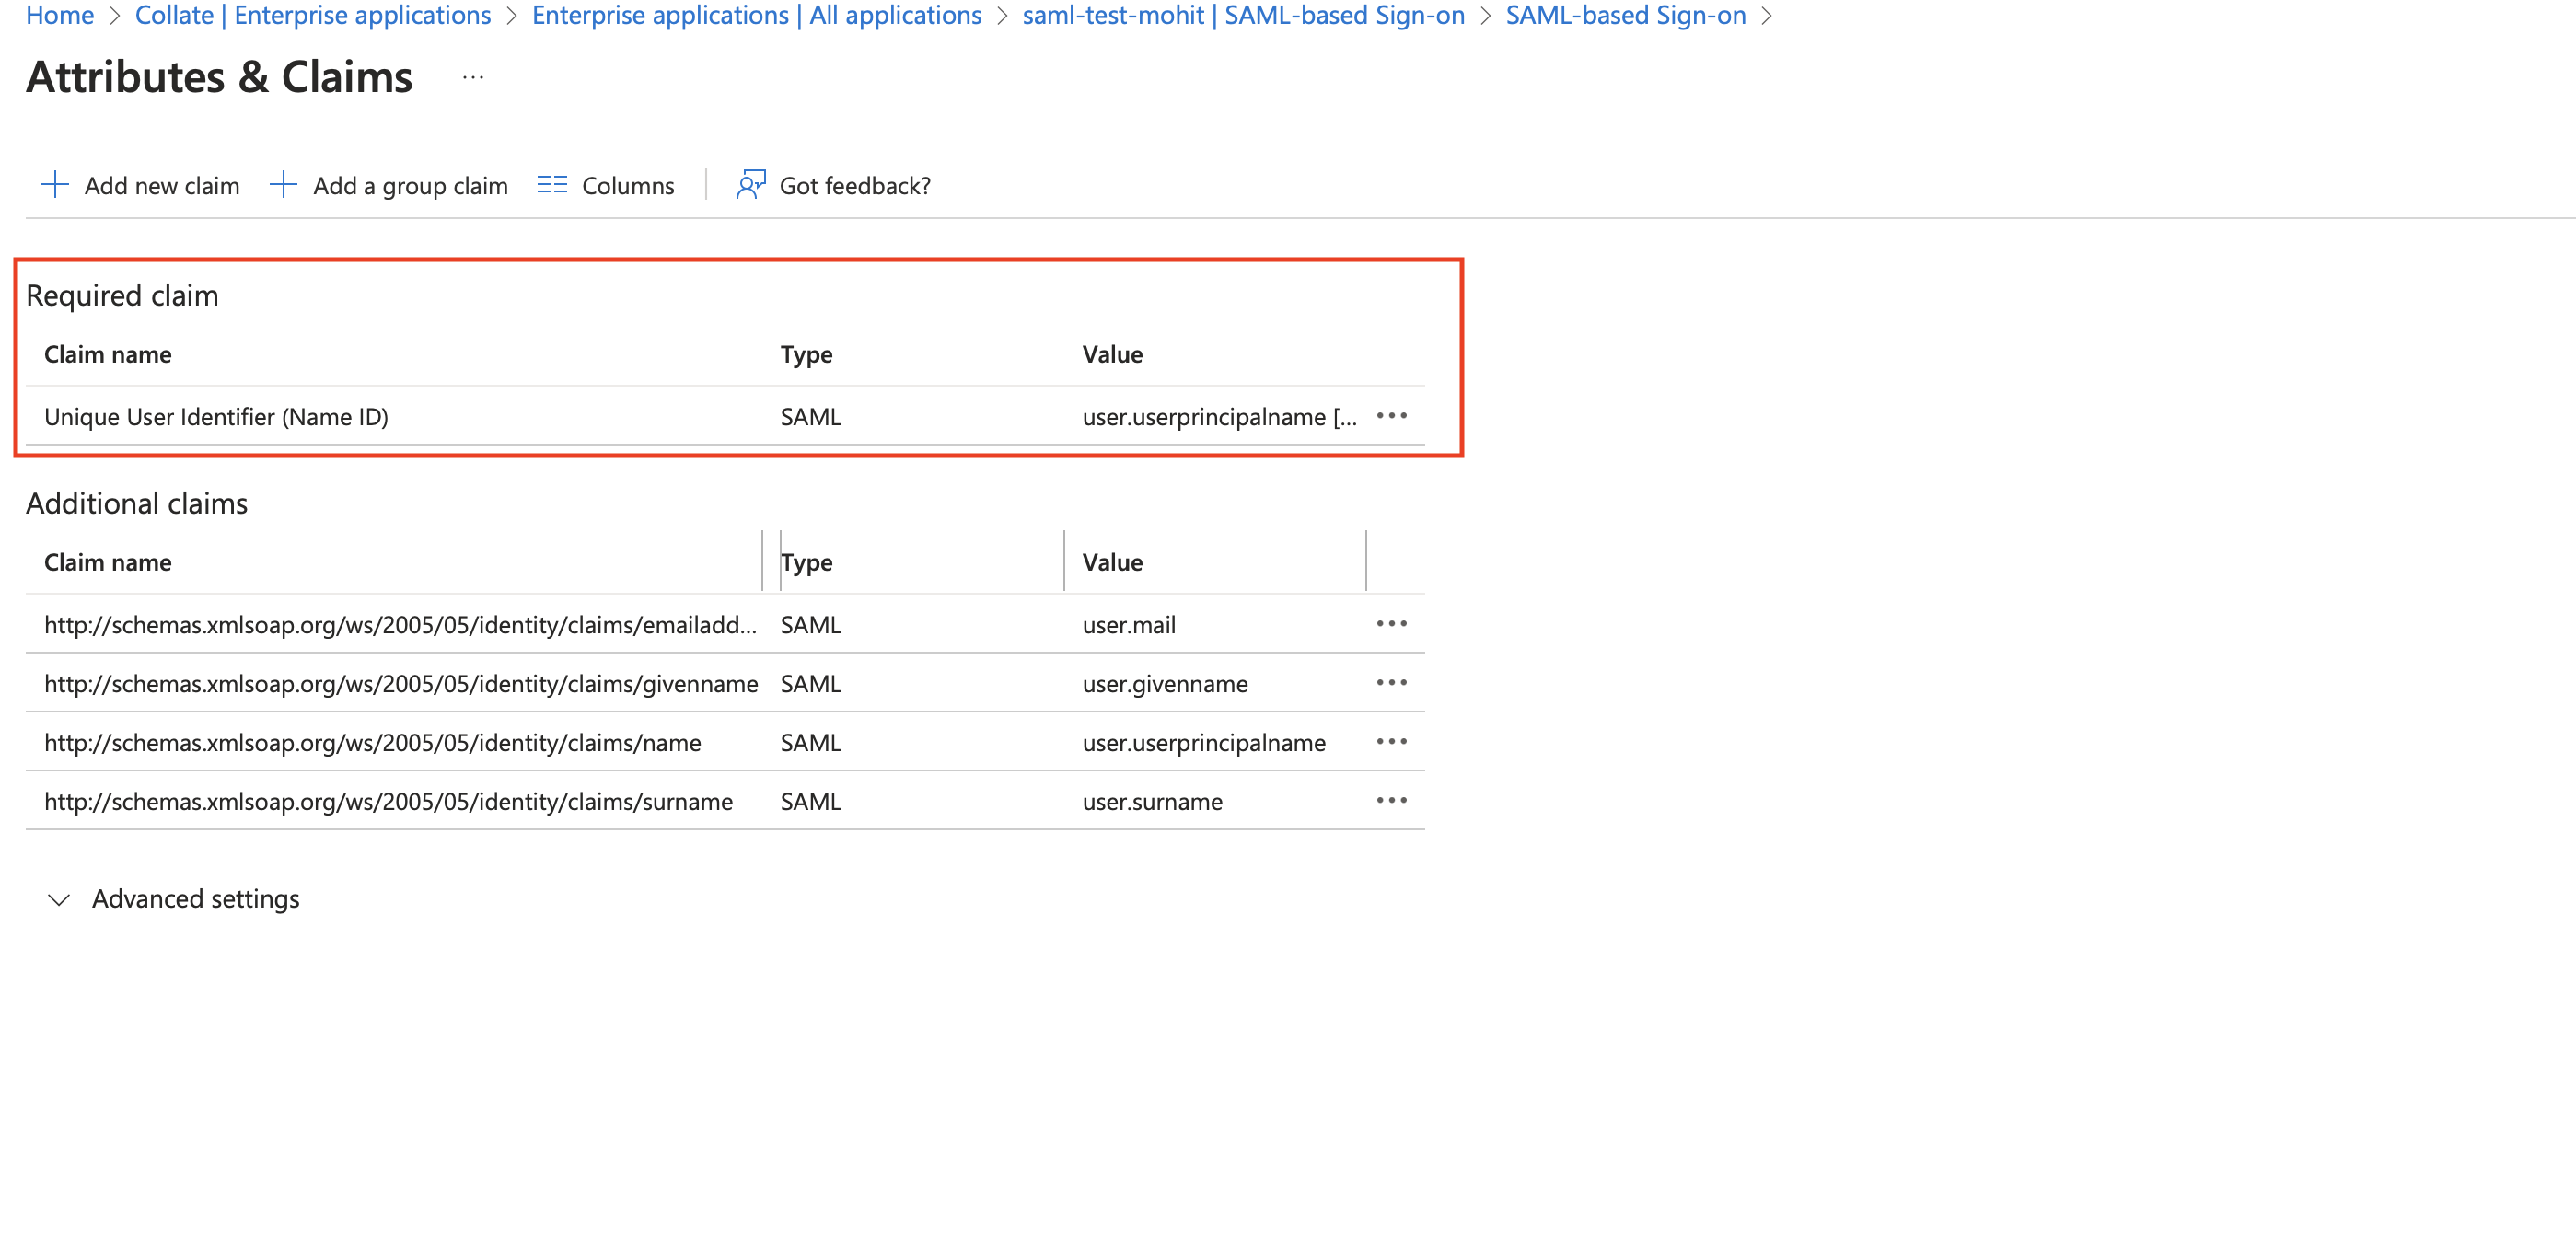
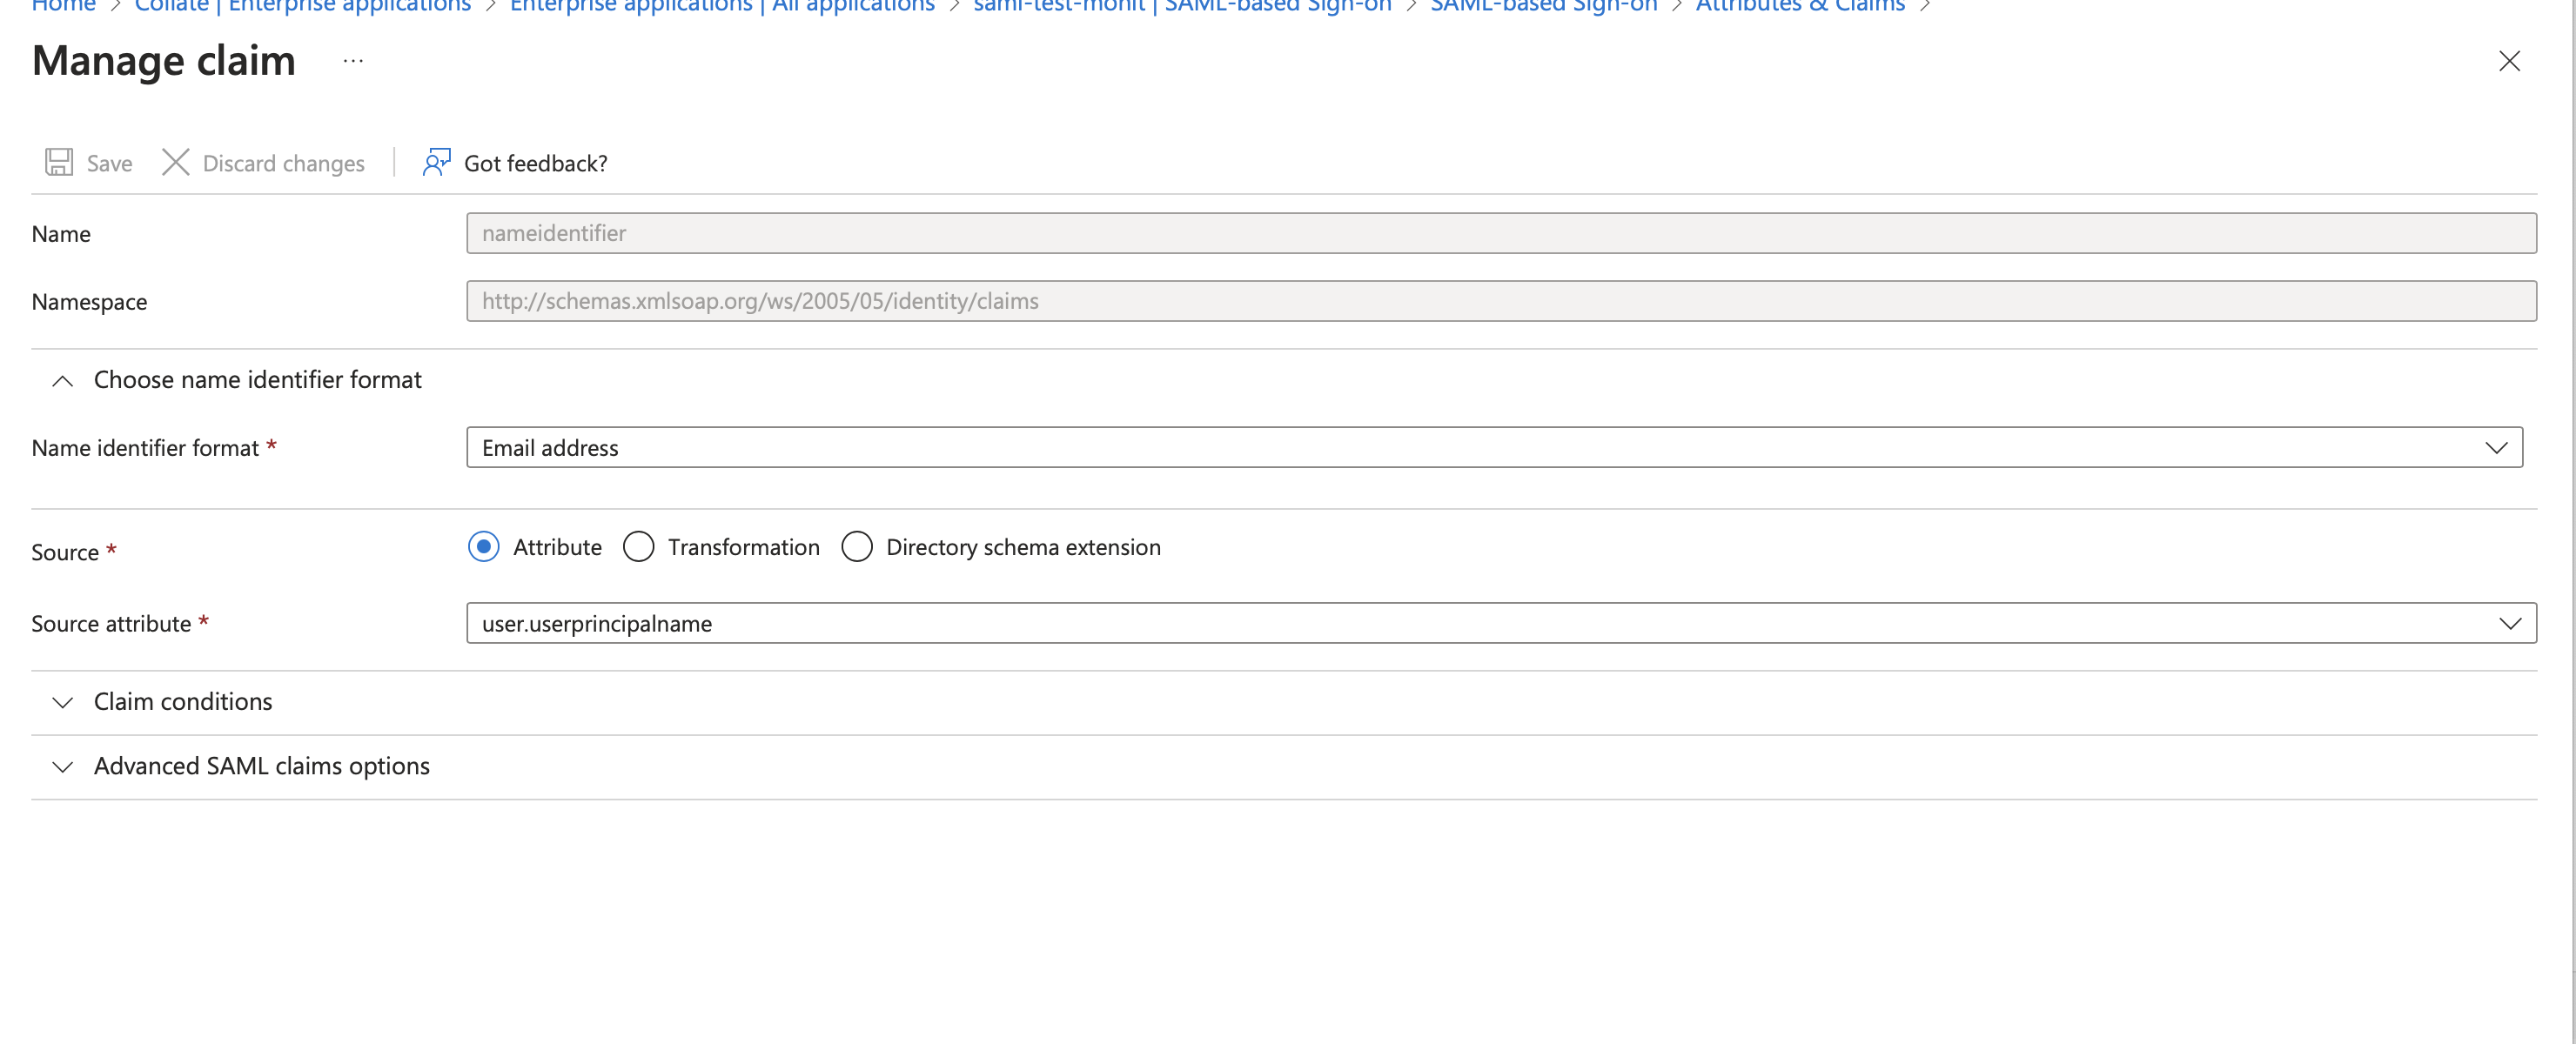
- You will see the values as below image, we need to set the value
Source Attributeto a user mail value claim from the IDP. Click onEditand then select theSource Attributeasuser.mailoruser.userprincipalname(in some cases this is also a mail) and then clickSave.
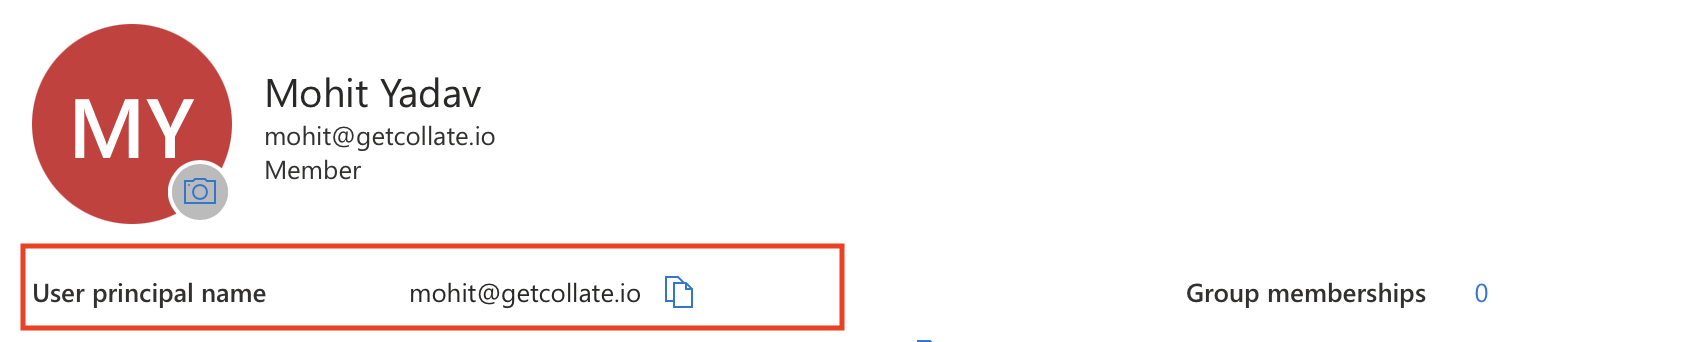
- To Confirm the claim value we can navigate to user page and check the value of the user. In my case as you can see User Princpal Name is a my mail which i want to use for Openmetadata , so for me
user.userprincipalnamewould be correct claim.
Security requirements for your production environment:
You must always communicate via signed Request for both request from SP to IDP and response from IDP to SP.
To do so we need to add SP certificate to IDP , so that IDP can validate the signed Auth Request coming from SP.
Generate the certificate using below command and then upload the certificate to IDP.
- Under
Single Sign-Onyou will see SAML Certificates, click onVerification Certificates.
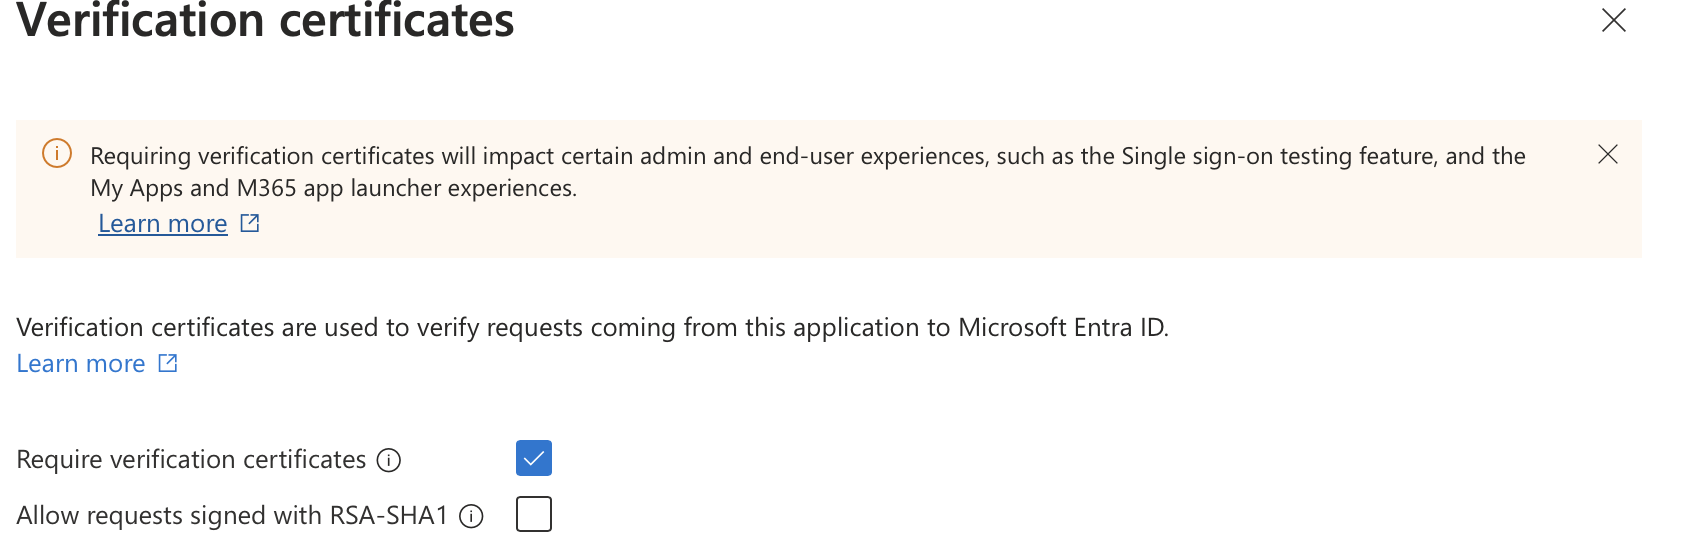
- You can then check the
Require Verification Certificatesand import the certification with .cer format we generated previously.
Step 2: Setup OpenMetadata Server
- Open the downloaded metadata xml file, and populate the following properties in
openmetadata.yml
- Populate the above config from xml metadata

IDP Config
entityID-> Populate it from Metadata XML Entity IDHTTP-Redirect SSO Login URL-> always select HTTP-Redirect Url for SSO Login UrlX509 Certificate-> This is also available in the IDP XML.NameIDFormat-> from MetadataXML NameIDFormatauthorityUrl-> set as {http}/{https}://{domain}:{port}/api/v1/saml/loginSP Config
entityId-> -> set as {http}/{https}://{domain}:{port}/api/v1/saml/acsacs-> Assertion Consumer Url , set as {http}/{https}://{domain}:{port}/api/v1/saml/acsspX509Certificate-> set to your X509 Signing Keycallback-> set as {http}/{https}://{domain}/api/v1/saml/callback
- Security Parameters can be configured in case we want to have signed or encrypted or both assertions. In any case we decided to use above config for security then it is mandatory to provide keystore config, from where the system can load the signing certificate or Private Key for encryption.
- For production environment , it is always suggested to keep these true
Step 3: Setup JWT Configuration
- Follow the guide here for JWT Configuration Enable JWT Token.
Security requirements for your production environment:
- UPDATE the Private / Public keys used for the JWT Tokens the ones shipped with OM are for POC only.
Step 4: Start the server
- Start the OpenMetadata server. With
AUTHENTICATION_PROVIDERset to saml, you should be routed to the IDP upon sign-in.