Atlas

If you don't want to use the OpenMetadata Ingestion container to configure the workflows via the UI, then you can check the following docs to connect using Airflow SDK or with the CLI.

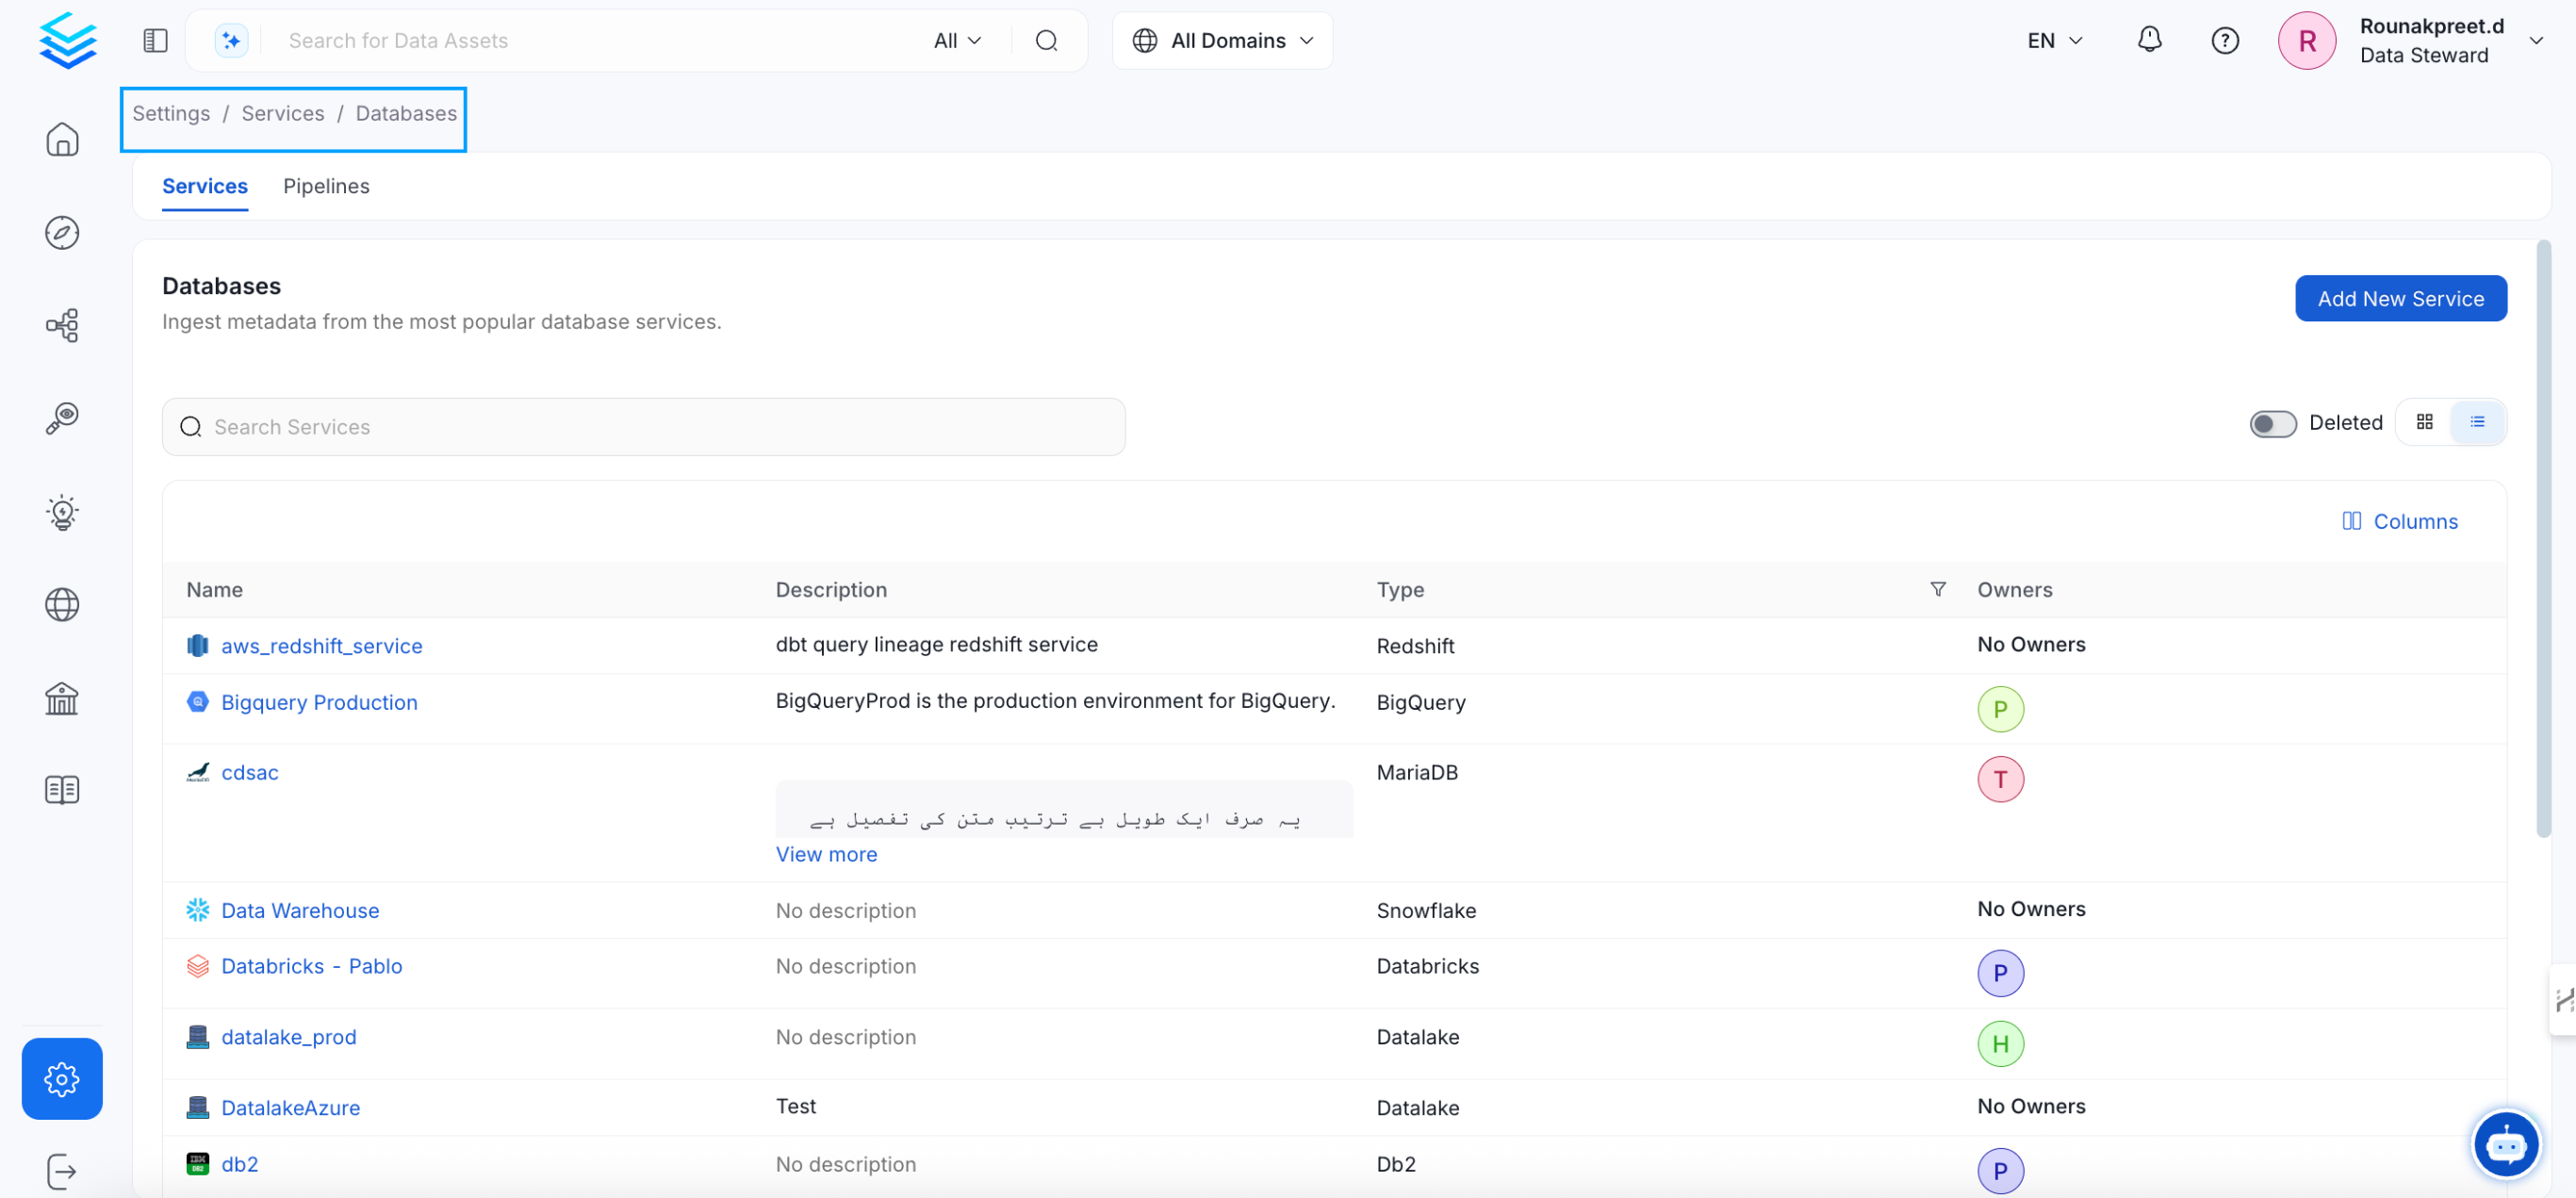
You need to create database services before ingesting the metadata from Atlas. In OpenMetadata we have to create database services with the same name as the source.

To create database service follow these steps:

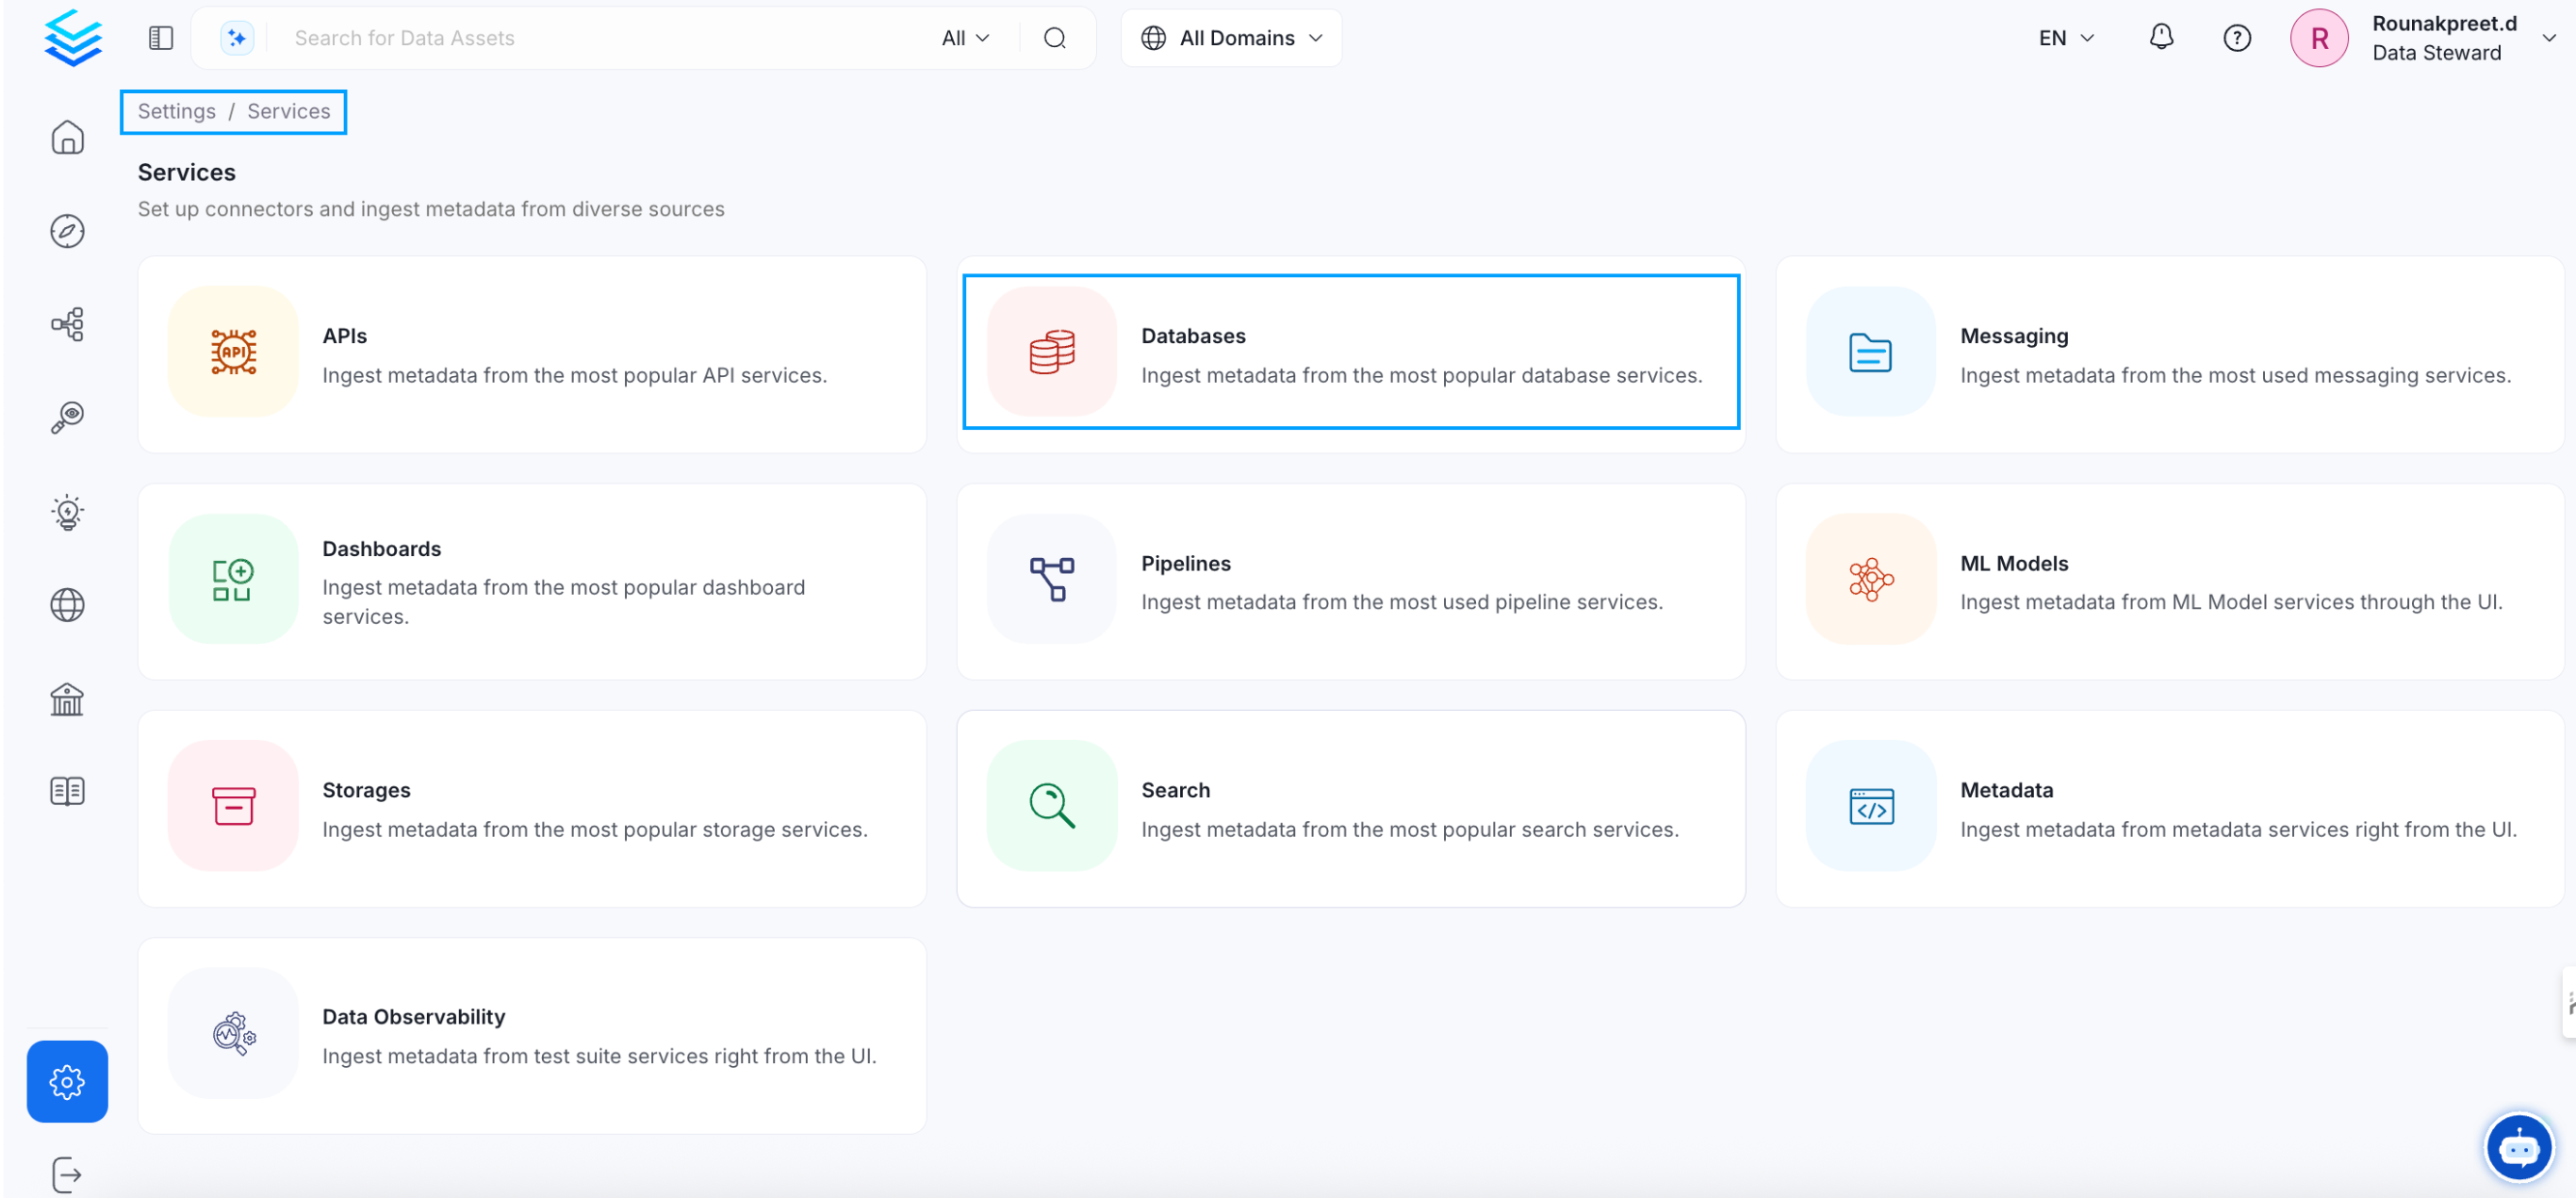
The first step is ingesting the metadata from your sources. Under Settings, you will find a Services link an external source system to OpenMetadata. Once a service is created, it can be used to configure metadata, usage, and profiler workflows.To visit the Services page, select Services from the Settings menu.serv

db-service

Navigate to Settings >> Services

Click on the Add New Service button to start the Service creation.

Create a new service

Add a new Service from the Services page

For ingestion, please click here

service name

service name

Pass the service name in your config like given below

  hostPort: http://localhost:10000
  username: username
  password: password
  databaseServiceName: ["local_hive"] # pass database service here
  messagingServiceName: [] # pass messaging service here
  entity_type: Table # this entity must be present on atlas

All connectors are now defined as JSON Schemas. Here you can find the structure to create a connection to Atlas.

In order to create and run a Metadata Ingestion workflow, we will follow the steps to create a YAML configuration able to connect to the source, process the Entities if needed, and reach the OpenMetadata server.

The workflow is modeled around the following JSON Schema.

Note

  • Every table ingested will have a tag name AtlasMetadata.atlas_table, that can be found under explore section on top left corner

The first step is ingesting the metadata from your sources. Under Settings, you will find a Services link an external source system to OpenMetadata. Once a service is created, it can be used to configure metadata, usage, and profiler workflows.To visit the Services page, select Services from the Settings menu.serv

db-service

Navigate to Settings >> Services

Click on the Add New Service button to start the Service creation.

Create a new service

Add a new Service from the Services page

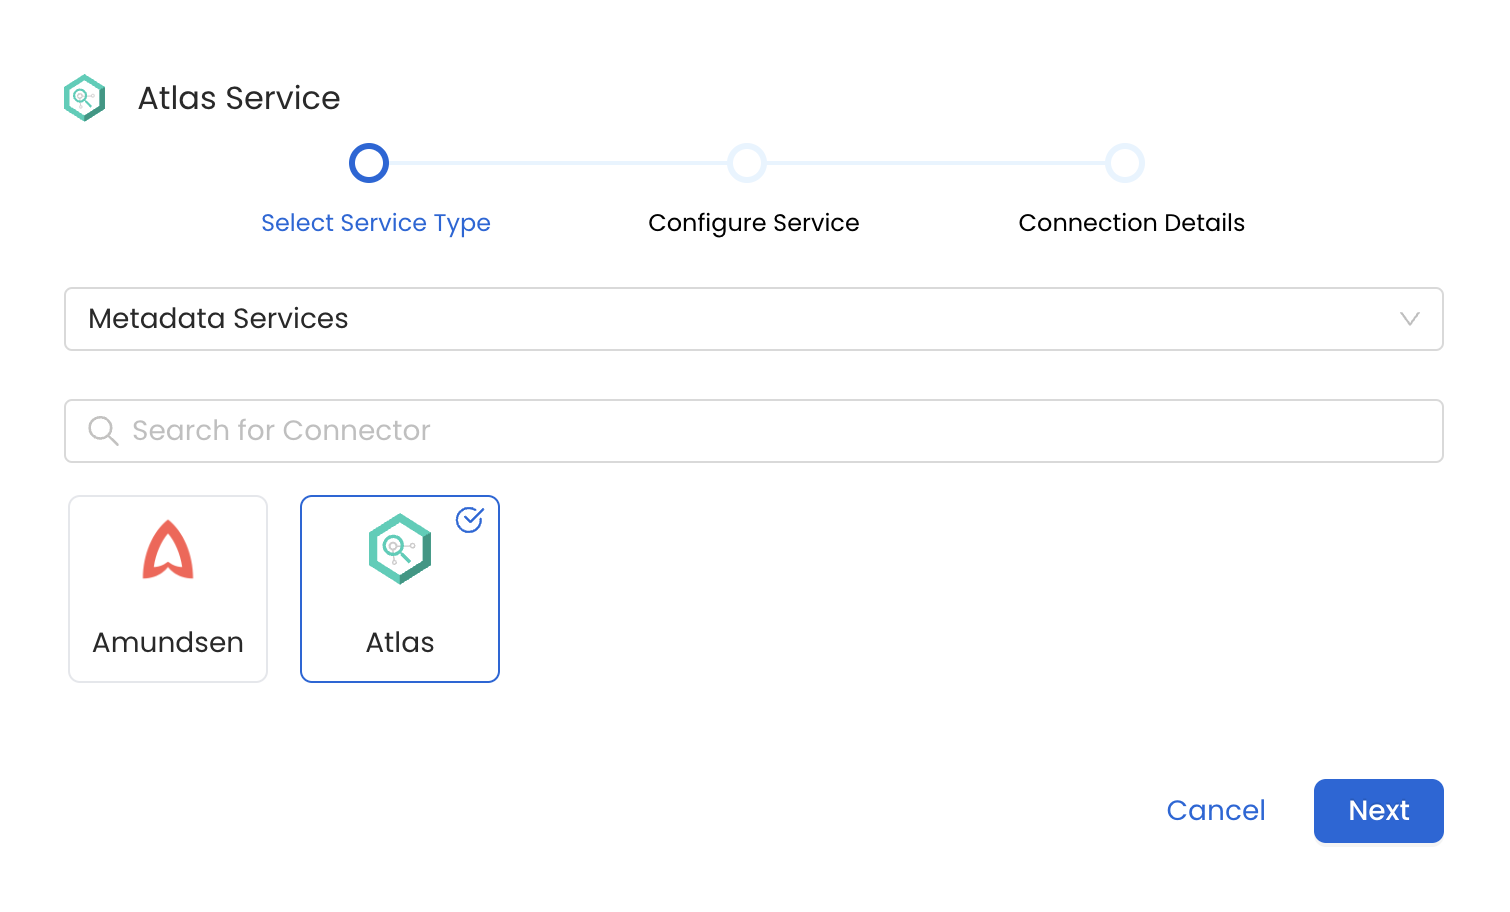
Select Atlas as the service type and click Next.

Select Service

Select your service from the list

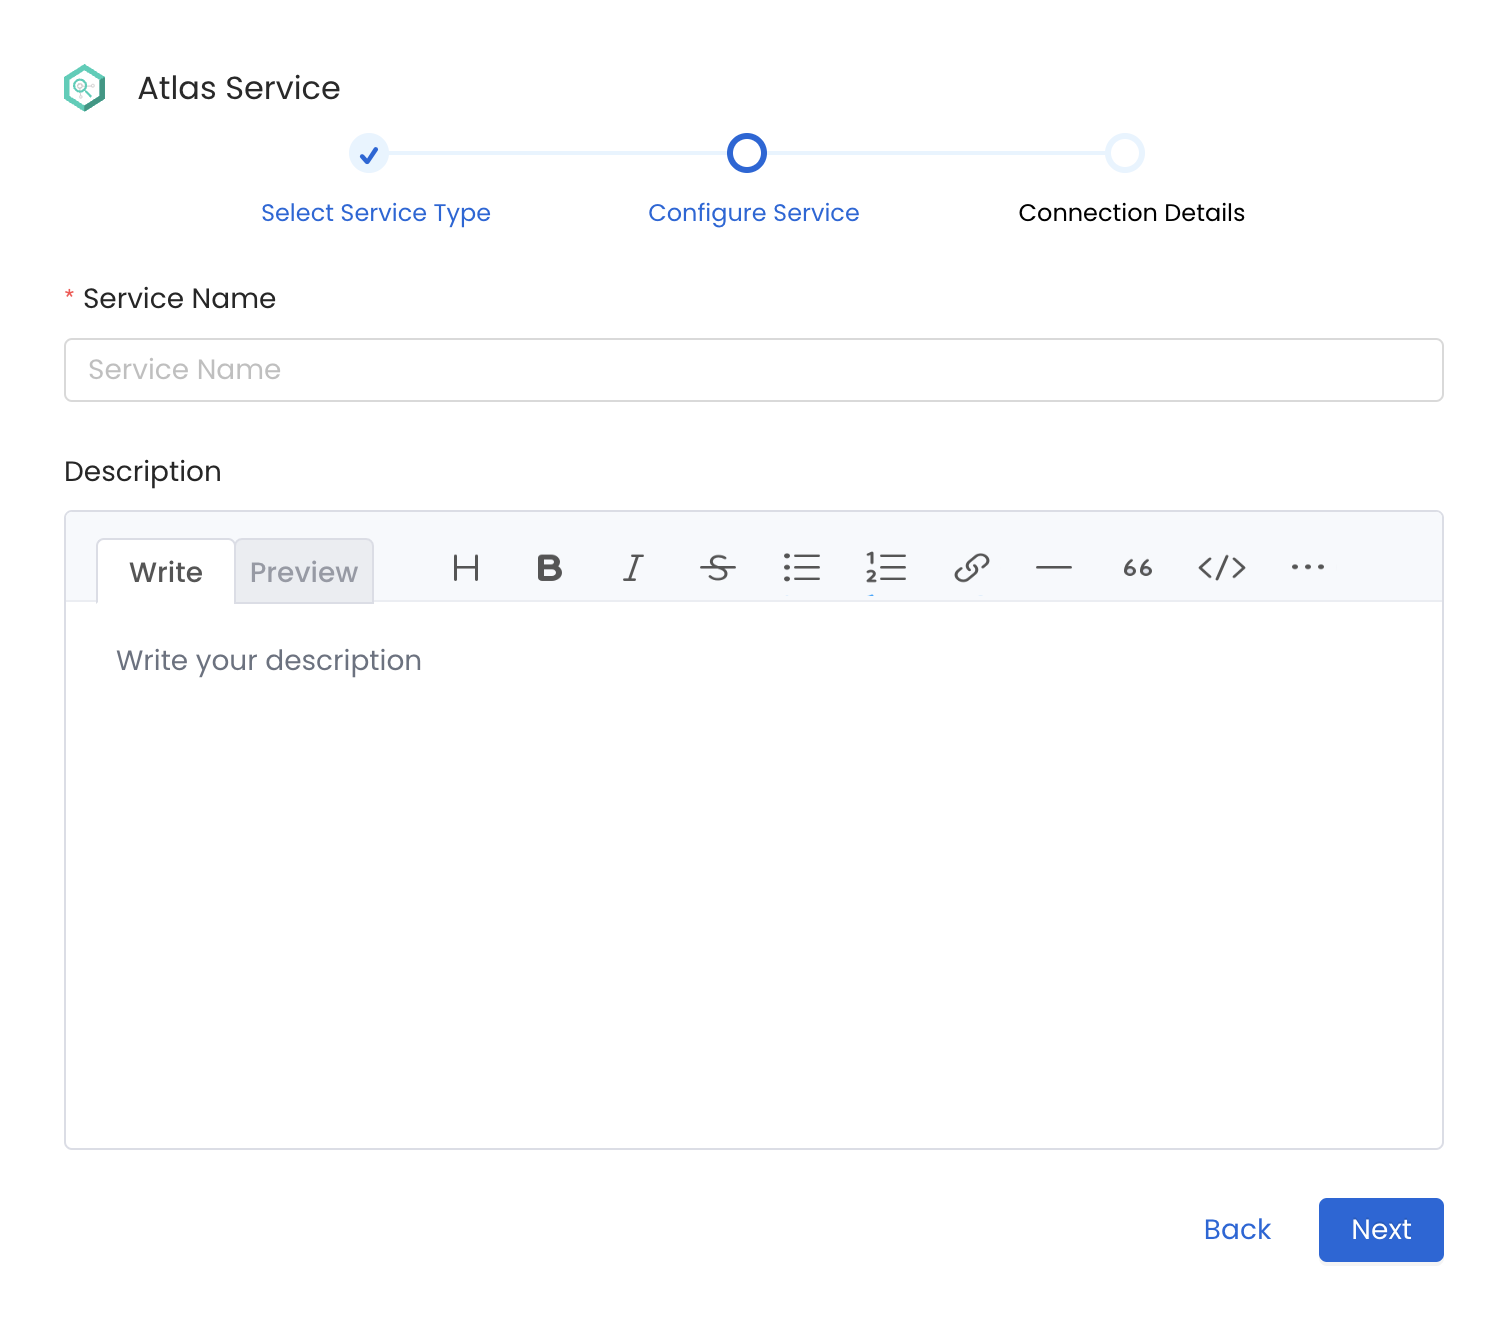
Provide a name and description for your service as illustrated below.

Service Name

OpenMetadata uniquely identifies services by their Service Name. Provide a name that distinguishes your deployment from other services, including the other {connector} services that you might be ingesting metadata from.

Add New Service

Provide a Name and description for your Service

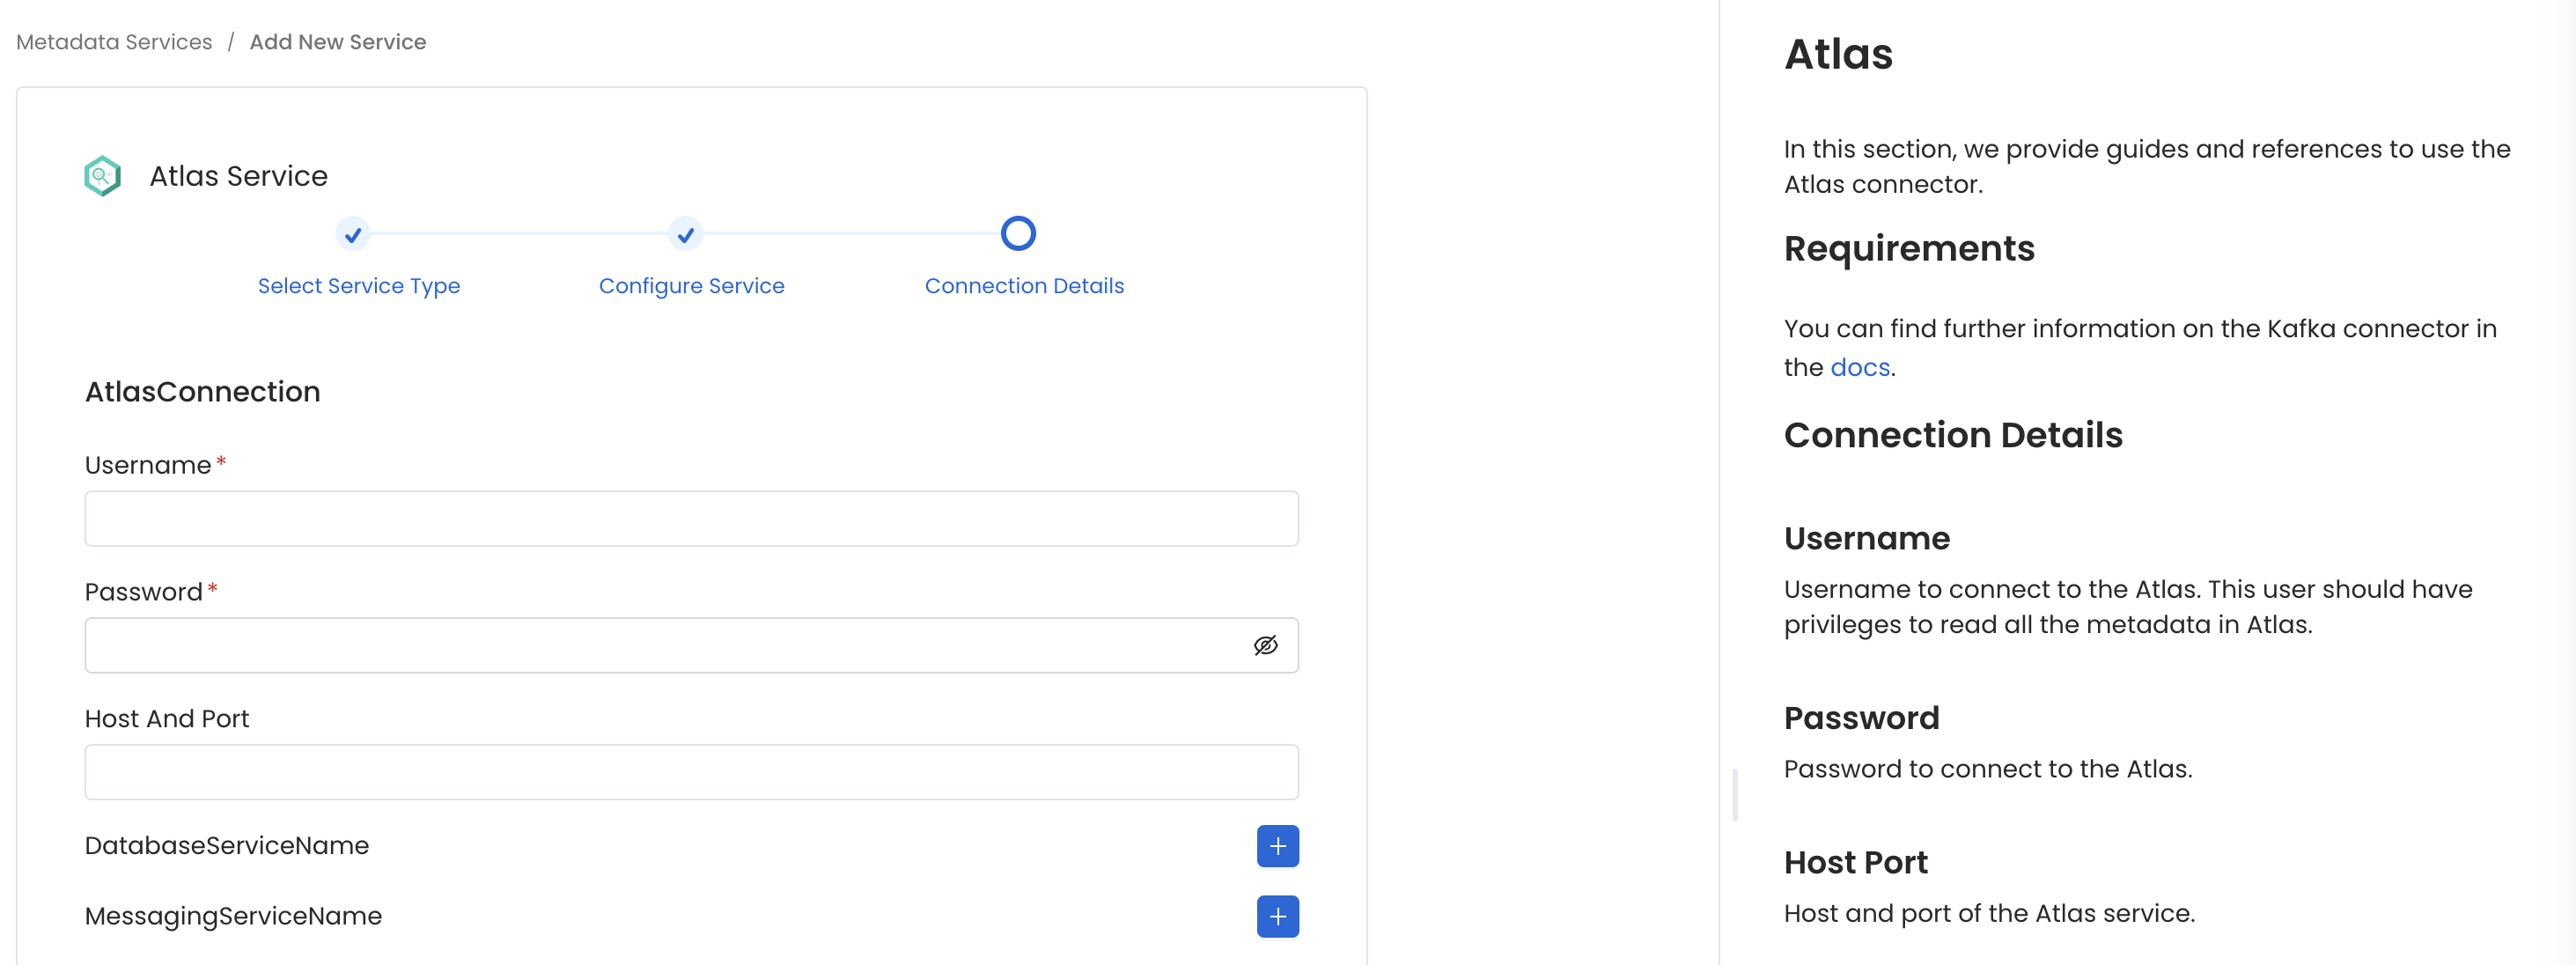
In this step, we will configure the connection settings required for this connector. Please follow the instructions below to ensure that you've configured the connector to read from your atlas service as desired.

Configure service connection

Configure the service connection by filling the form

Once the credentials have been added, click on Test Connection and Save the changes.

Test Connection

Test the connection and save the Service

Connection Options

  • Host and Port: Host and port of the Atlas service.
  • Username: username to connect to the Atlas. This user should have privileges to read all the metadata in Atlas.
  • Password: password to connect to the Atlas.
  • databaseServiceName: source database of the data source(Database service that you created from UI. example- local_hive)
  • messagingServiceName: messaging service source of the data source.
  • Entity_Type: Name of the entity type in Atlas.

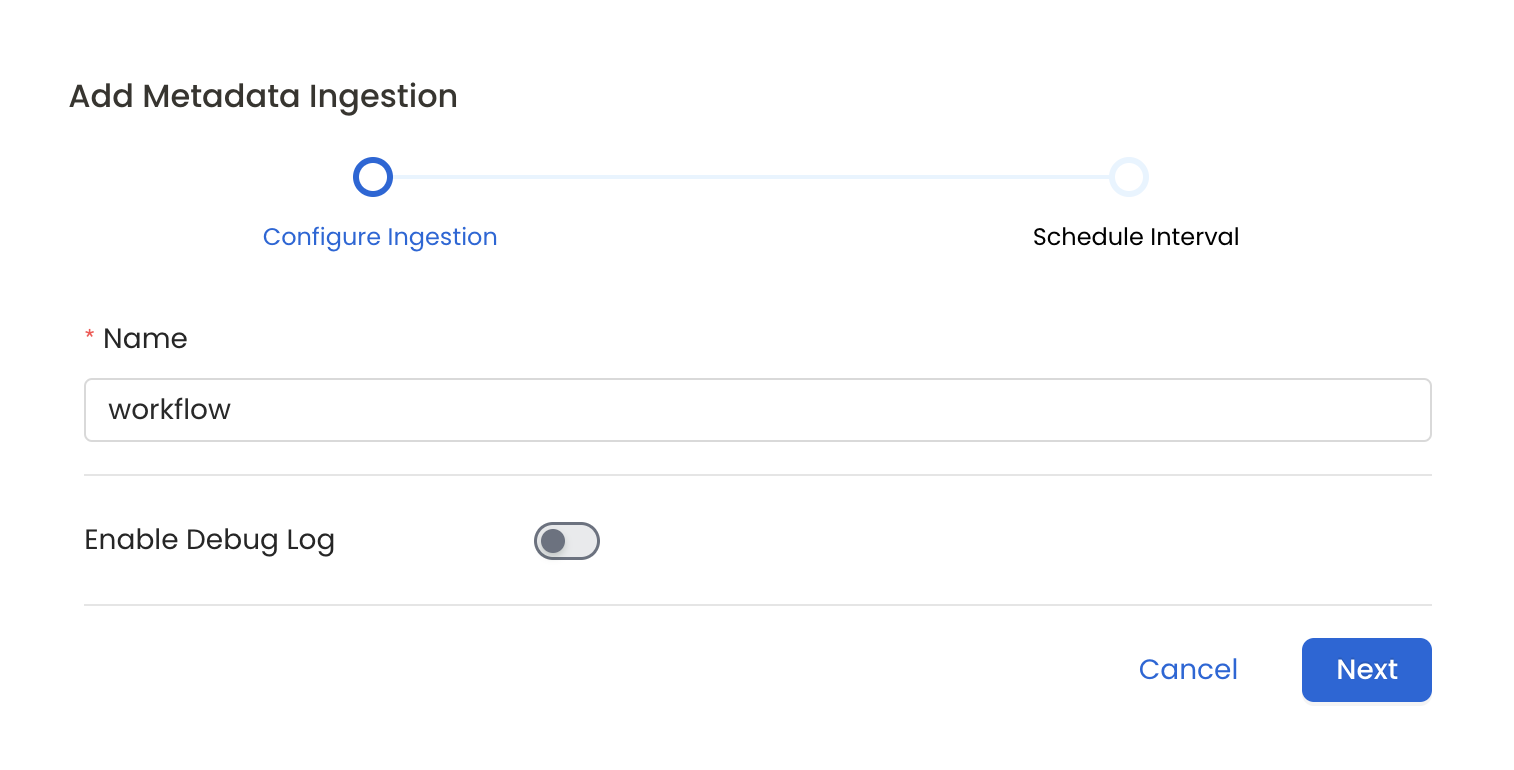
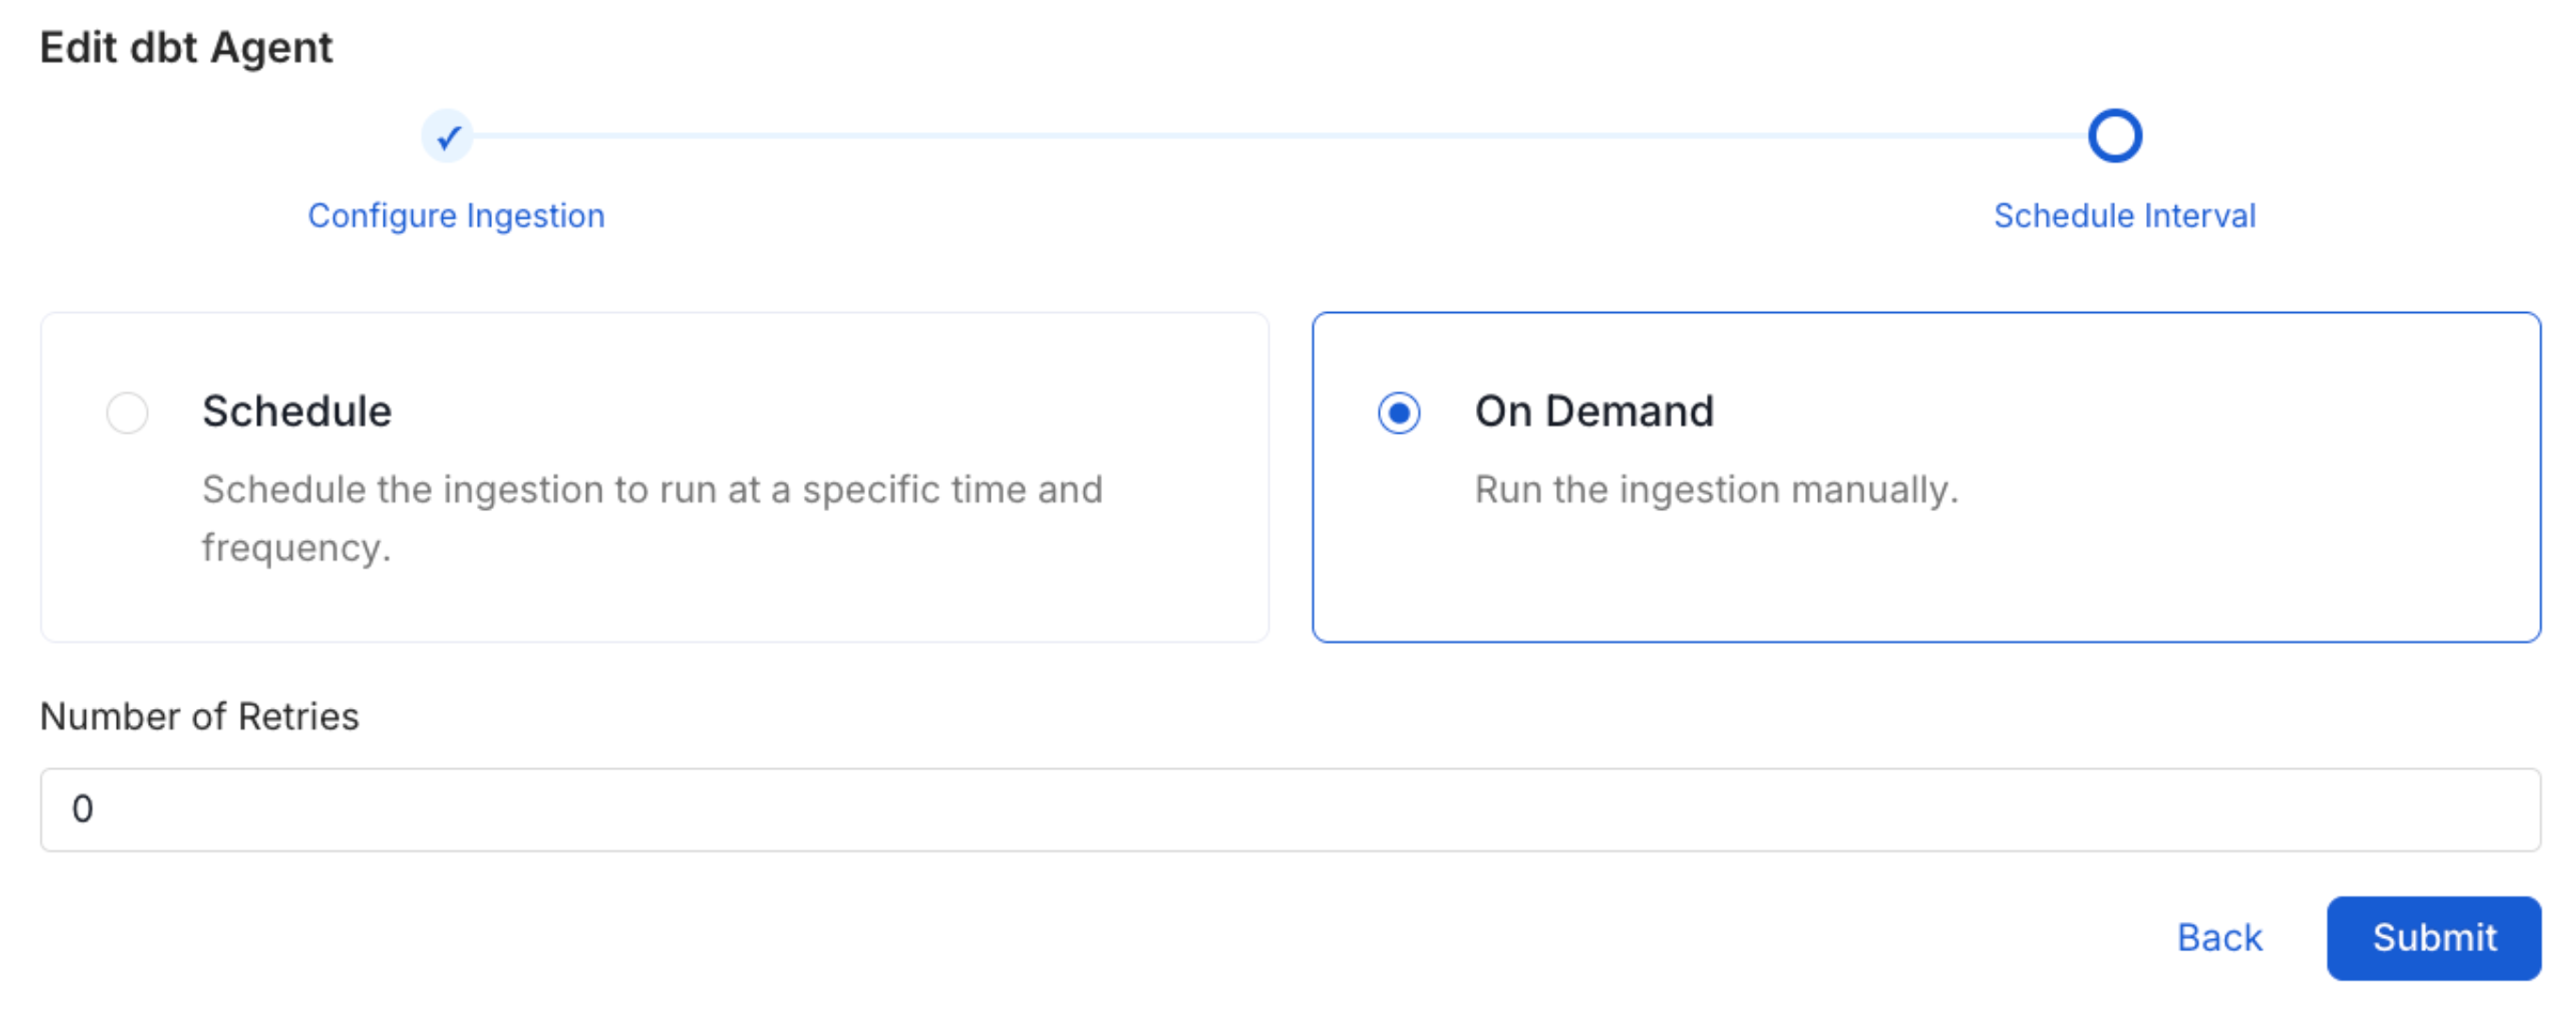
Scheduling can be set up at an hourly, daily, or weekly cadence. The timezone is in UTC. Select a Start Date to schedule for ingestion. It is optional to add an End Date.

Review your configuration settings. If they match what you intended, click Deploy to create the service and schedule metadata ingestion.

If something doesn't look right, click the Back button to return to the appropriate step and change the settings as needed.

Schedule the Workflow

Schedule the Ingestion Pipeline and Deploy

After configuring the workflow, you can click on Deploy to create the pipeline.
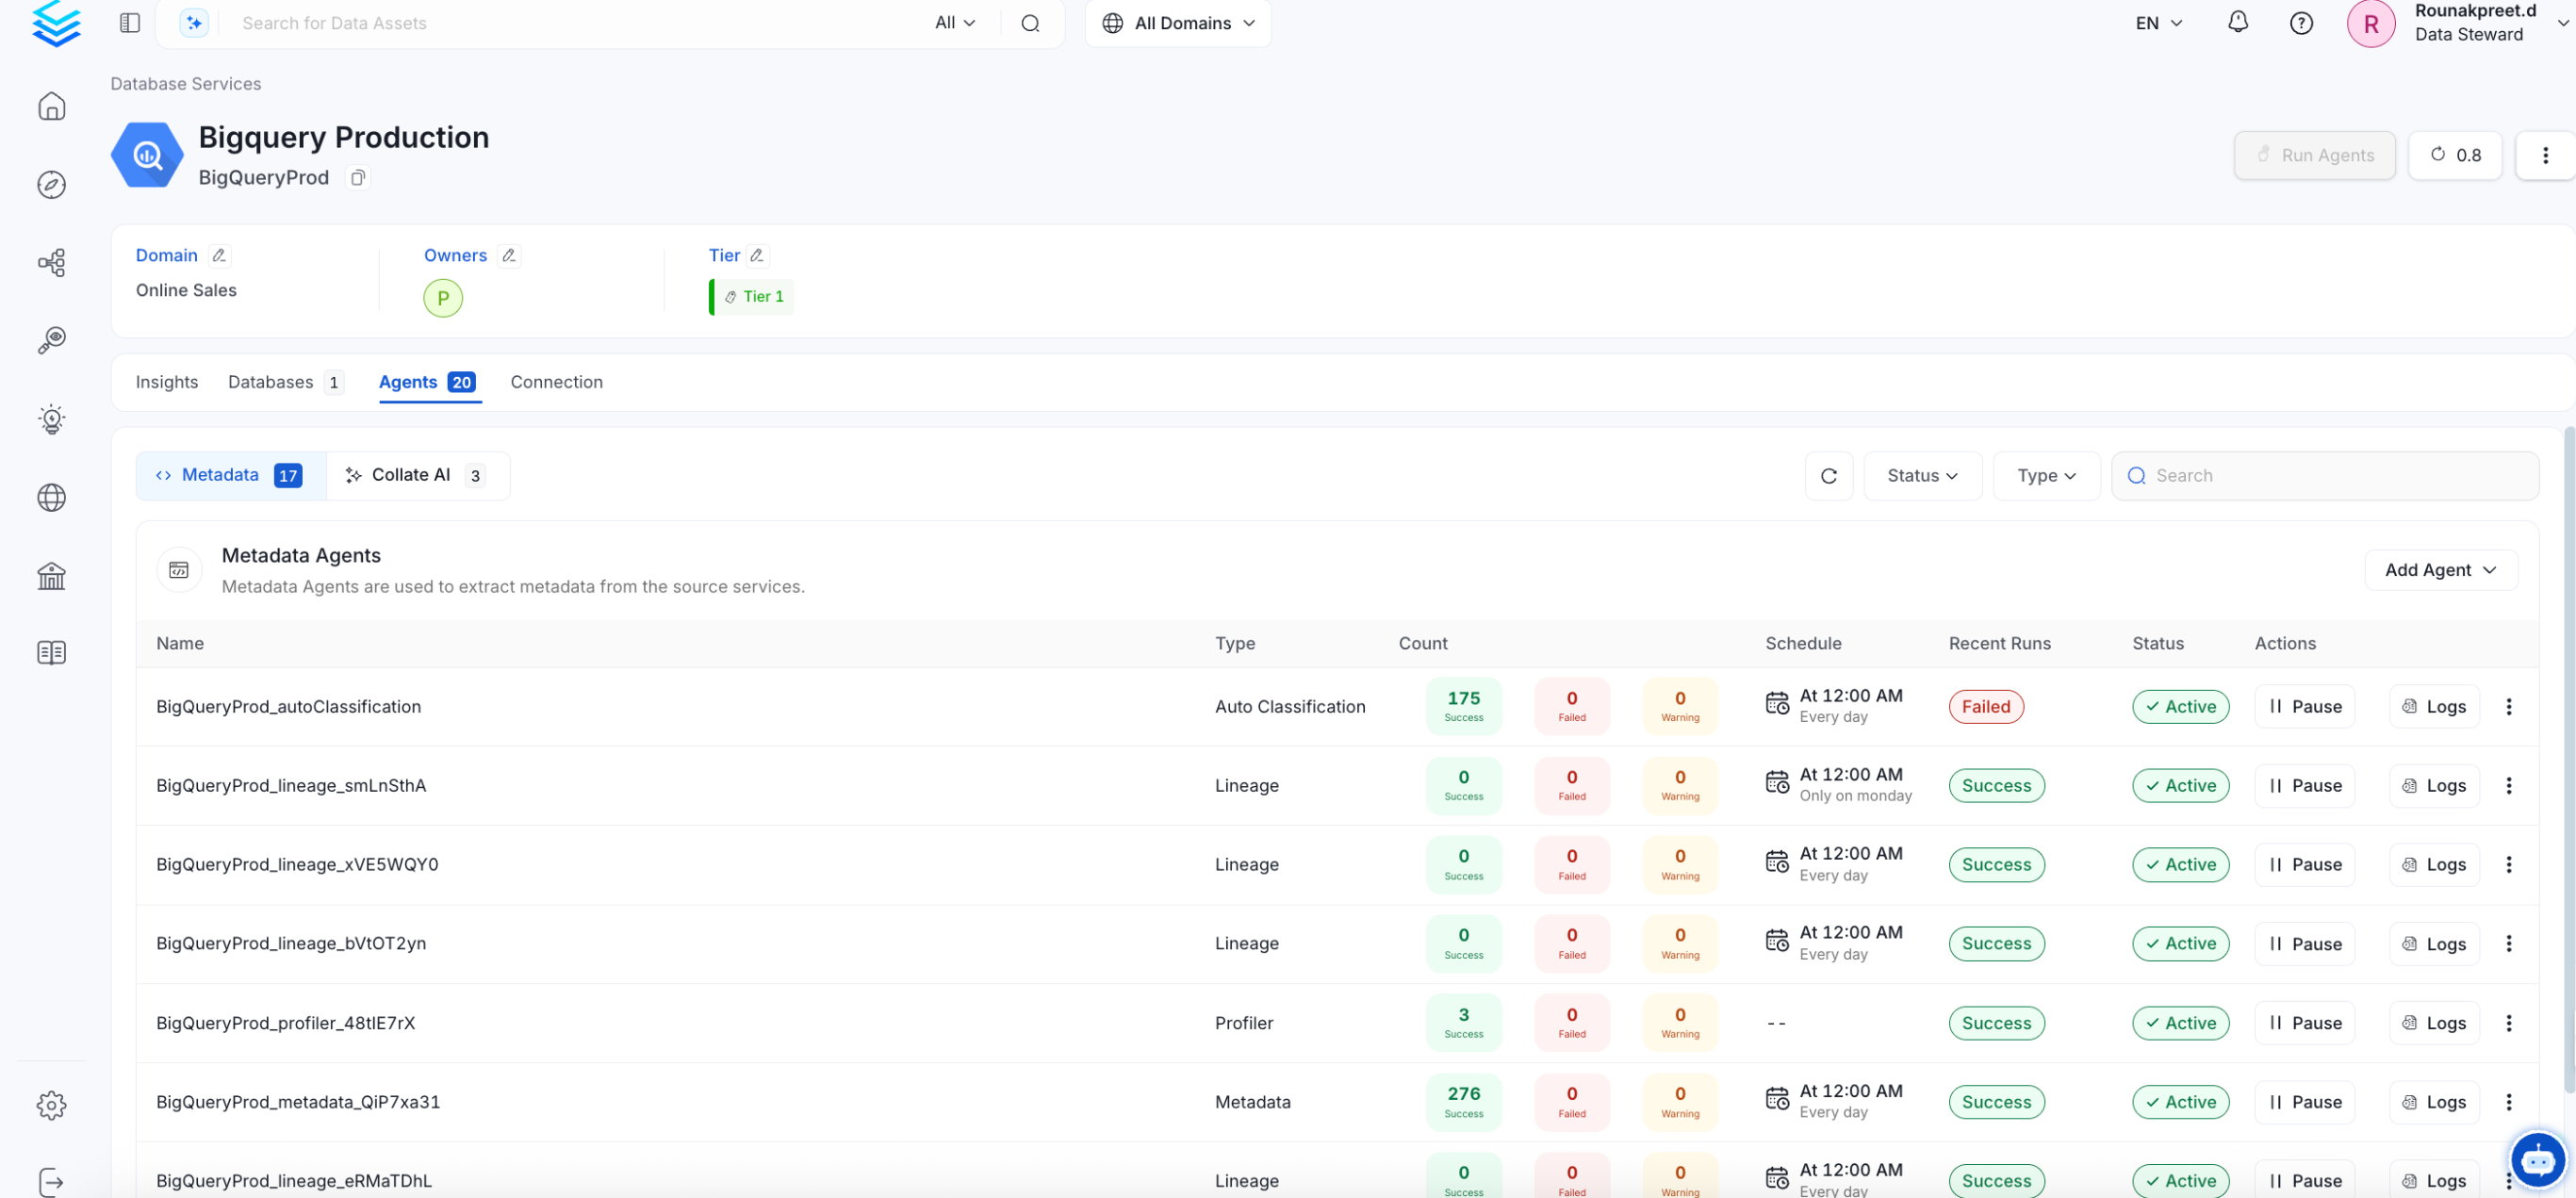
Once the workflow has been successfully deployed, you can view the Ingestion Pipeline running from the Service Page.

View Ingestion Pipeline

View the Ingestion Pipeline from the Service Page

If there were any errors during the workflow deployment process, the Ingestion Pipeline Entity will still be created, but no workflow will be present in the Ingestion container.

You can then edit the Ingestion Pipeline and Deploy it again.

Workflow Deployment Error

Edit and Deploy the Ingestion Pipeline

From the Connection tab, you can also Edit the Service if needed.

This is a sample config for Atlas:

source:
  type: Atlas
  serviceName: local_atlas
  serviceConnection:
    config:
      type: Atlas
      hostPort: http://localhost:10000
      username: username
      password: password
      databaseServiceName: ["local_hive"] # create database service and messaging service and pass `service name` here
      messagingServiceName: []
      entity_type: Table
  sourceConfig:
    config:
      type: DatabaseMetadata
sink: 
  type: metadata-rest
  config: {}
workflowConfig:
  openMetadataServerConfig:
    hostPort: "<OpenMetadata host and port>"
    authProvider: "<OpenMetadata auth provider>"

You can find all the definitions and types for the serviceConnection here.

  • username: Username to connect to the Atlas. This user should have privileges to read all the metadata in Atlas.
  • password: Password to connect to the Atlas.
  • hostPort: Atlas Host of the data source.
  • databaseServiceName: source database of the data source(Database service that you created from UI. example- local_hive).
  • messagingServiceName: messaging service source of the data source.
  • entity_type: Name of the entity type in Atlas.

To send the metadata to OpenMetadata, it needs to be specified as "type": "metadata-rest".

The main property here is the openMetadataServerConfig, where you can define the host and security provider of your OpenMetadata installation. For a simple, local installation using our docker containers, this looks like:

workflowConfig:
  openMetadataServerConfig:
    hostPort: "http://localhost:8585/api"
    authProvider: openmetadata
    securityConfig:
      jwtToken: "{bot_jwt_token}"
chevron_rightConfigure SSO in the Ingestion Workflows

First, we will need to save the YAML file. Afterward, and with all requirements installed, we can run:

metadata ingest -c <path-to-yaml>

Note that from connector to connector, this recipe will always be the same. By updating the YAML configuration, you will be able to extract metadata from different sources.

Still have questions?

You can take a look at our Q&A or reach out to us in Slack

Was this page helpful?

editSuggest edits