
Create a Data Contract
Data contracts are available for tables, topics, API endpoints, dashboards, pipelines, data products, and most other data assets. For the full list and which sections each asset supports, see Supported Assets. This guide creates a contract for a table. The form shows only the tabs an asset supports:
Creating a contract requires the Create permission on data contracts. Editing or running one requires Edit All on the contract.
Create a Contract in the UI
-
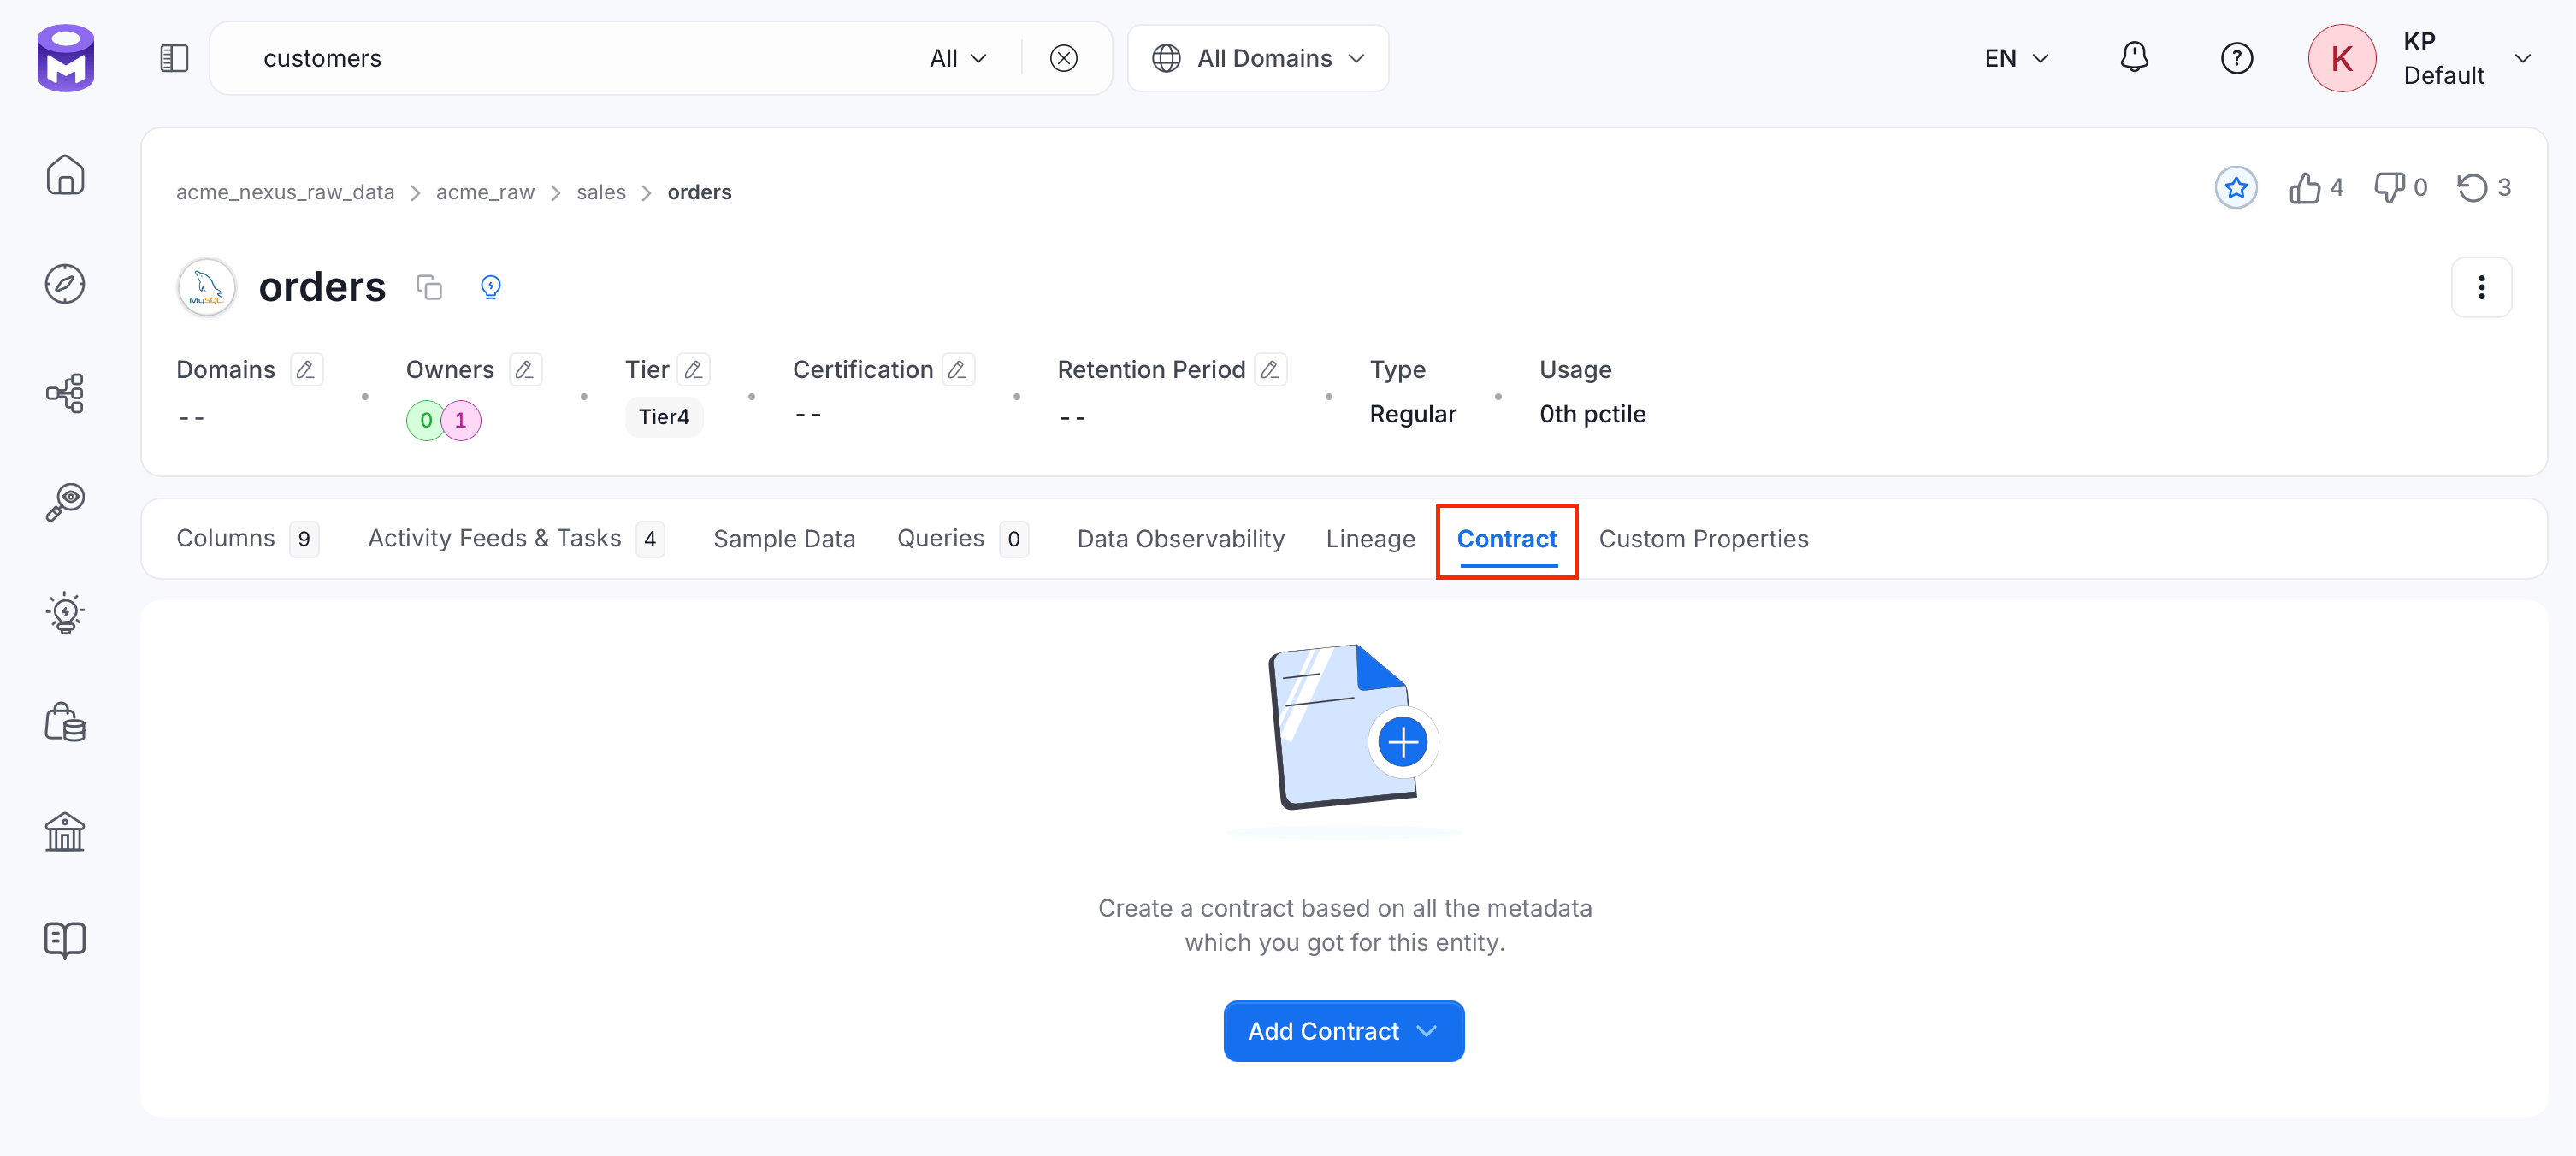
On the asset’s table details page, click the Contract tab.
-
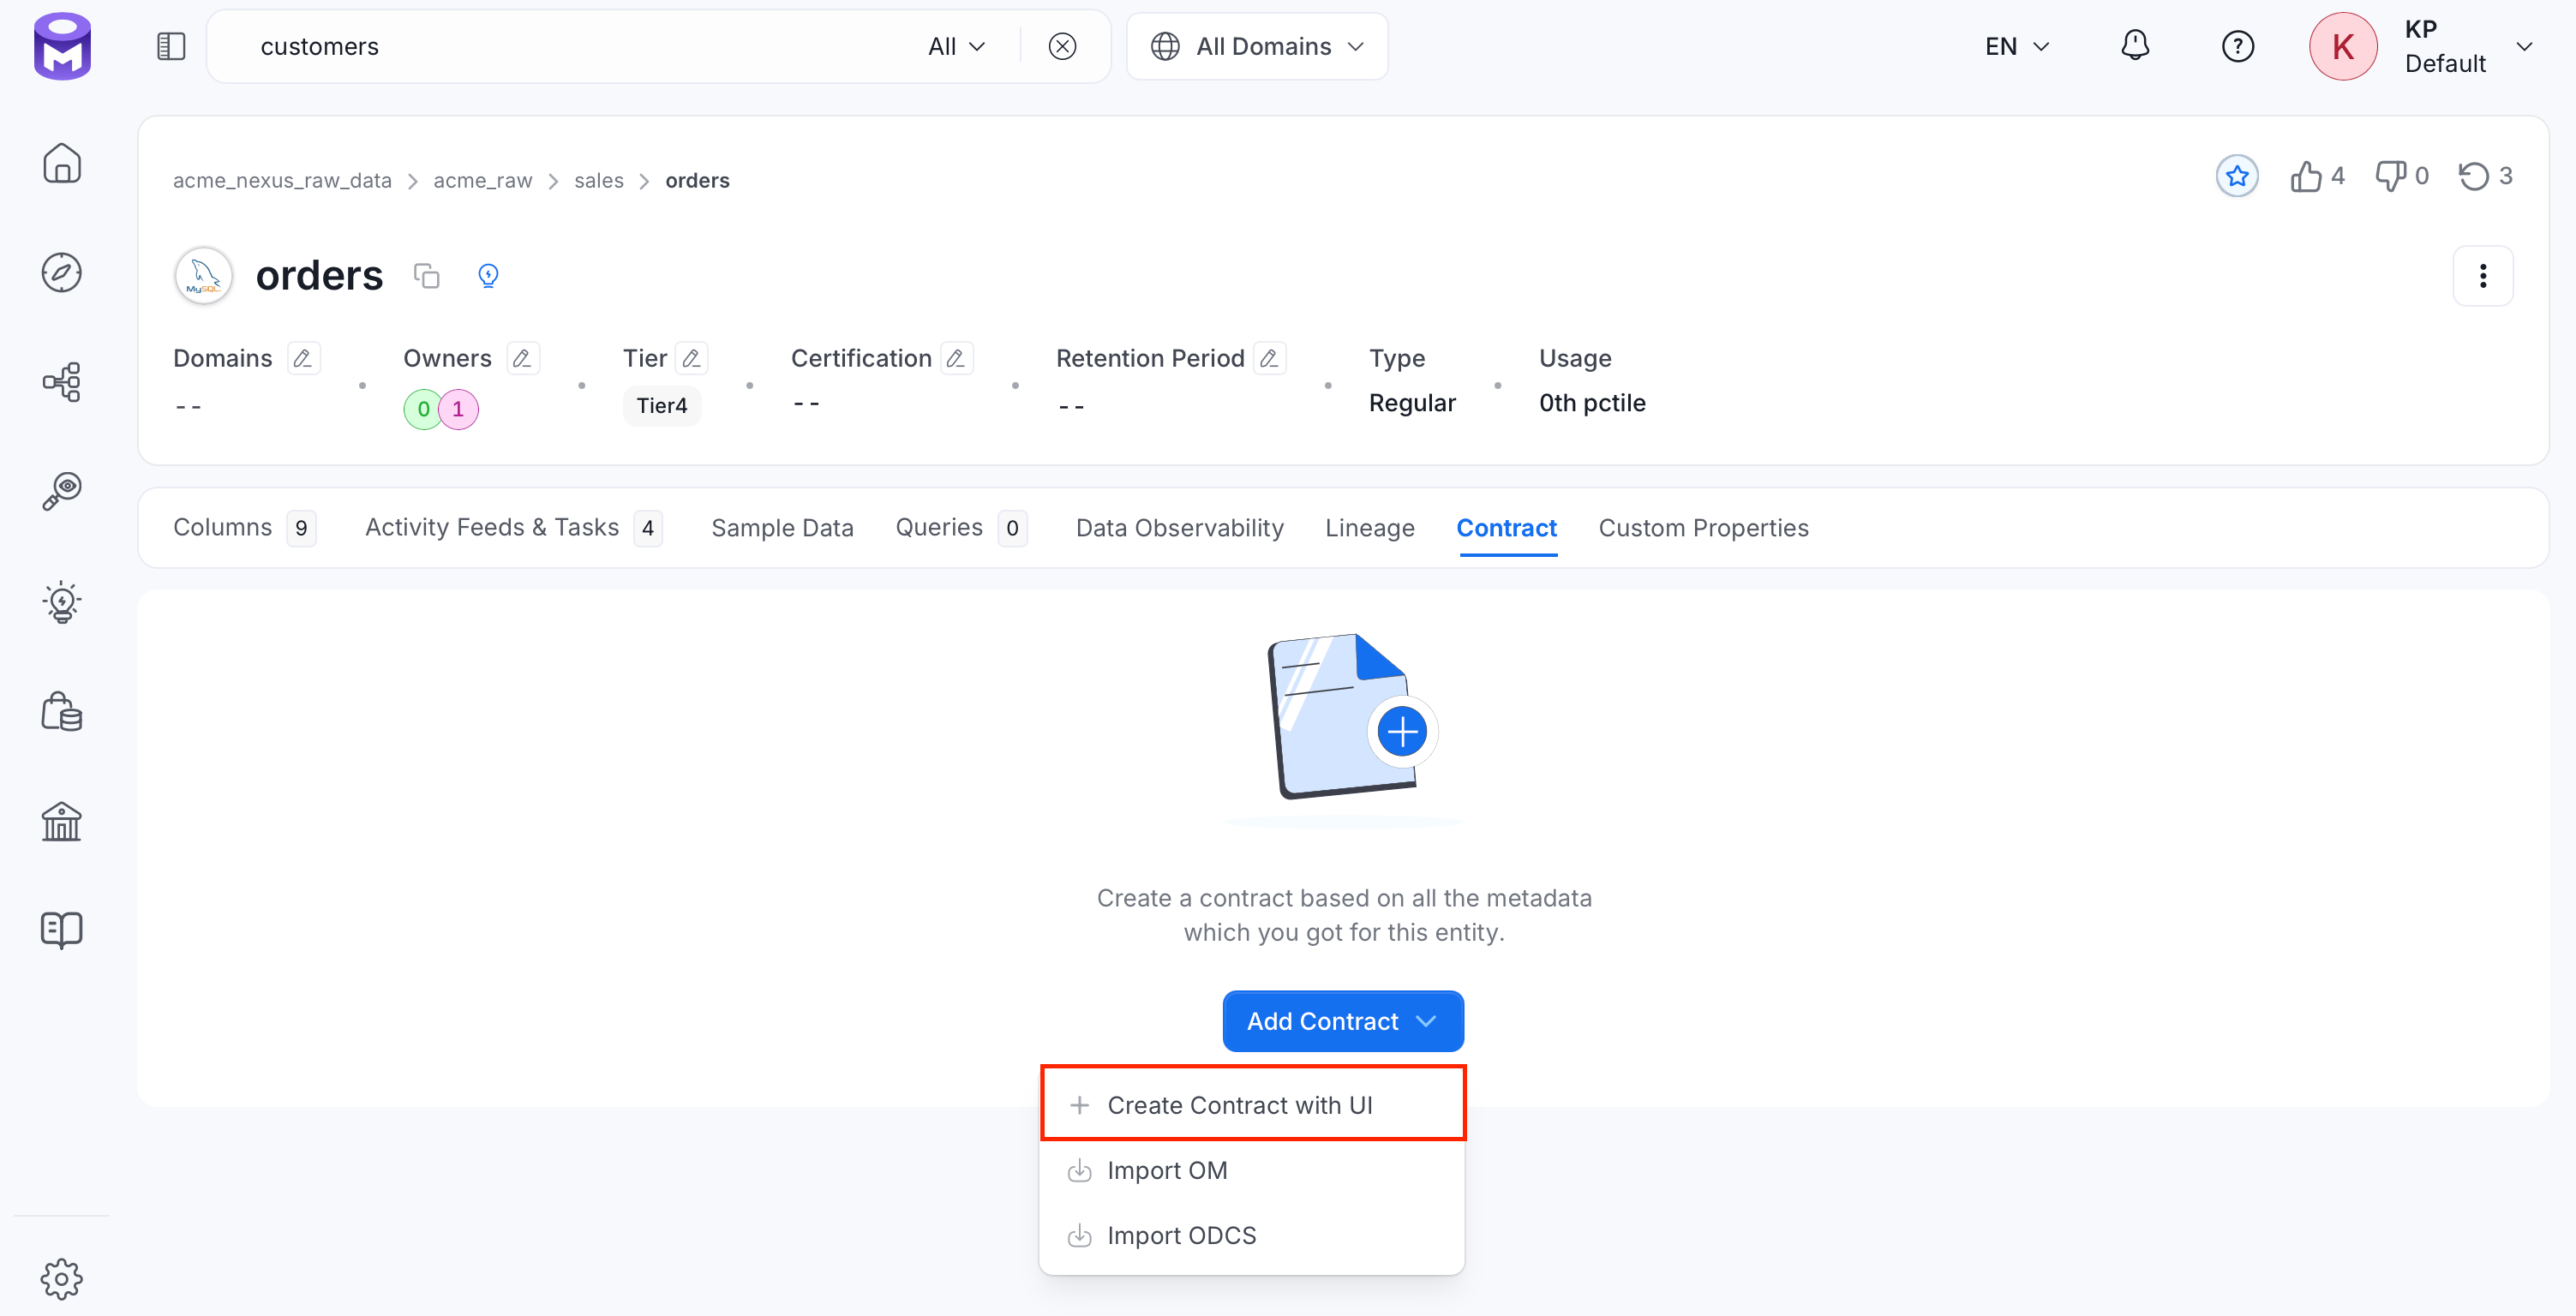
Select Add Contract > Create Contract with UI.
-
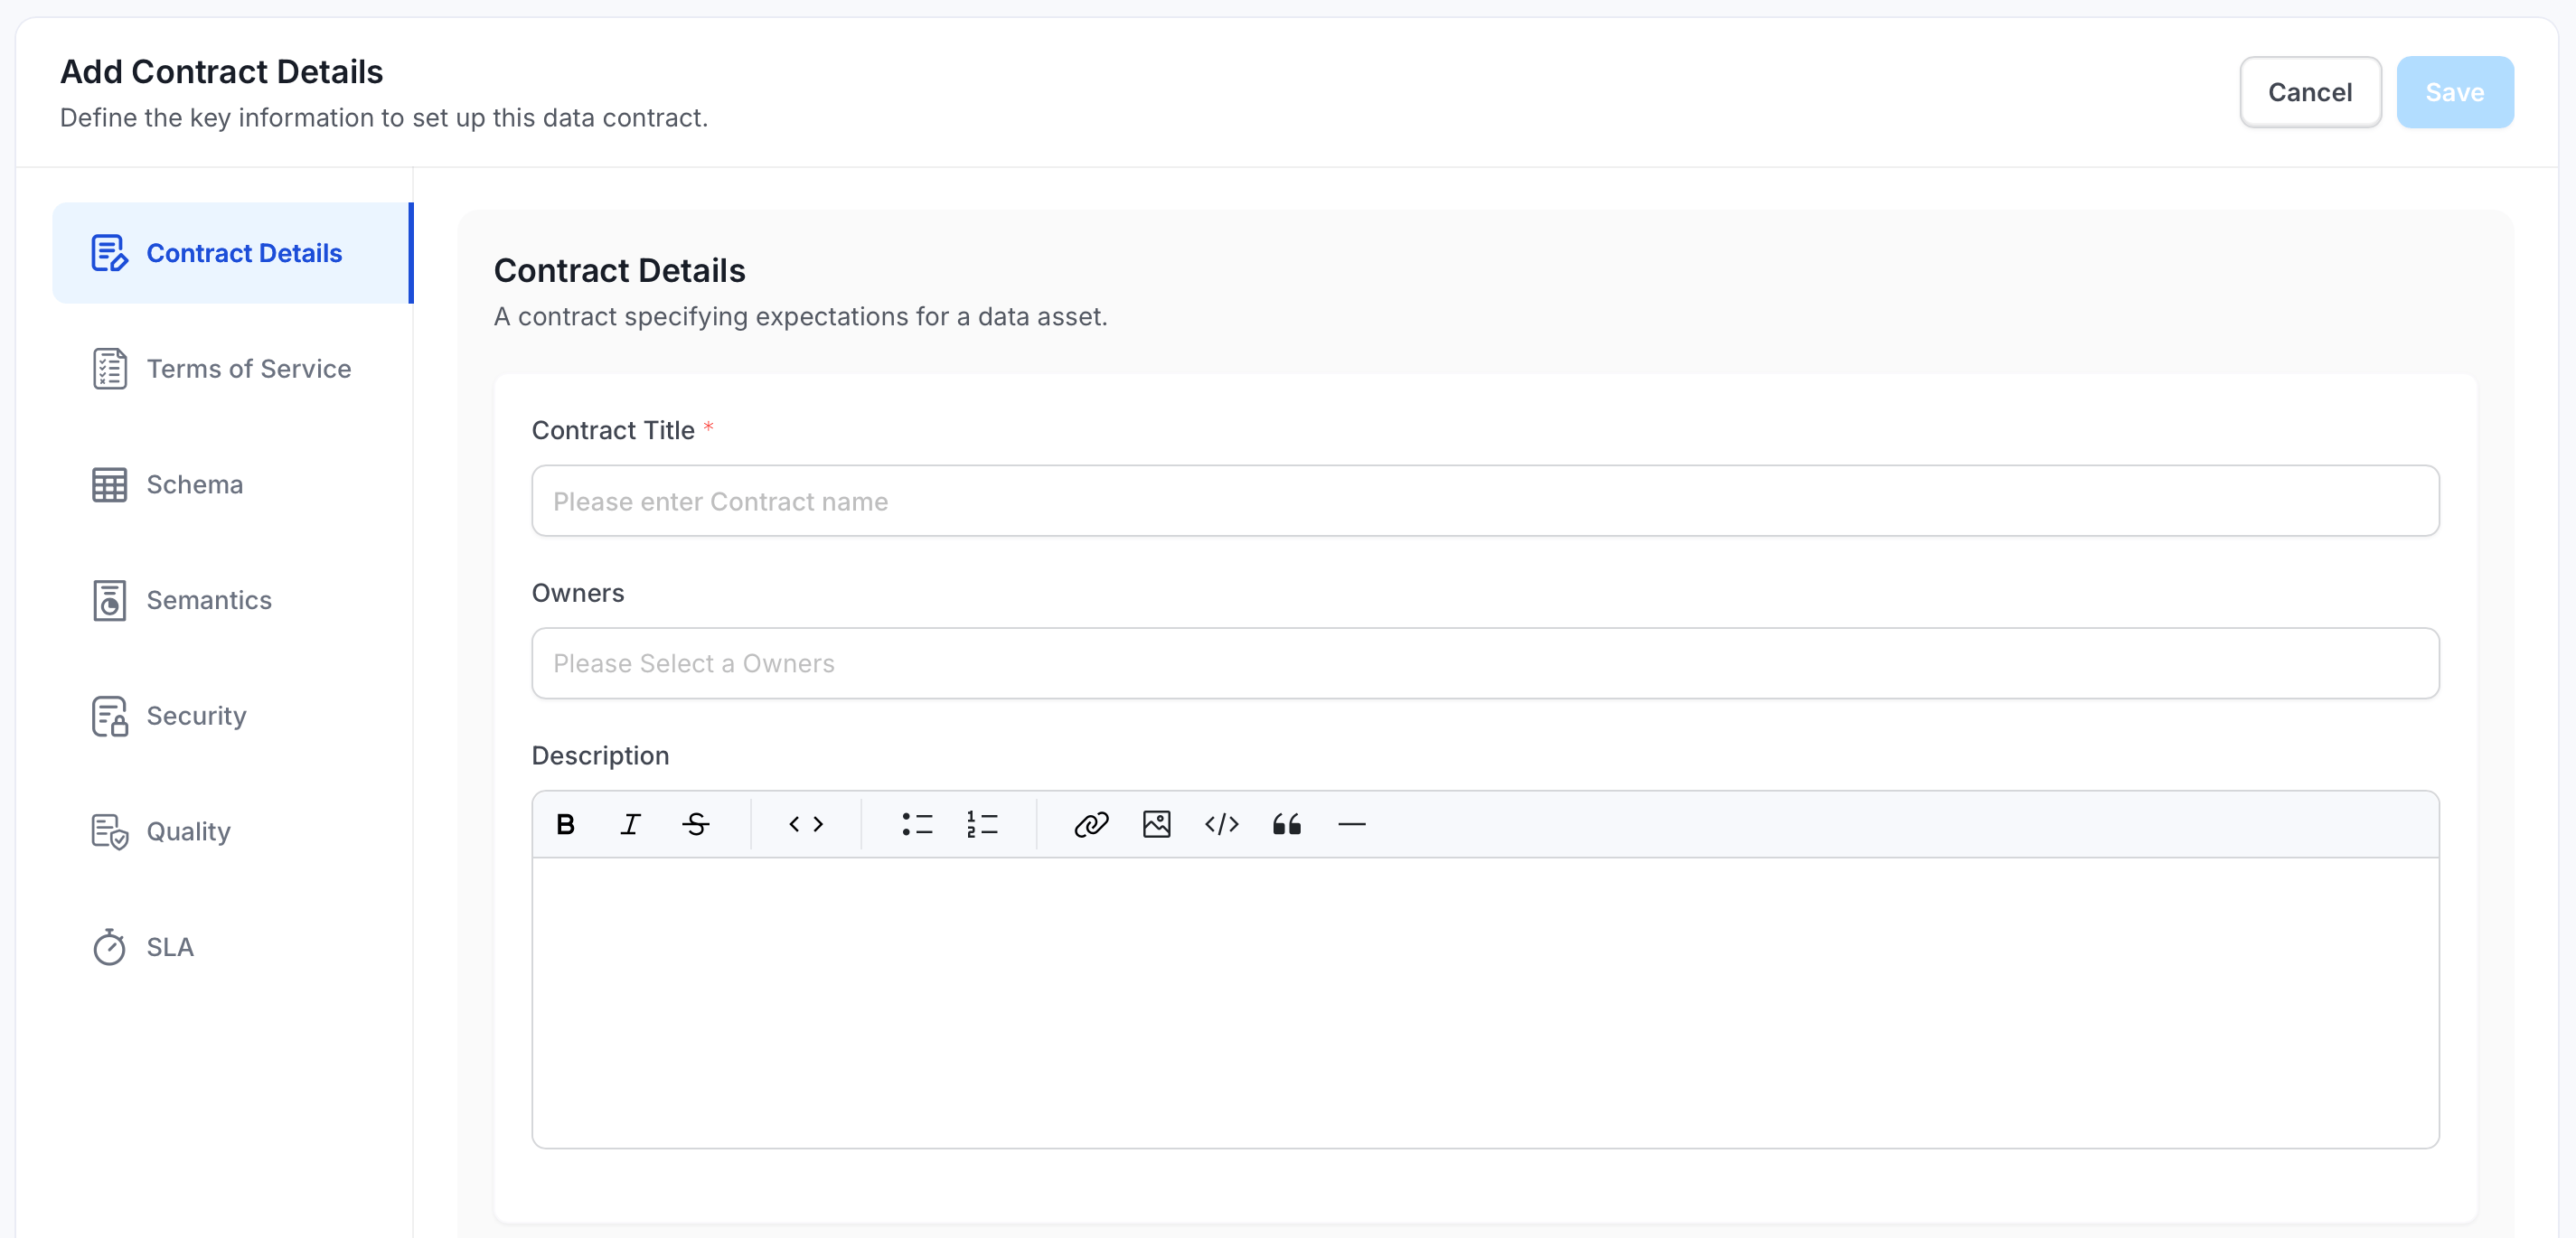
On the Contract Details tab, do the following:
- Enter a Contract Title.
- Optional: Add Owners and a Description, and set the Status. New contracts default to Draft.
- Optional: On the Terms of Service tab, describe how the data may be used.
-
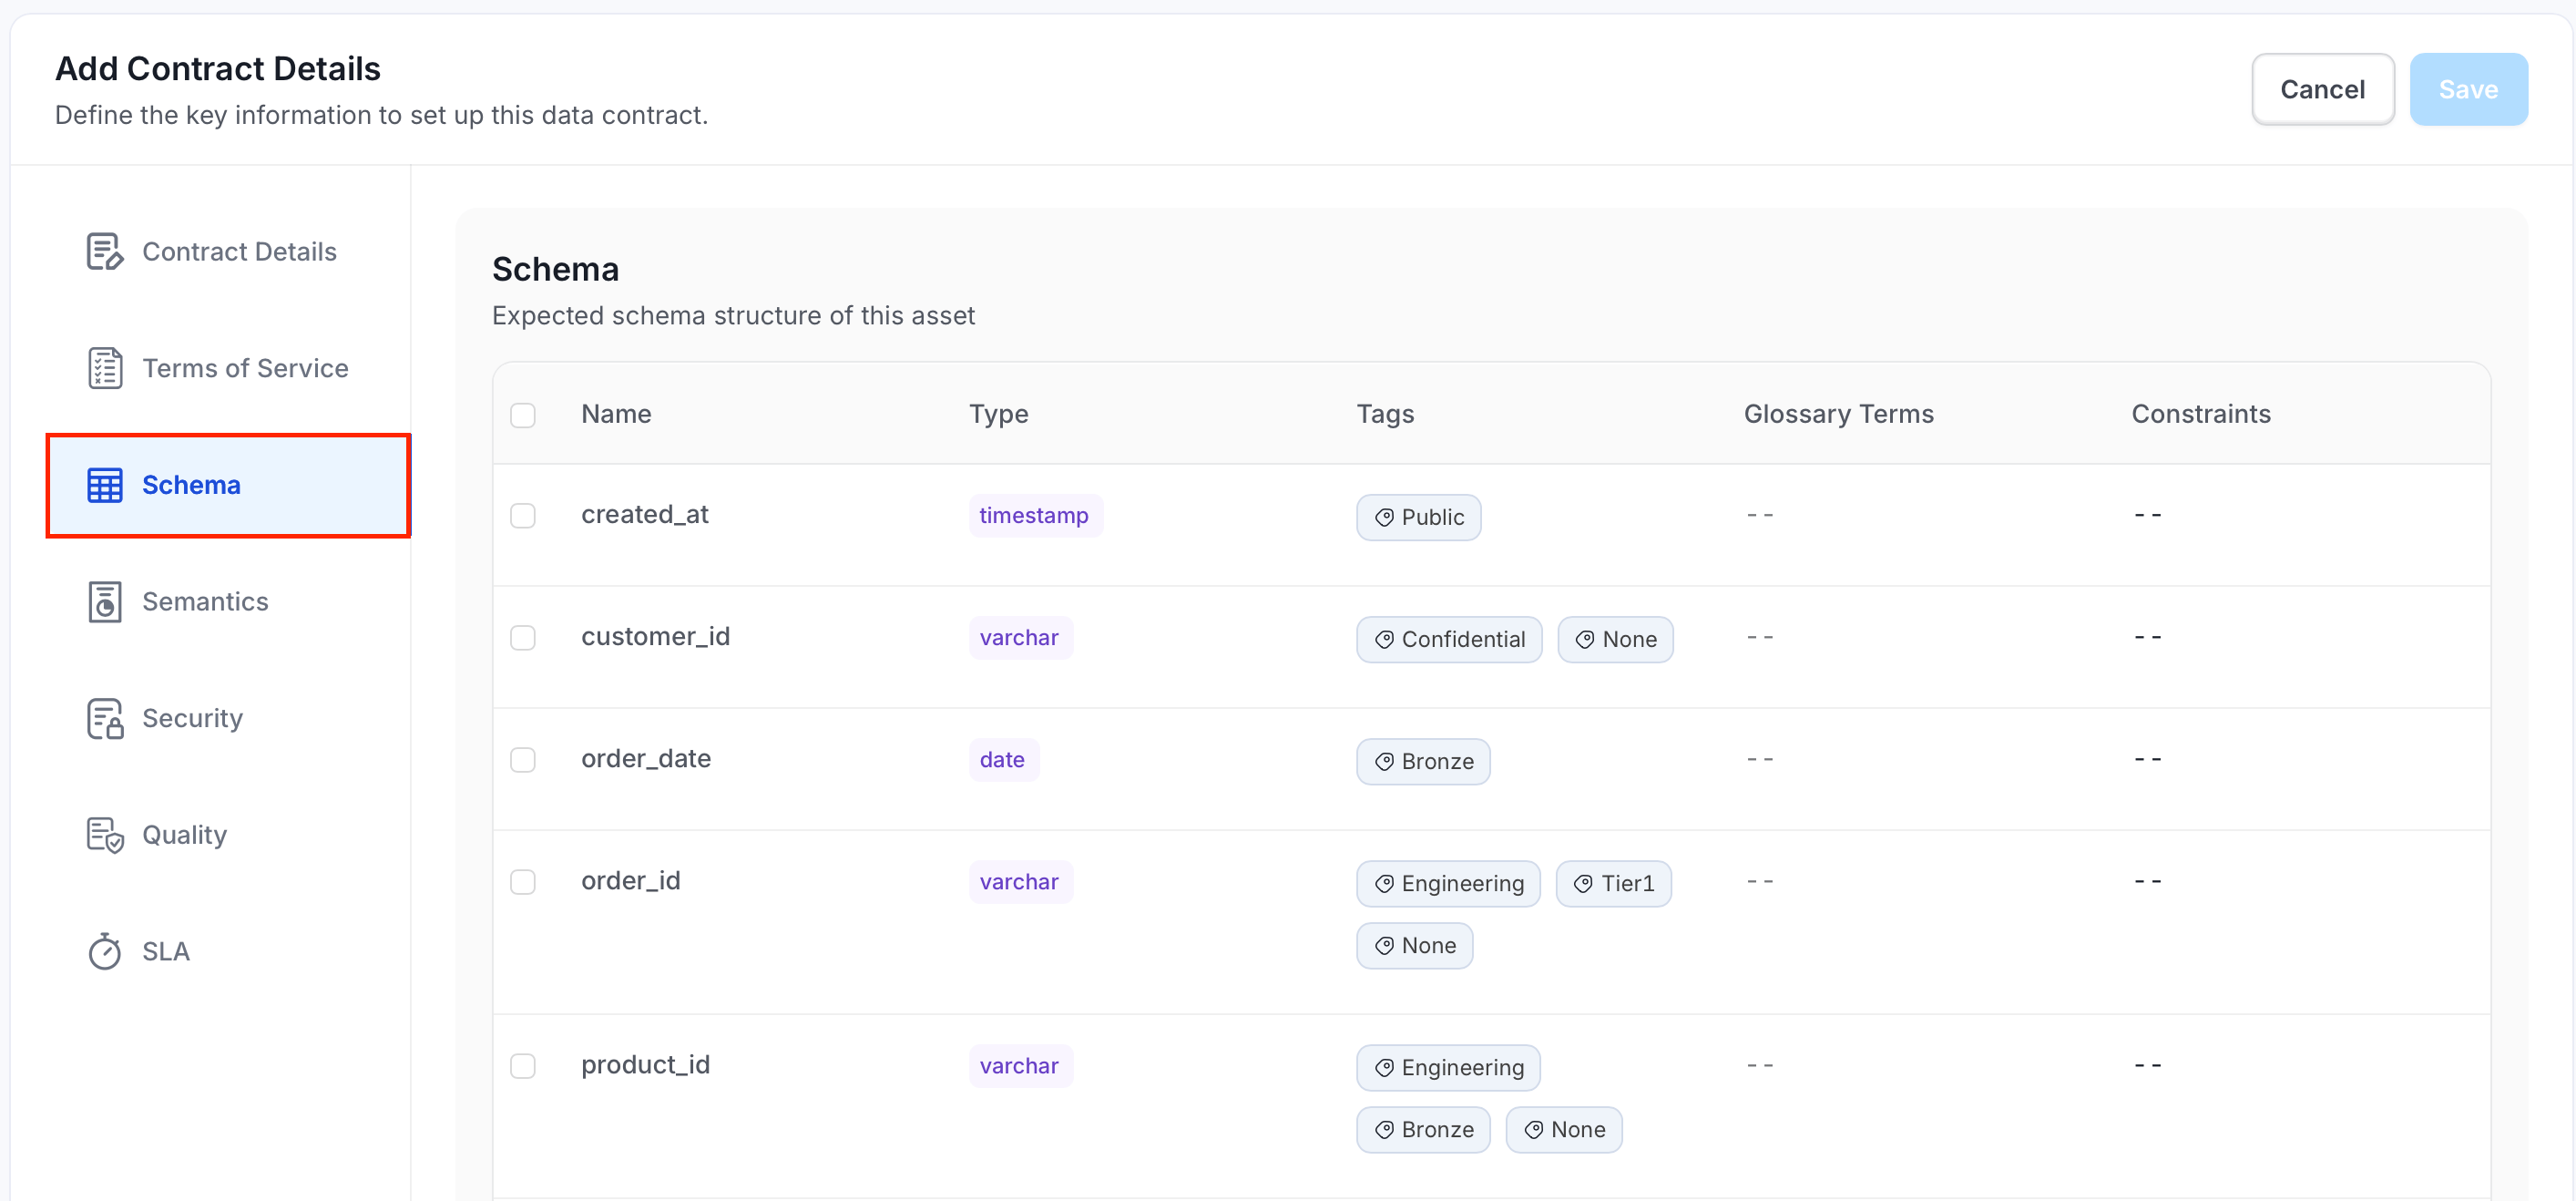
On the Schema tab, select the columns the contract covers, or select all columns with the checkbox in the header. Only top-level columns can be selected.
-
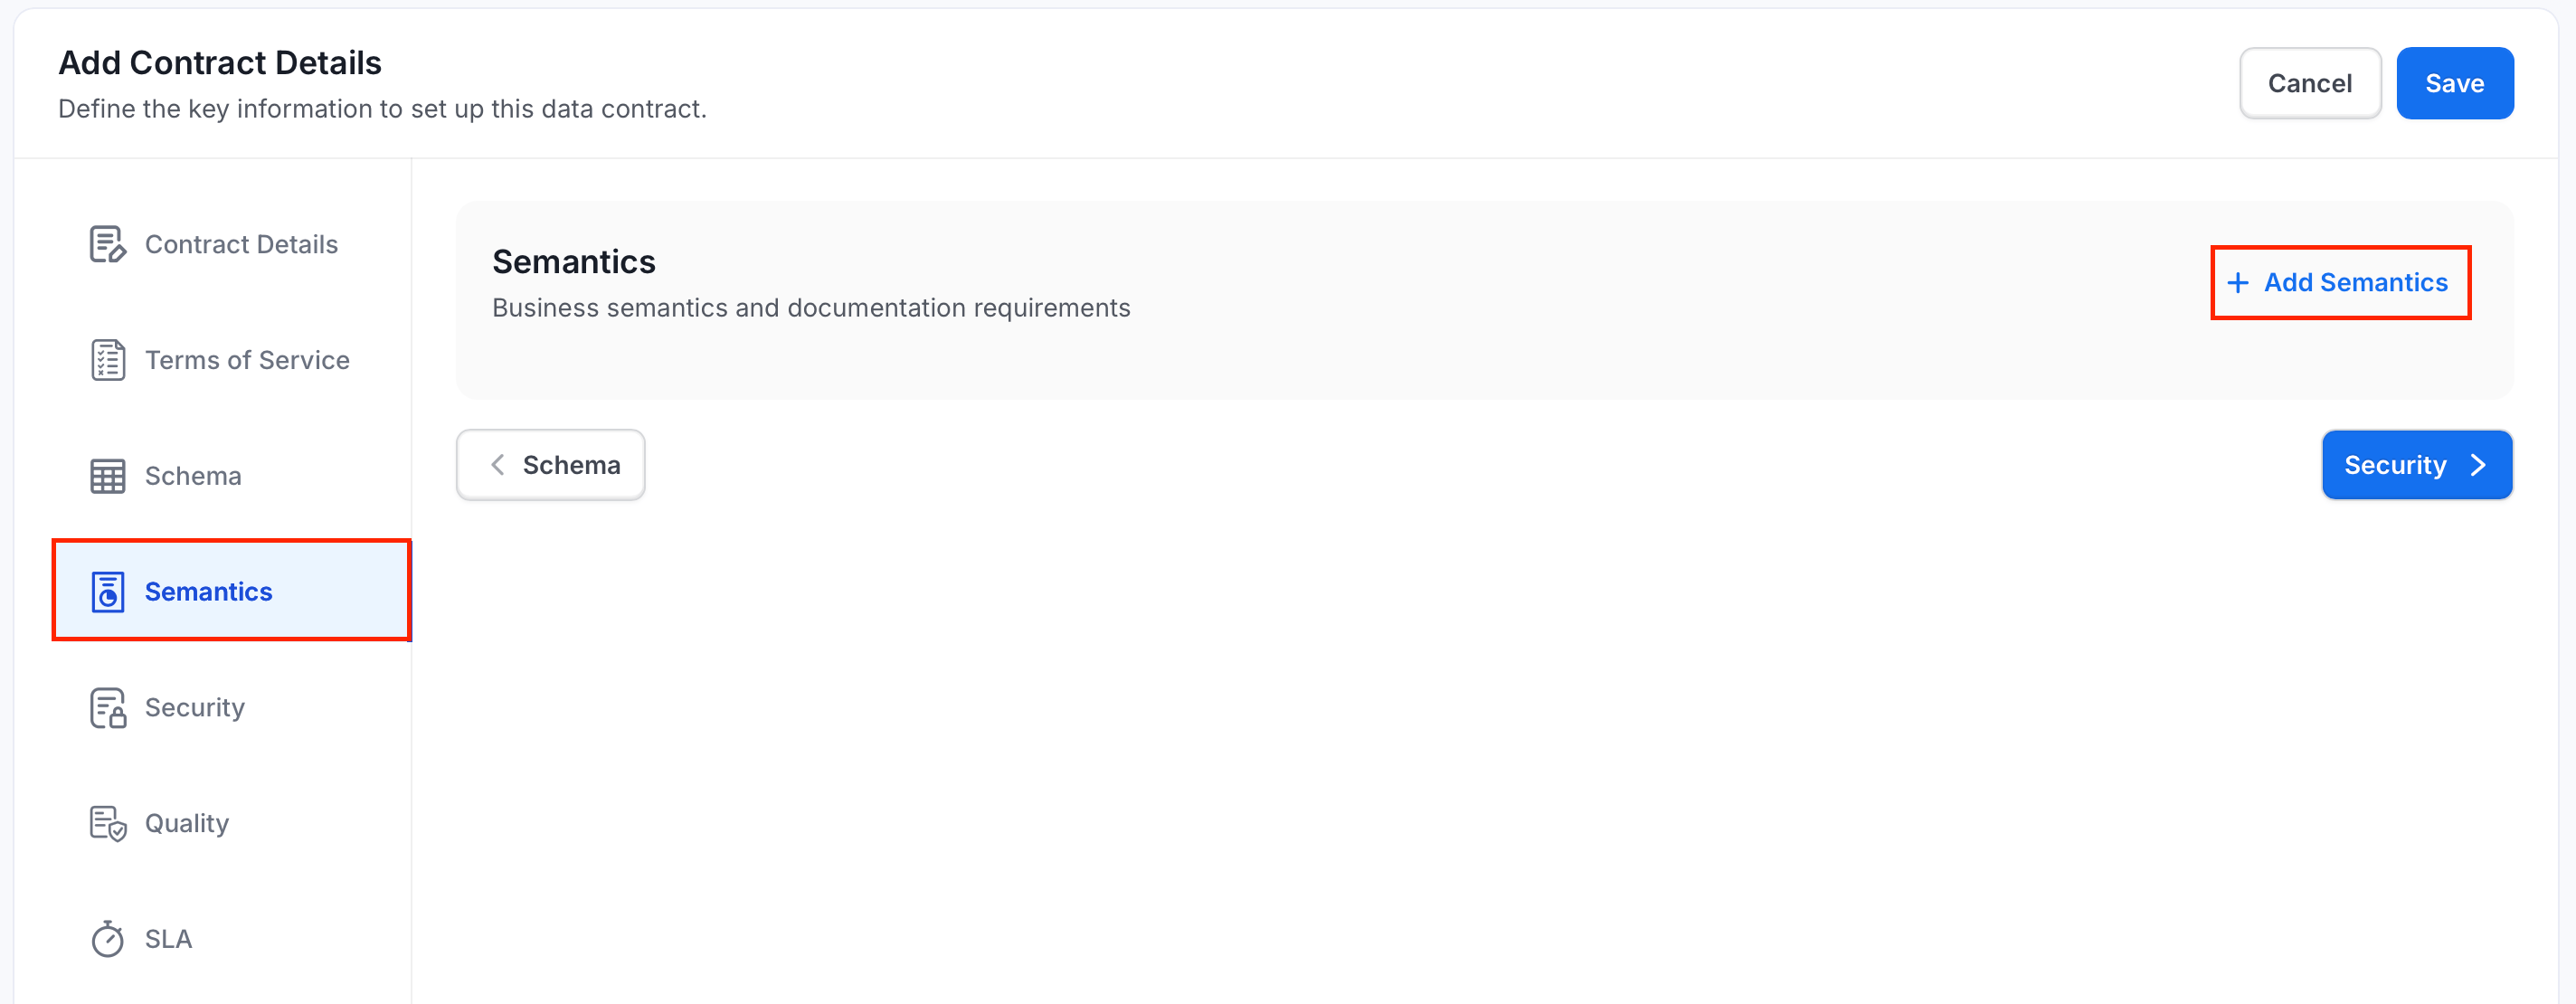
On the Semantics tab, do the following:
-
Click Add Semantics.
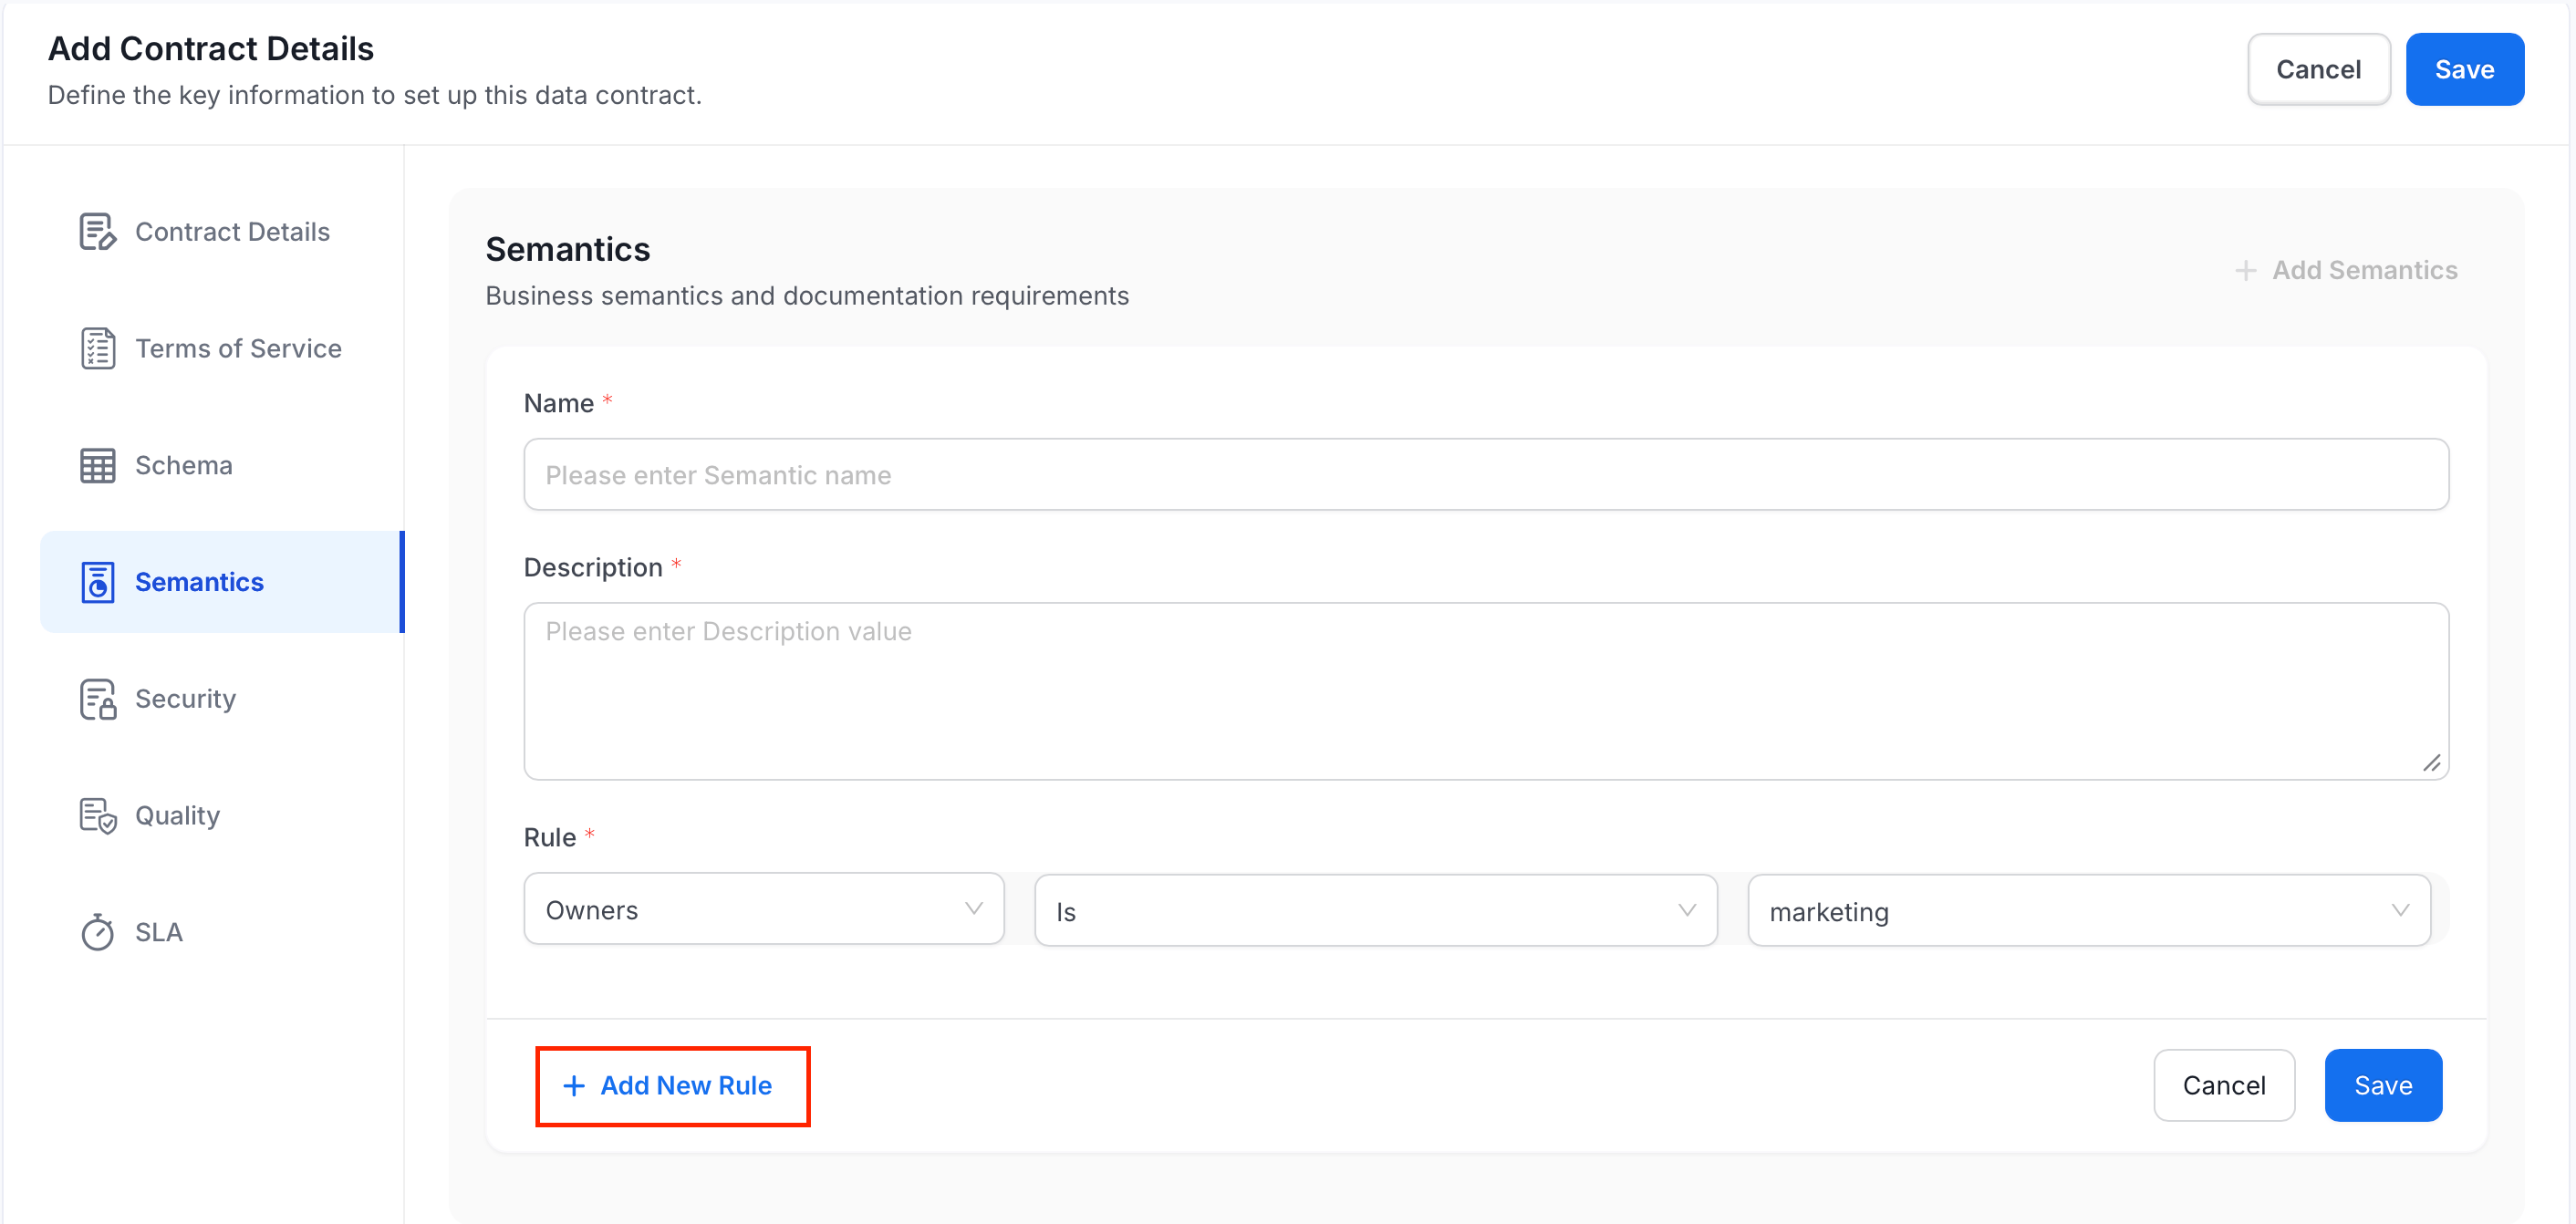
- Enter a suitable Name and Description.
-
Add a Rule. The rule builder checks metadata such as owners, description, domain, data product, tags, glossary terms, tier, and status.
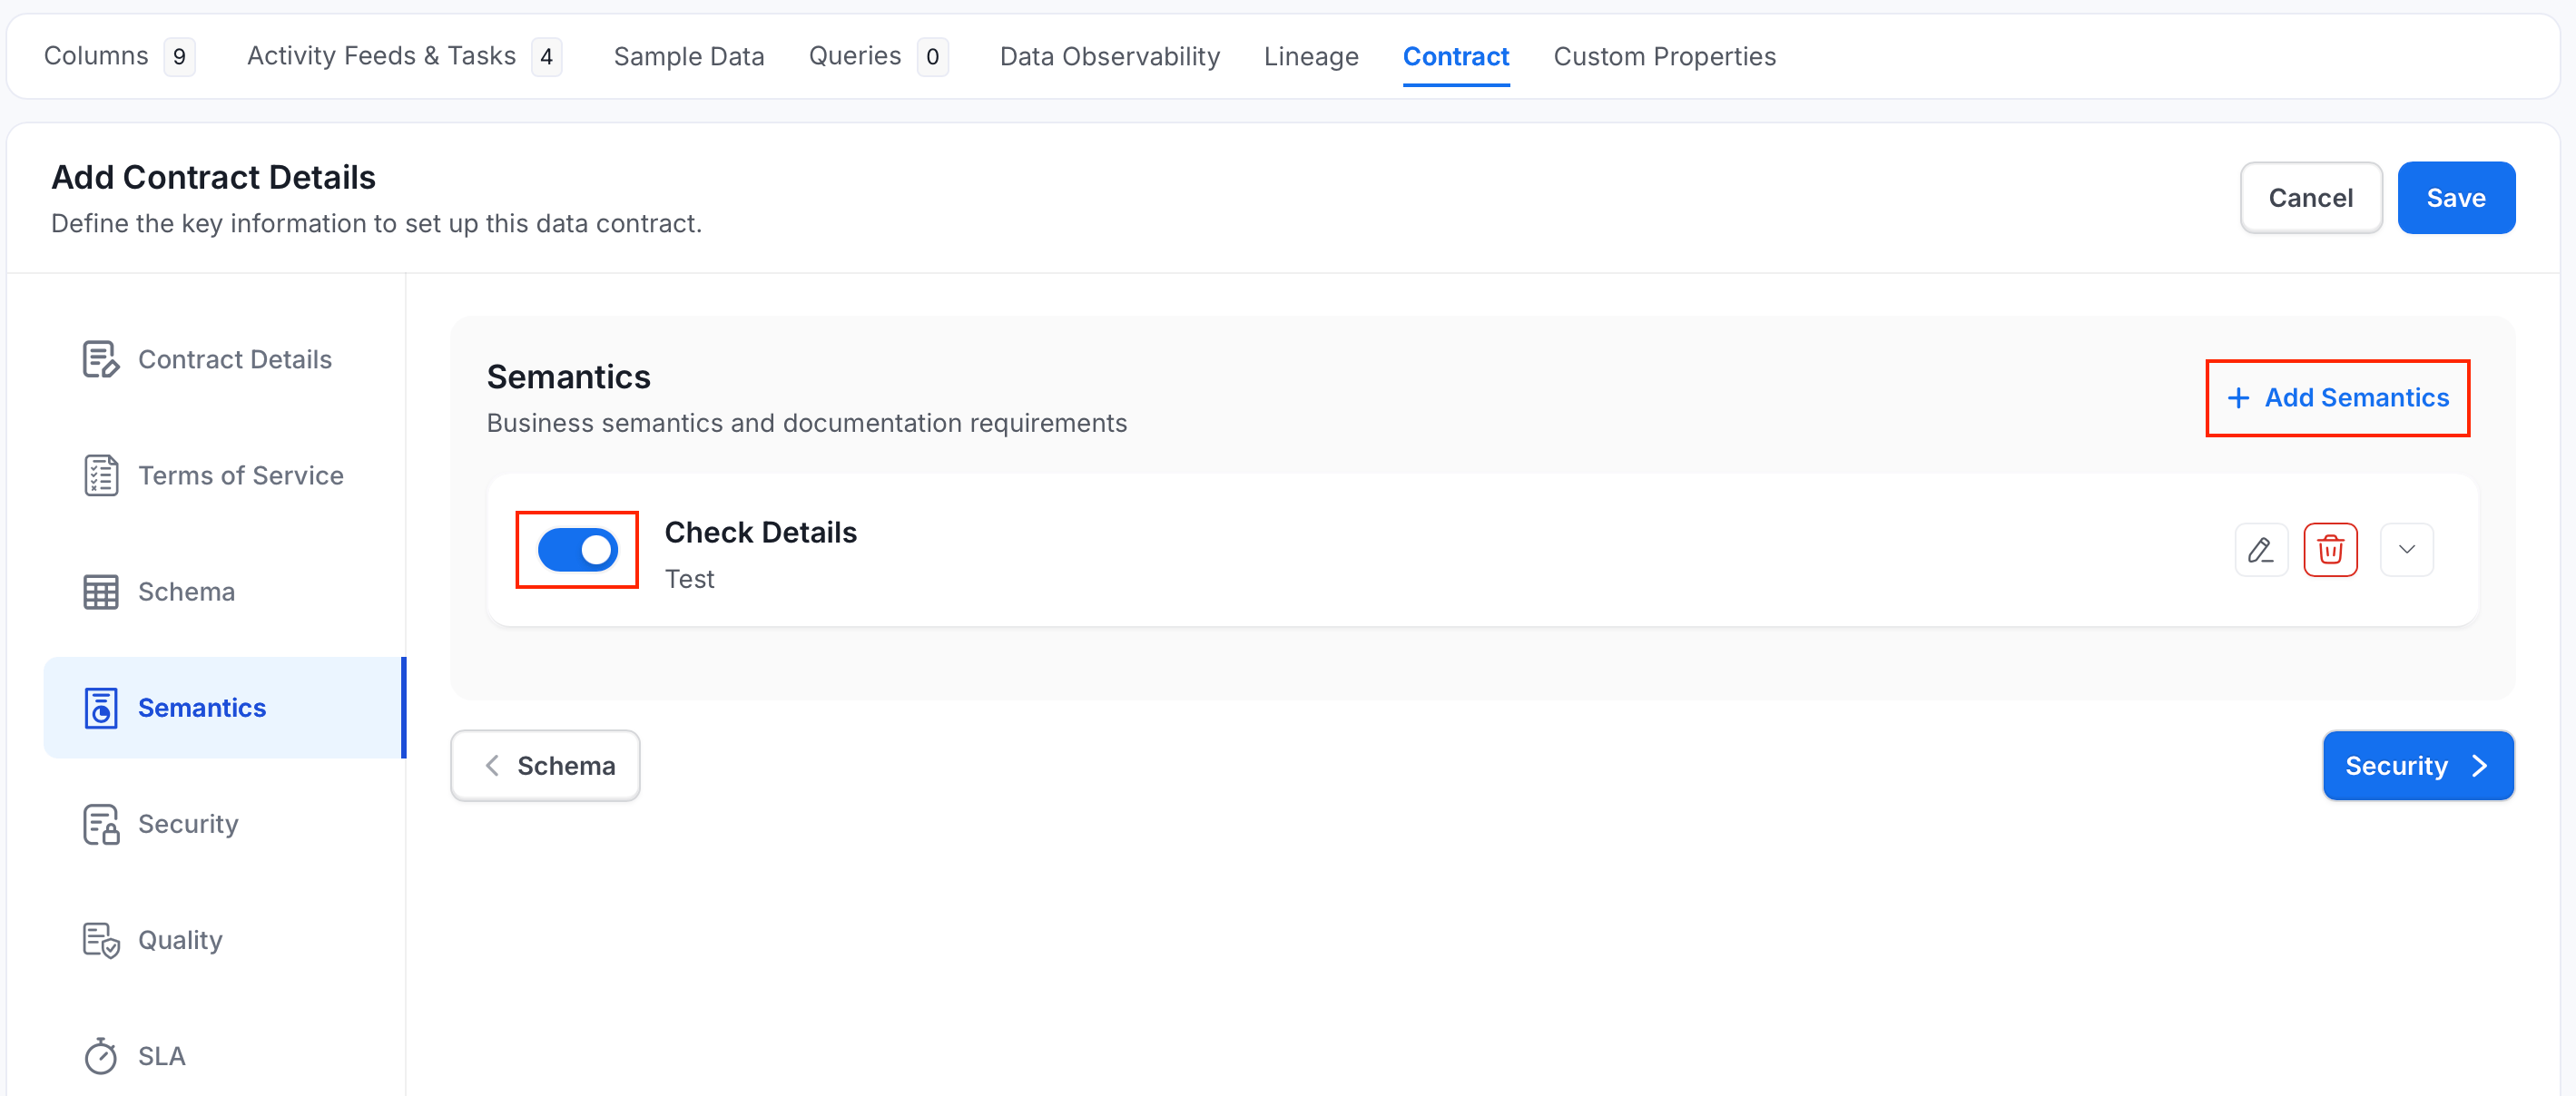
- Click Save.
-
Click Add Semantics.
-
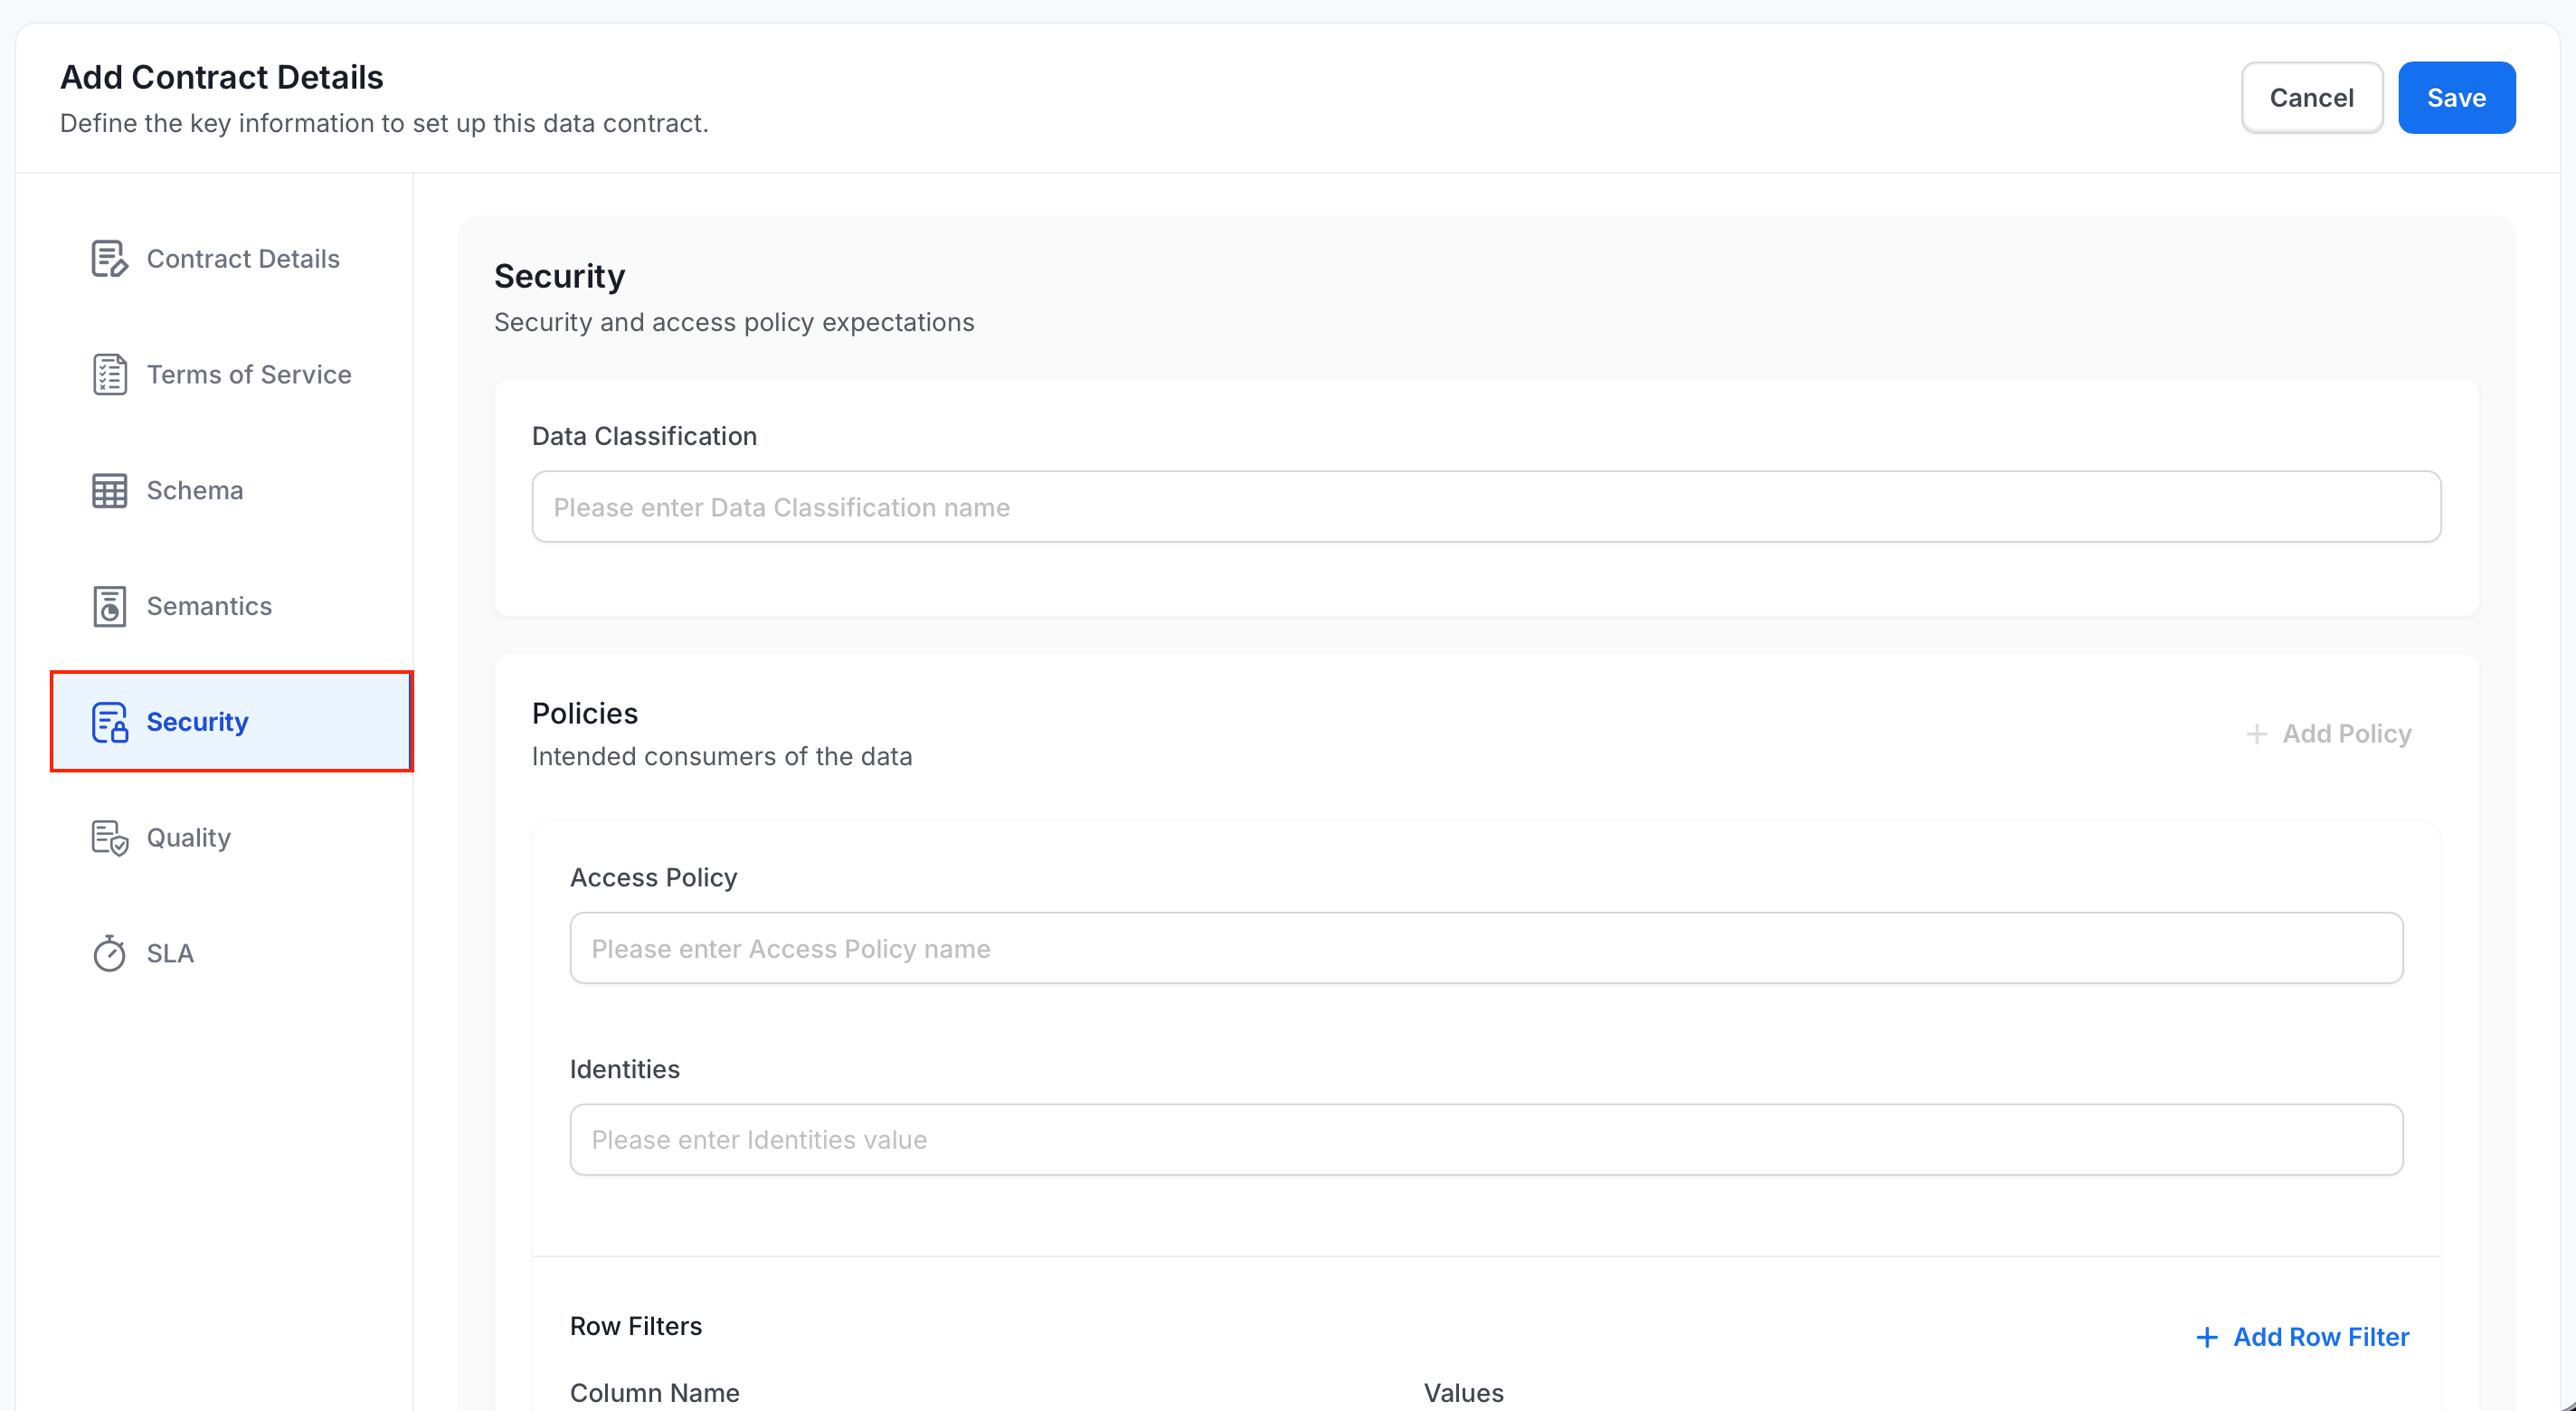
Optional: On the Security tab, do the following:
- Enter a Data Classification.
- Click Add Policy and enter the following details:
- Access Policy: Name of the access policy consumers should use.
- Identities: Consumer groups or users, such as Active Directory groups.
- Row Filters: Column-and-value pairs that describe which rows a consumer should see.
-
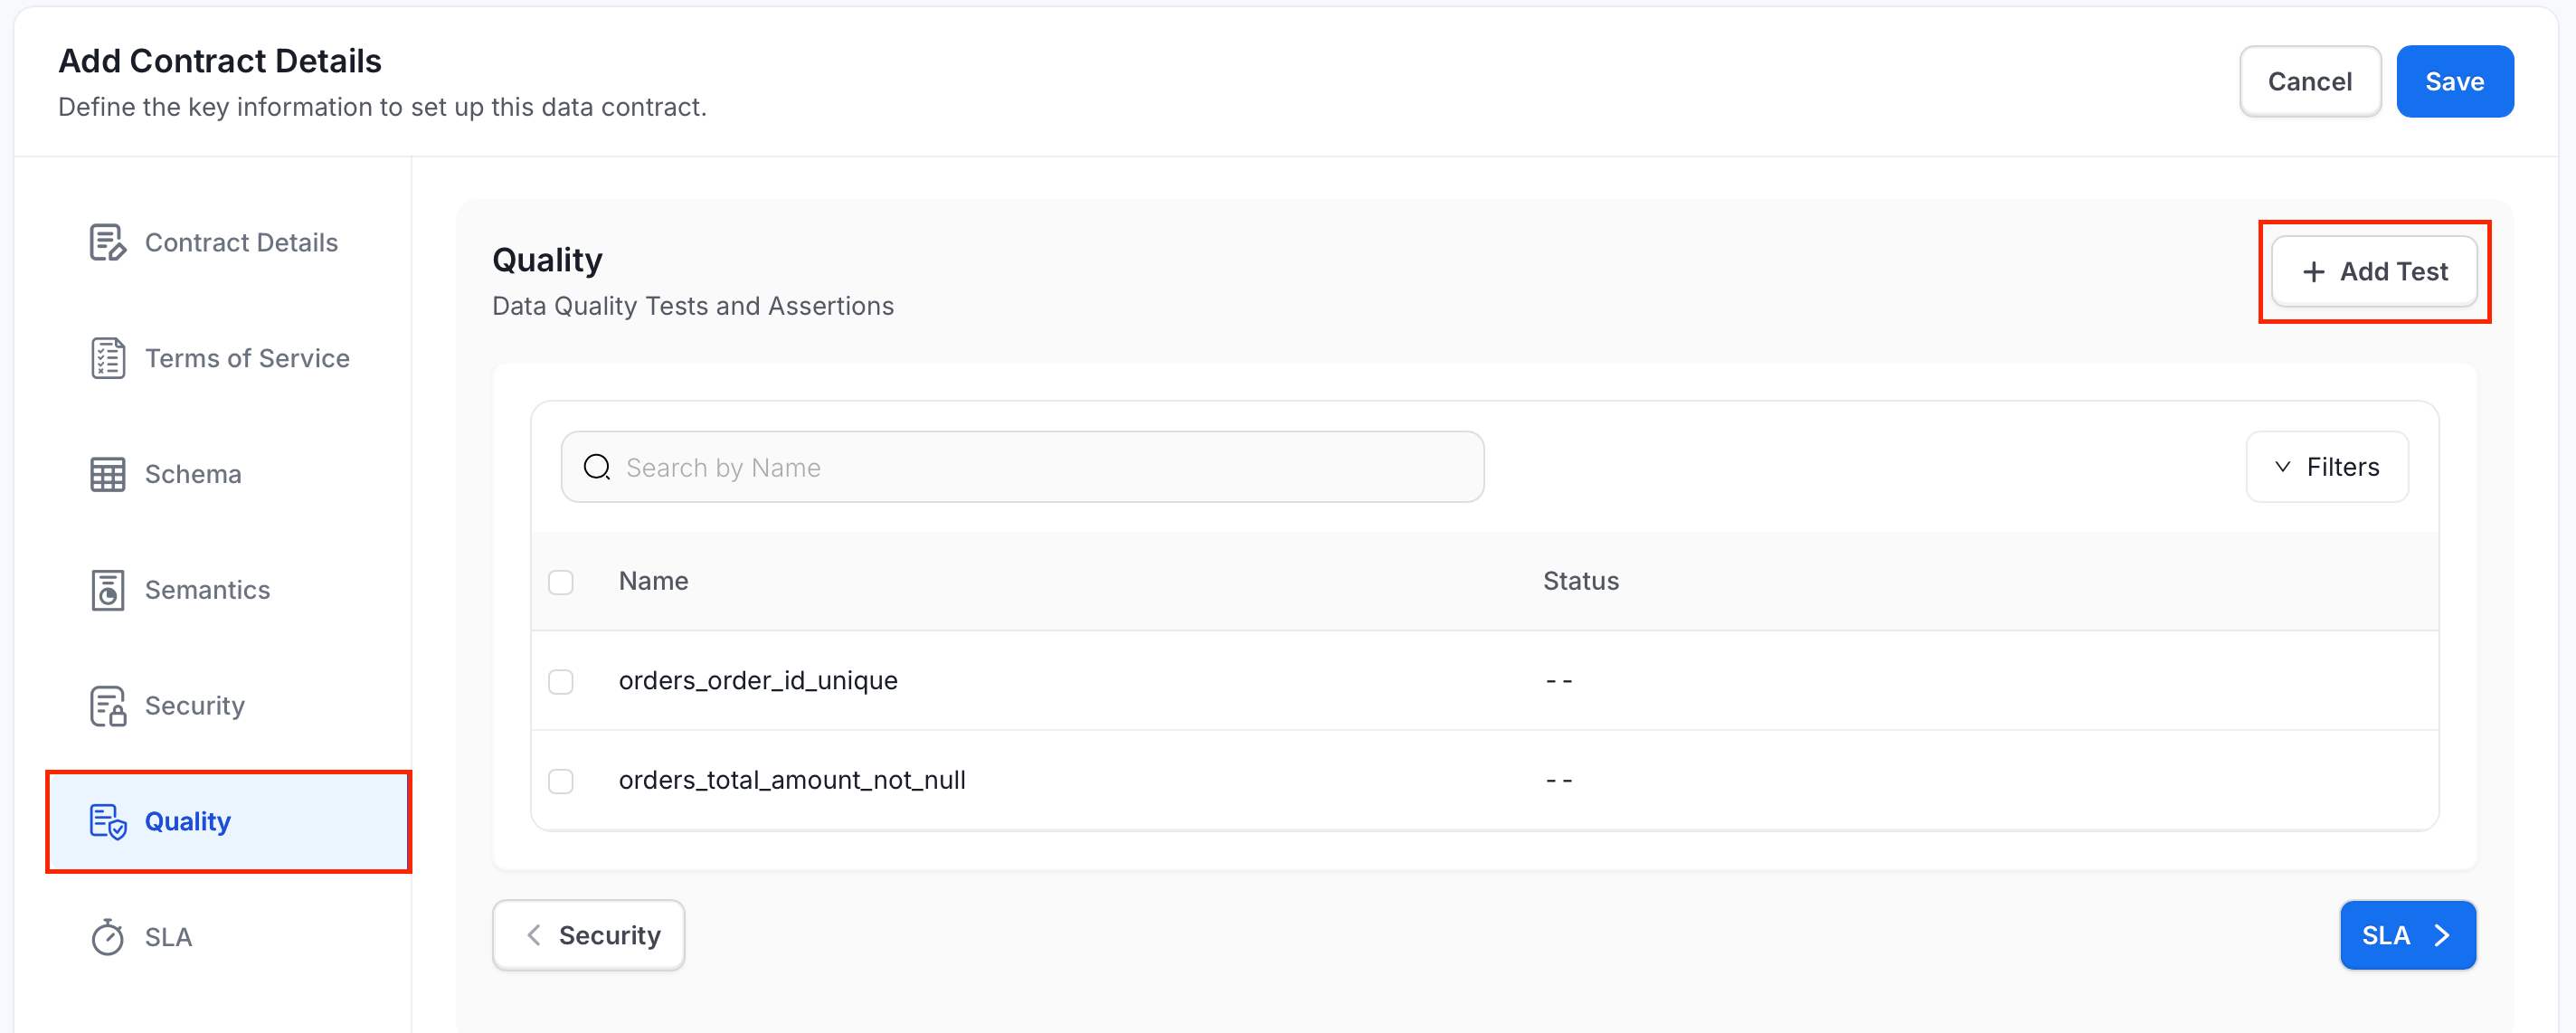
On the Quality tab, select the table’s existing test cases, or select Add Test to create a new data quality test.
-
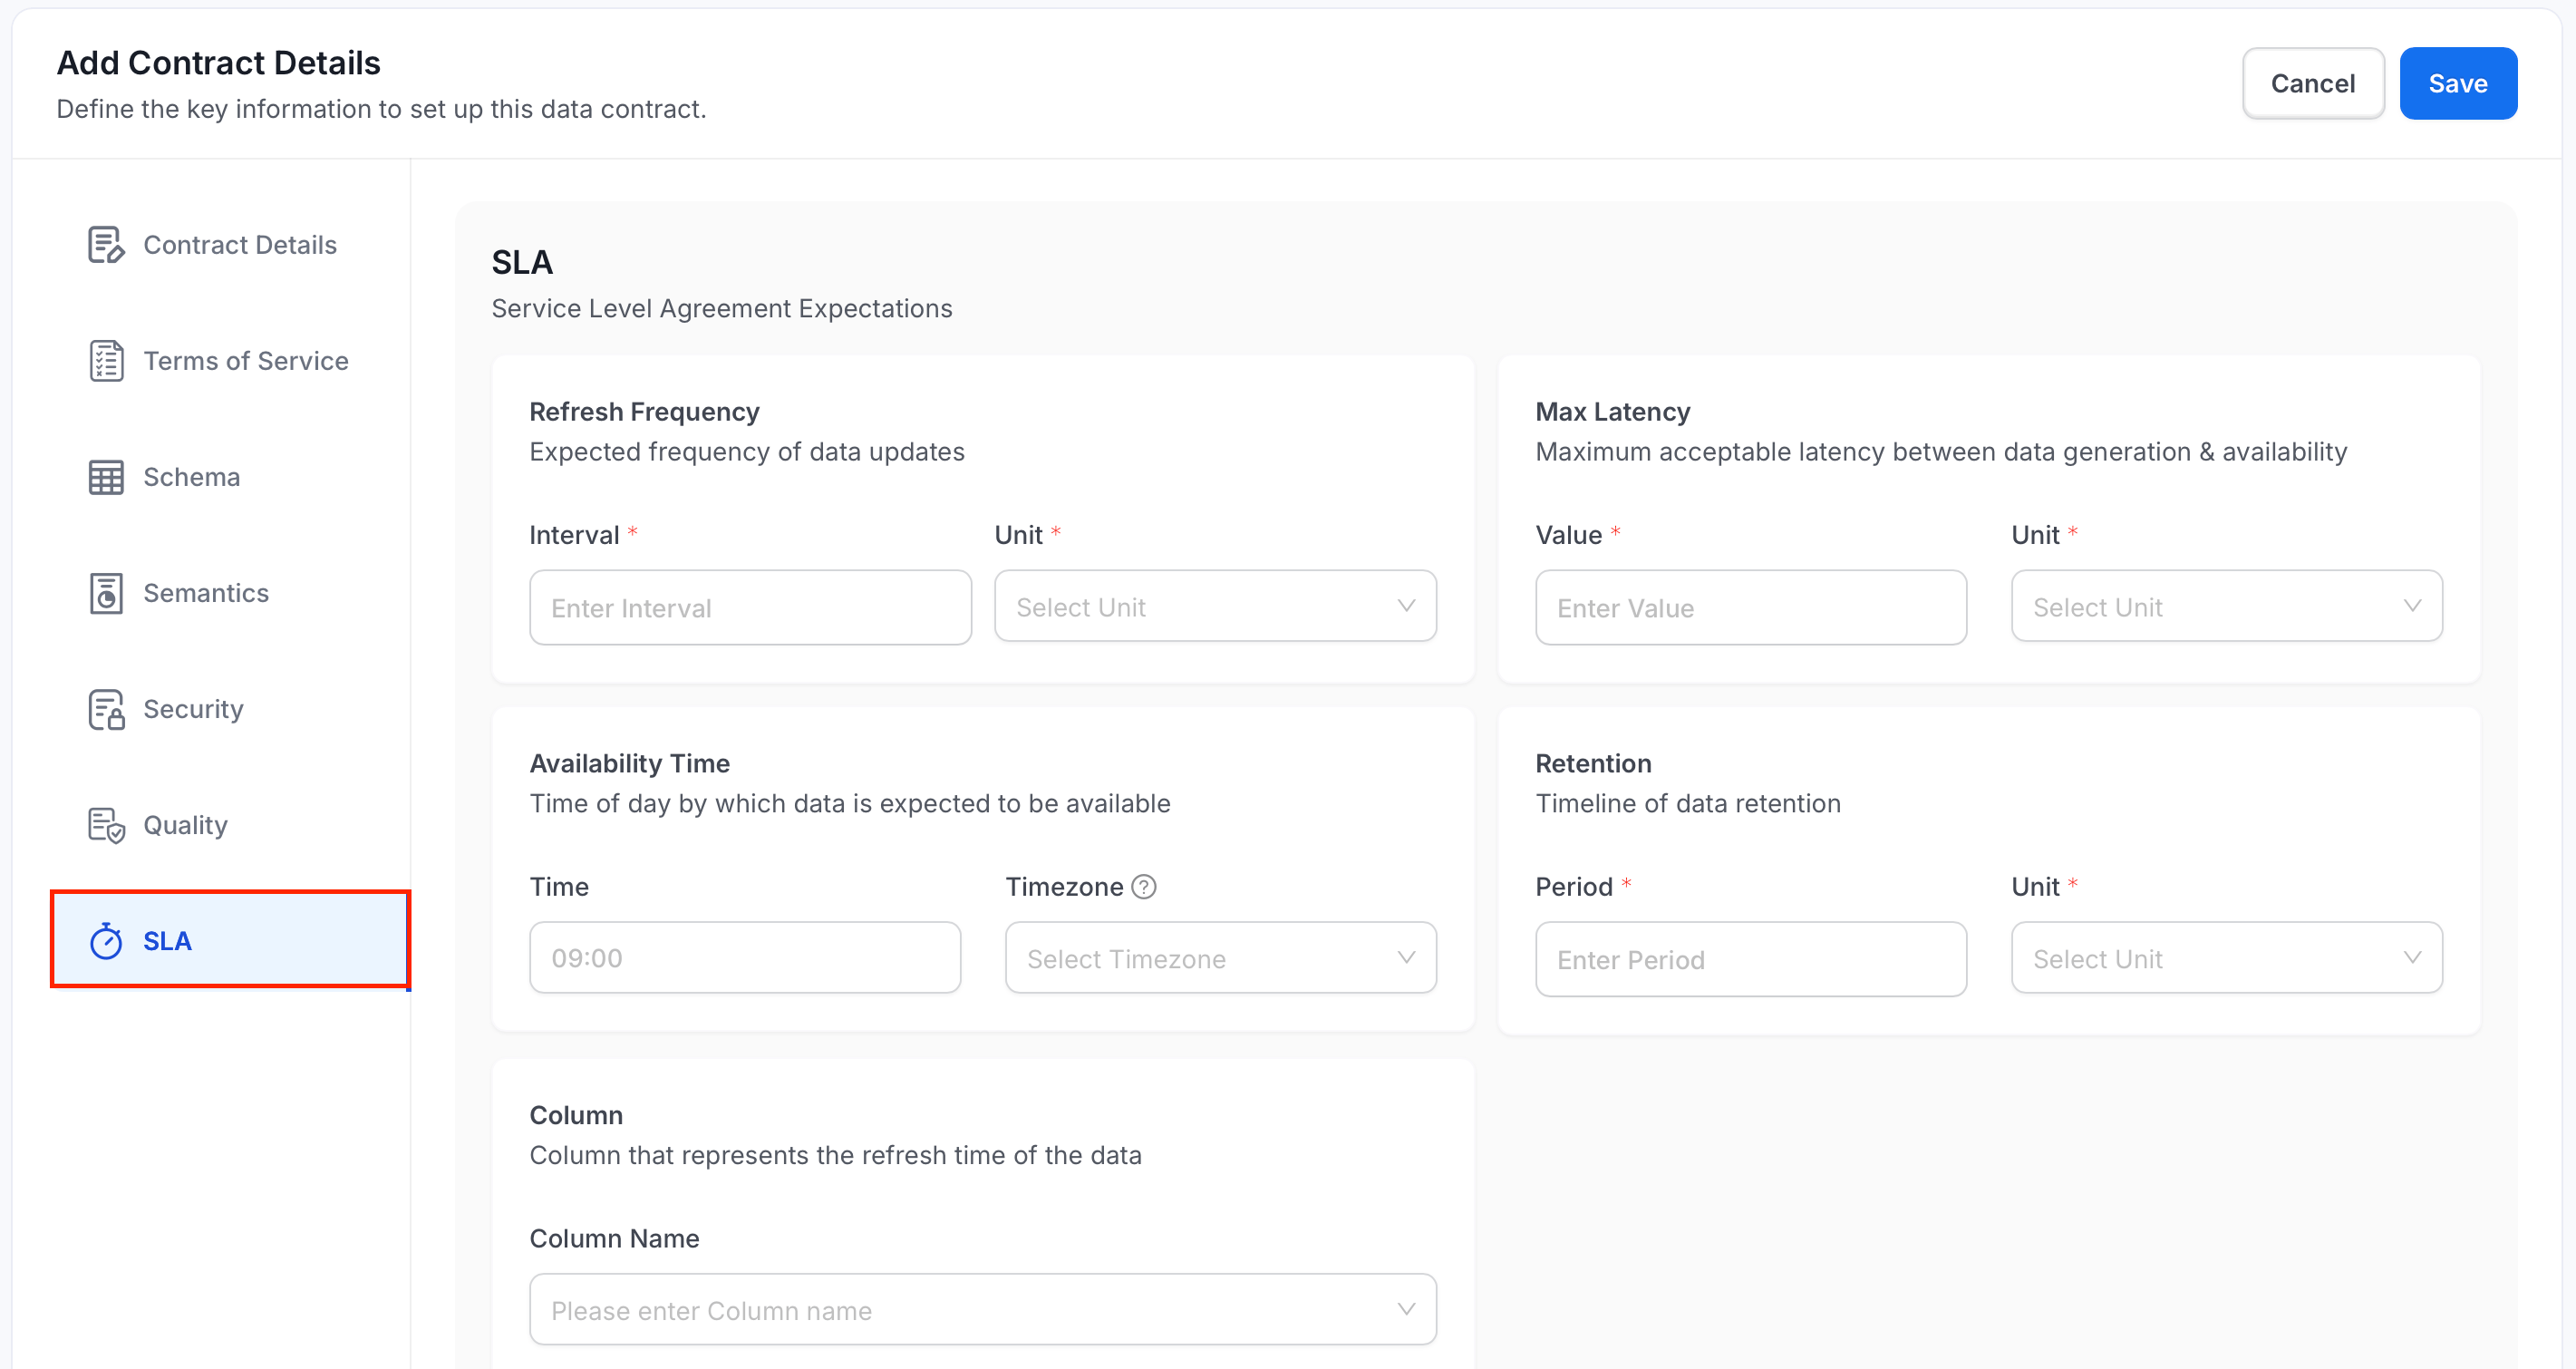
Optional: On the SLA tab, fill in the following details:
- Refresh Frequency: Expected interval, in hours, days, weeks, months, or years, between data updates.
- Max Latency: Maximum acceptable value, in minutes, hours, or days, between data generation and availability.
- Availability Time: Time of day, such as
09:00, and timezone by which the data should be available. - Retention: Period, in days, weeks, months, or years, the data is retained.
- Column: Column that holds the data’s refresh time.
- Click Save.
Run a Contract
To check the contract now, open the actions menu on the Contract tab and select Run now.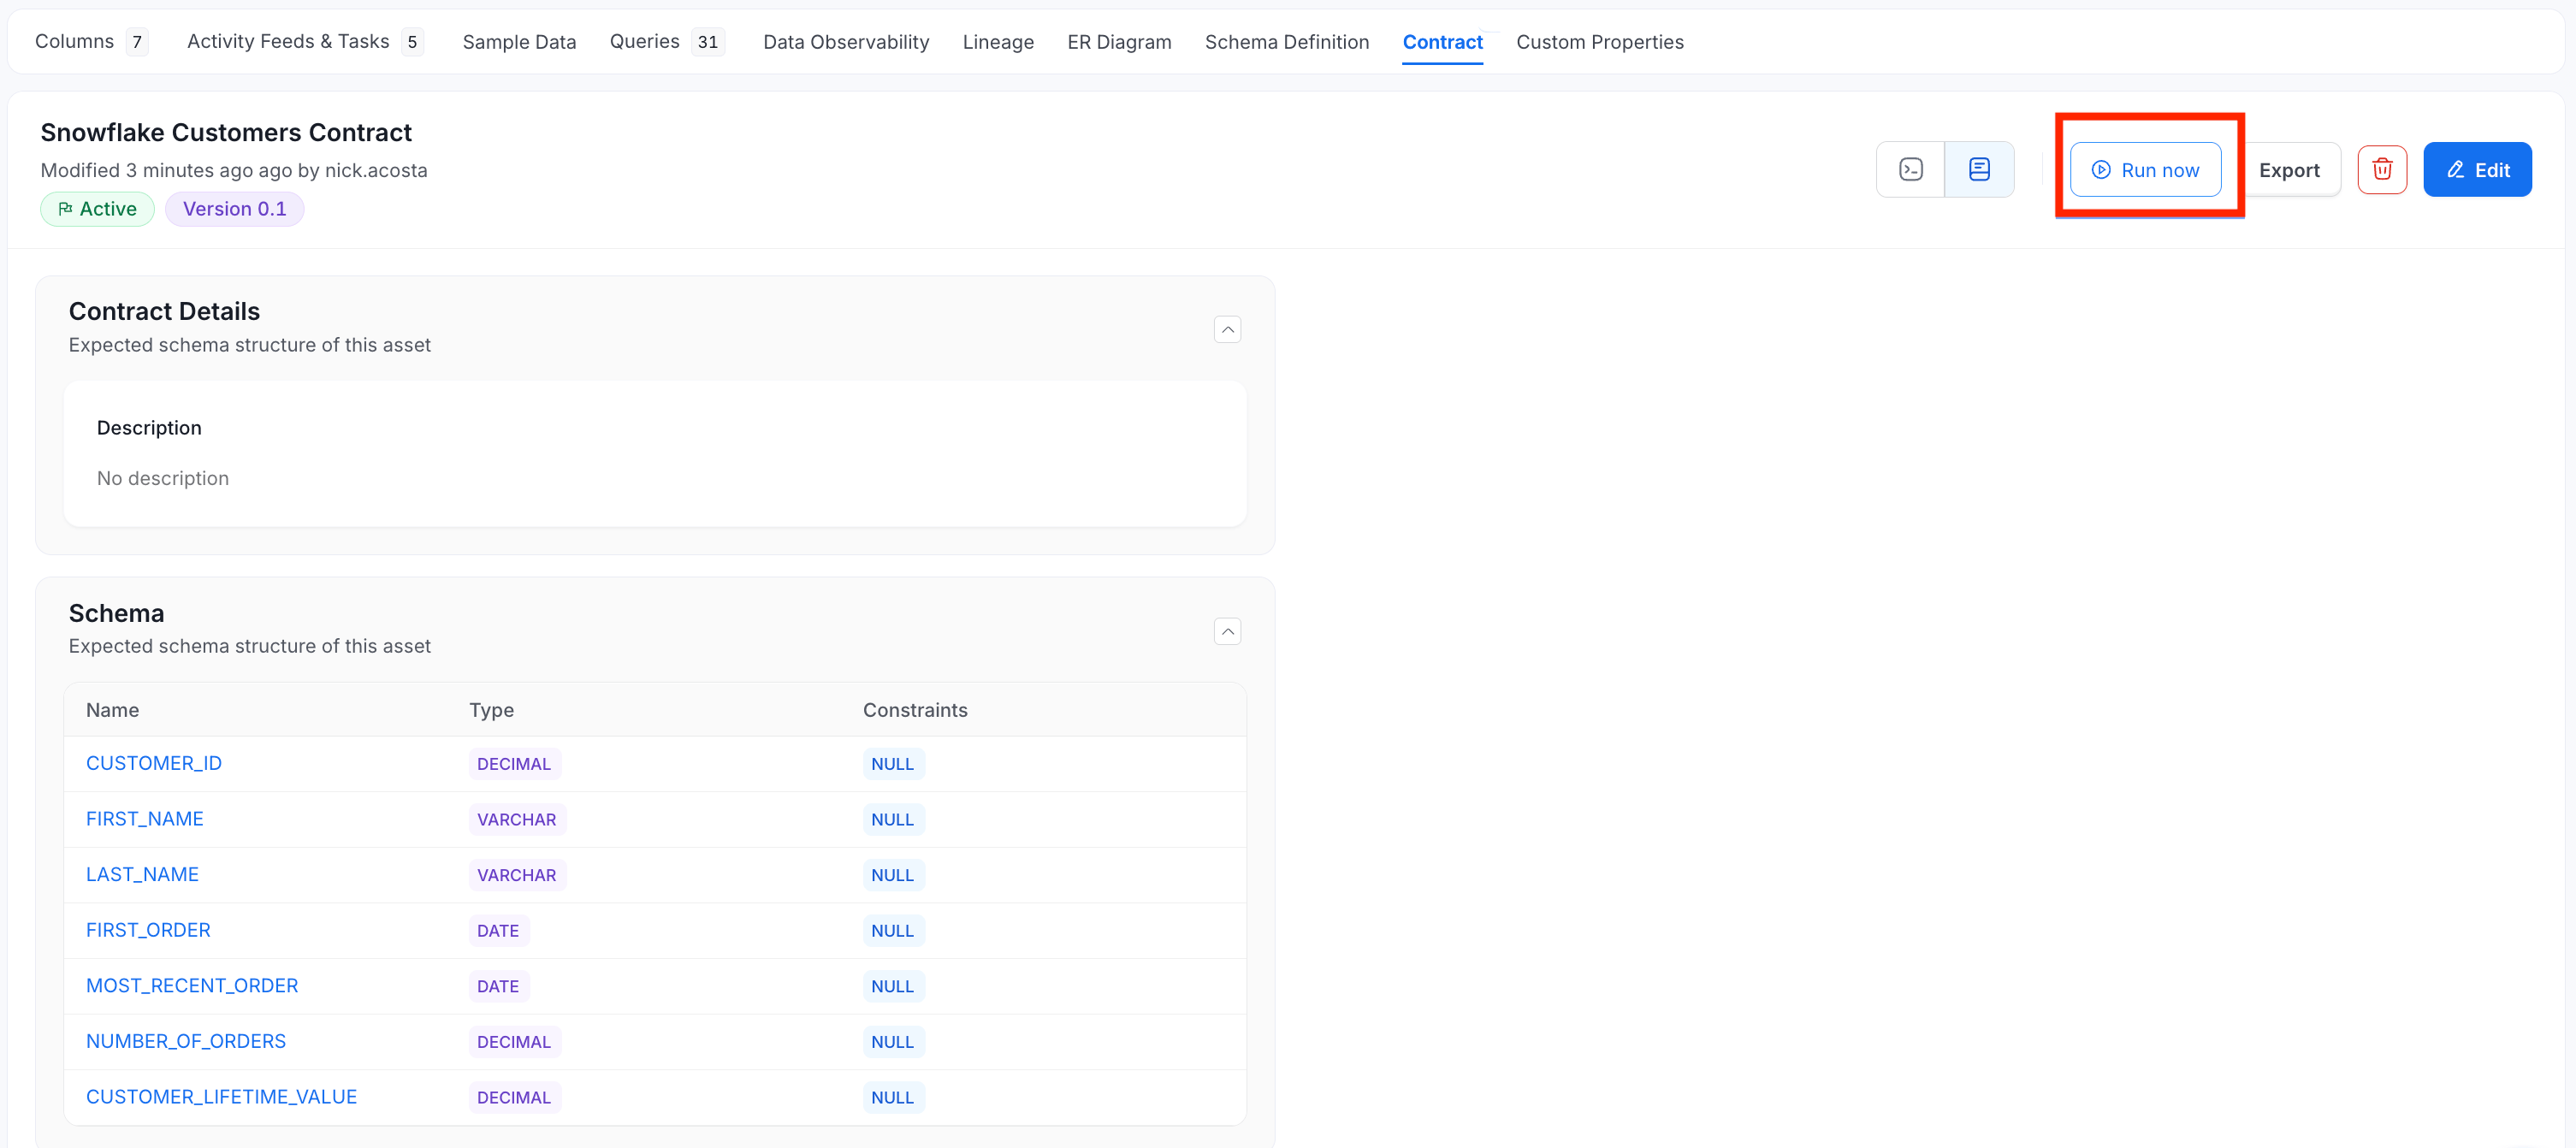
Manage a Contract
-
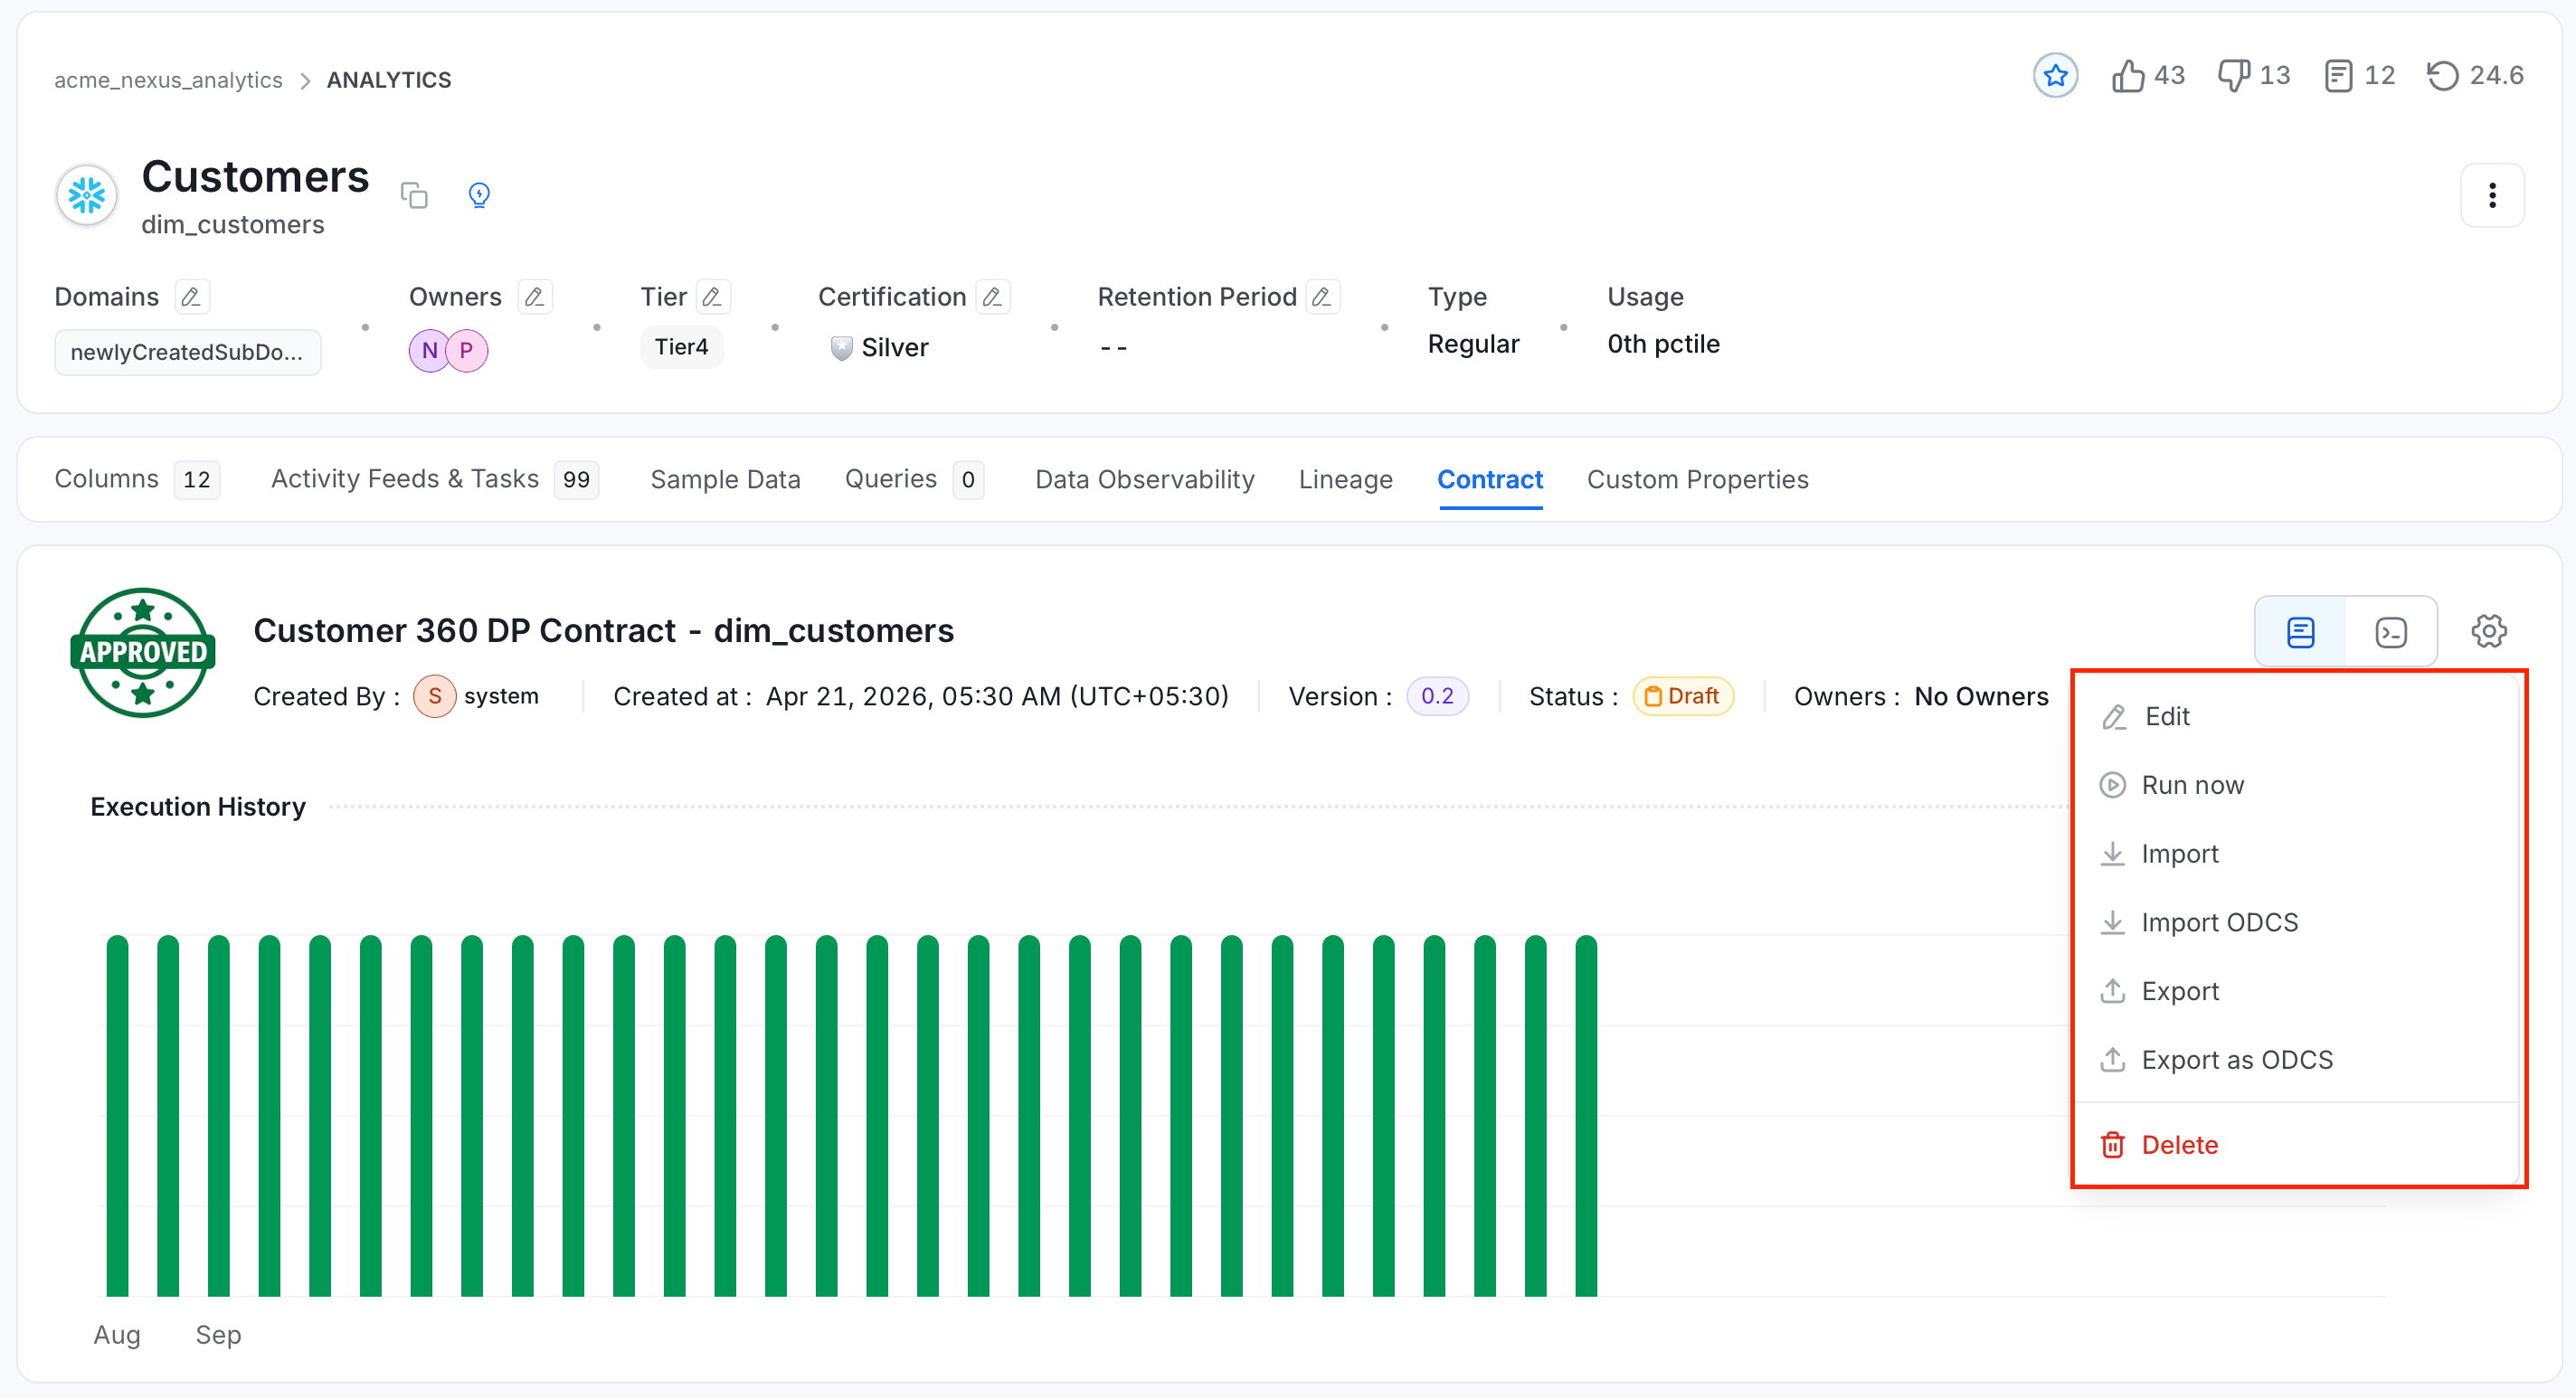
Click the Settings icon and the menu shows the following options:
-
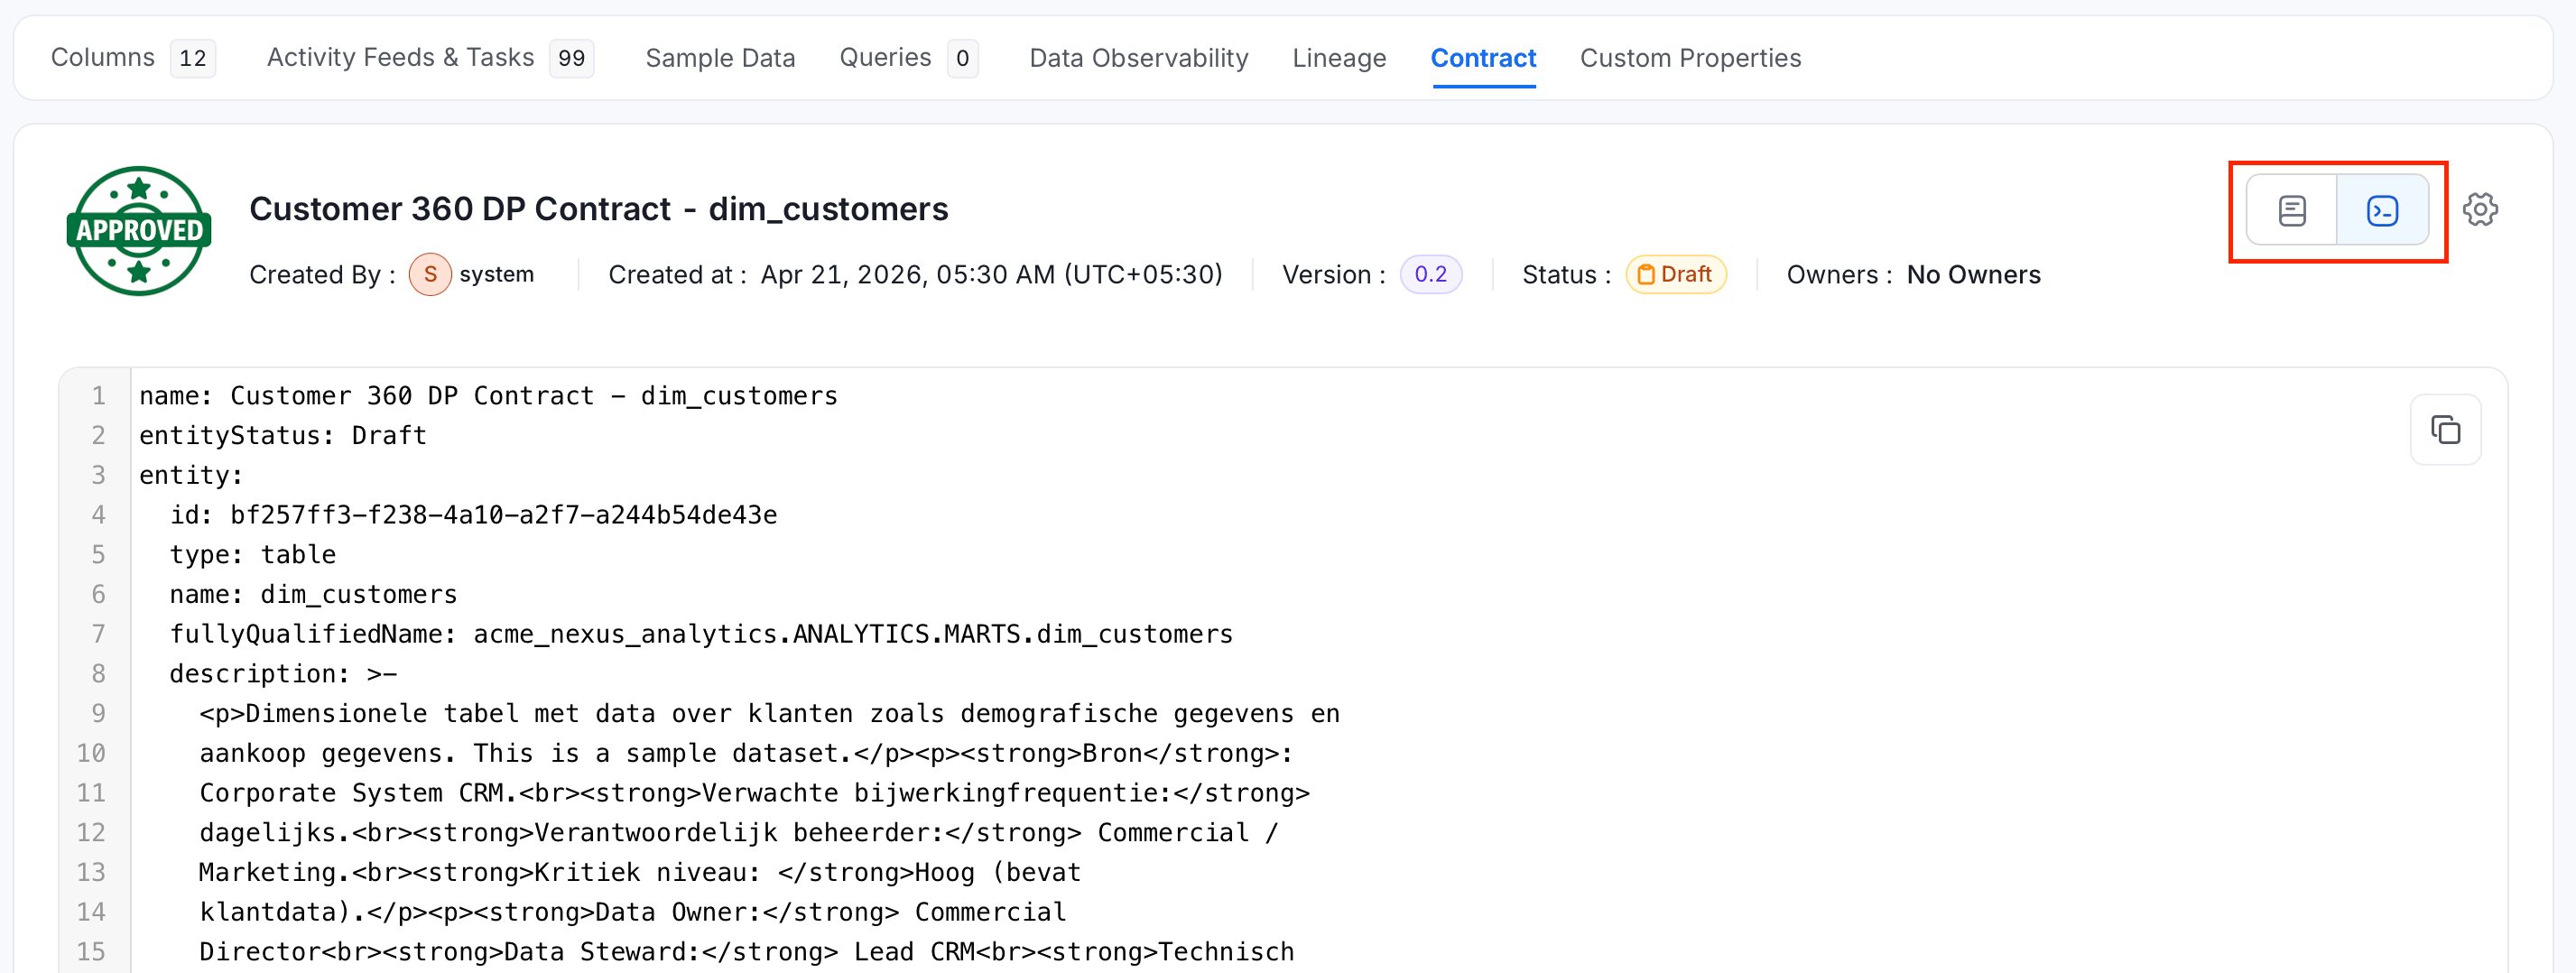
Use the view switch next to the Settings icon to see the contract as YAML.
Import a Contract
To create a contract from a file instead of the form, select Add Contract > Import OM for an OpenMetadata YAML file, or Add Contract > Import ODCS for an ODCS file.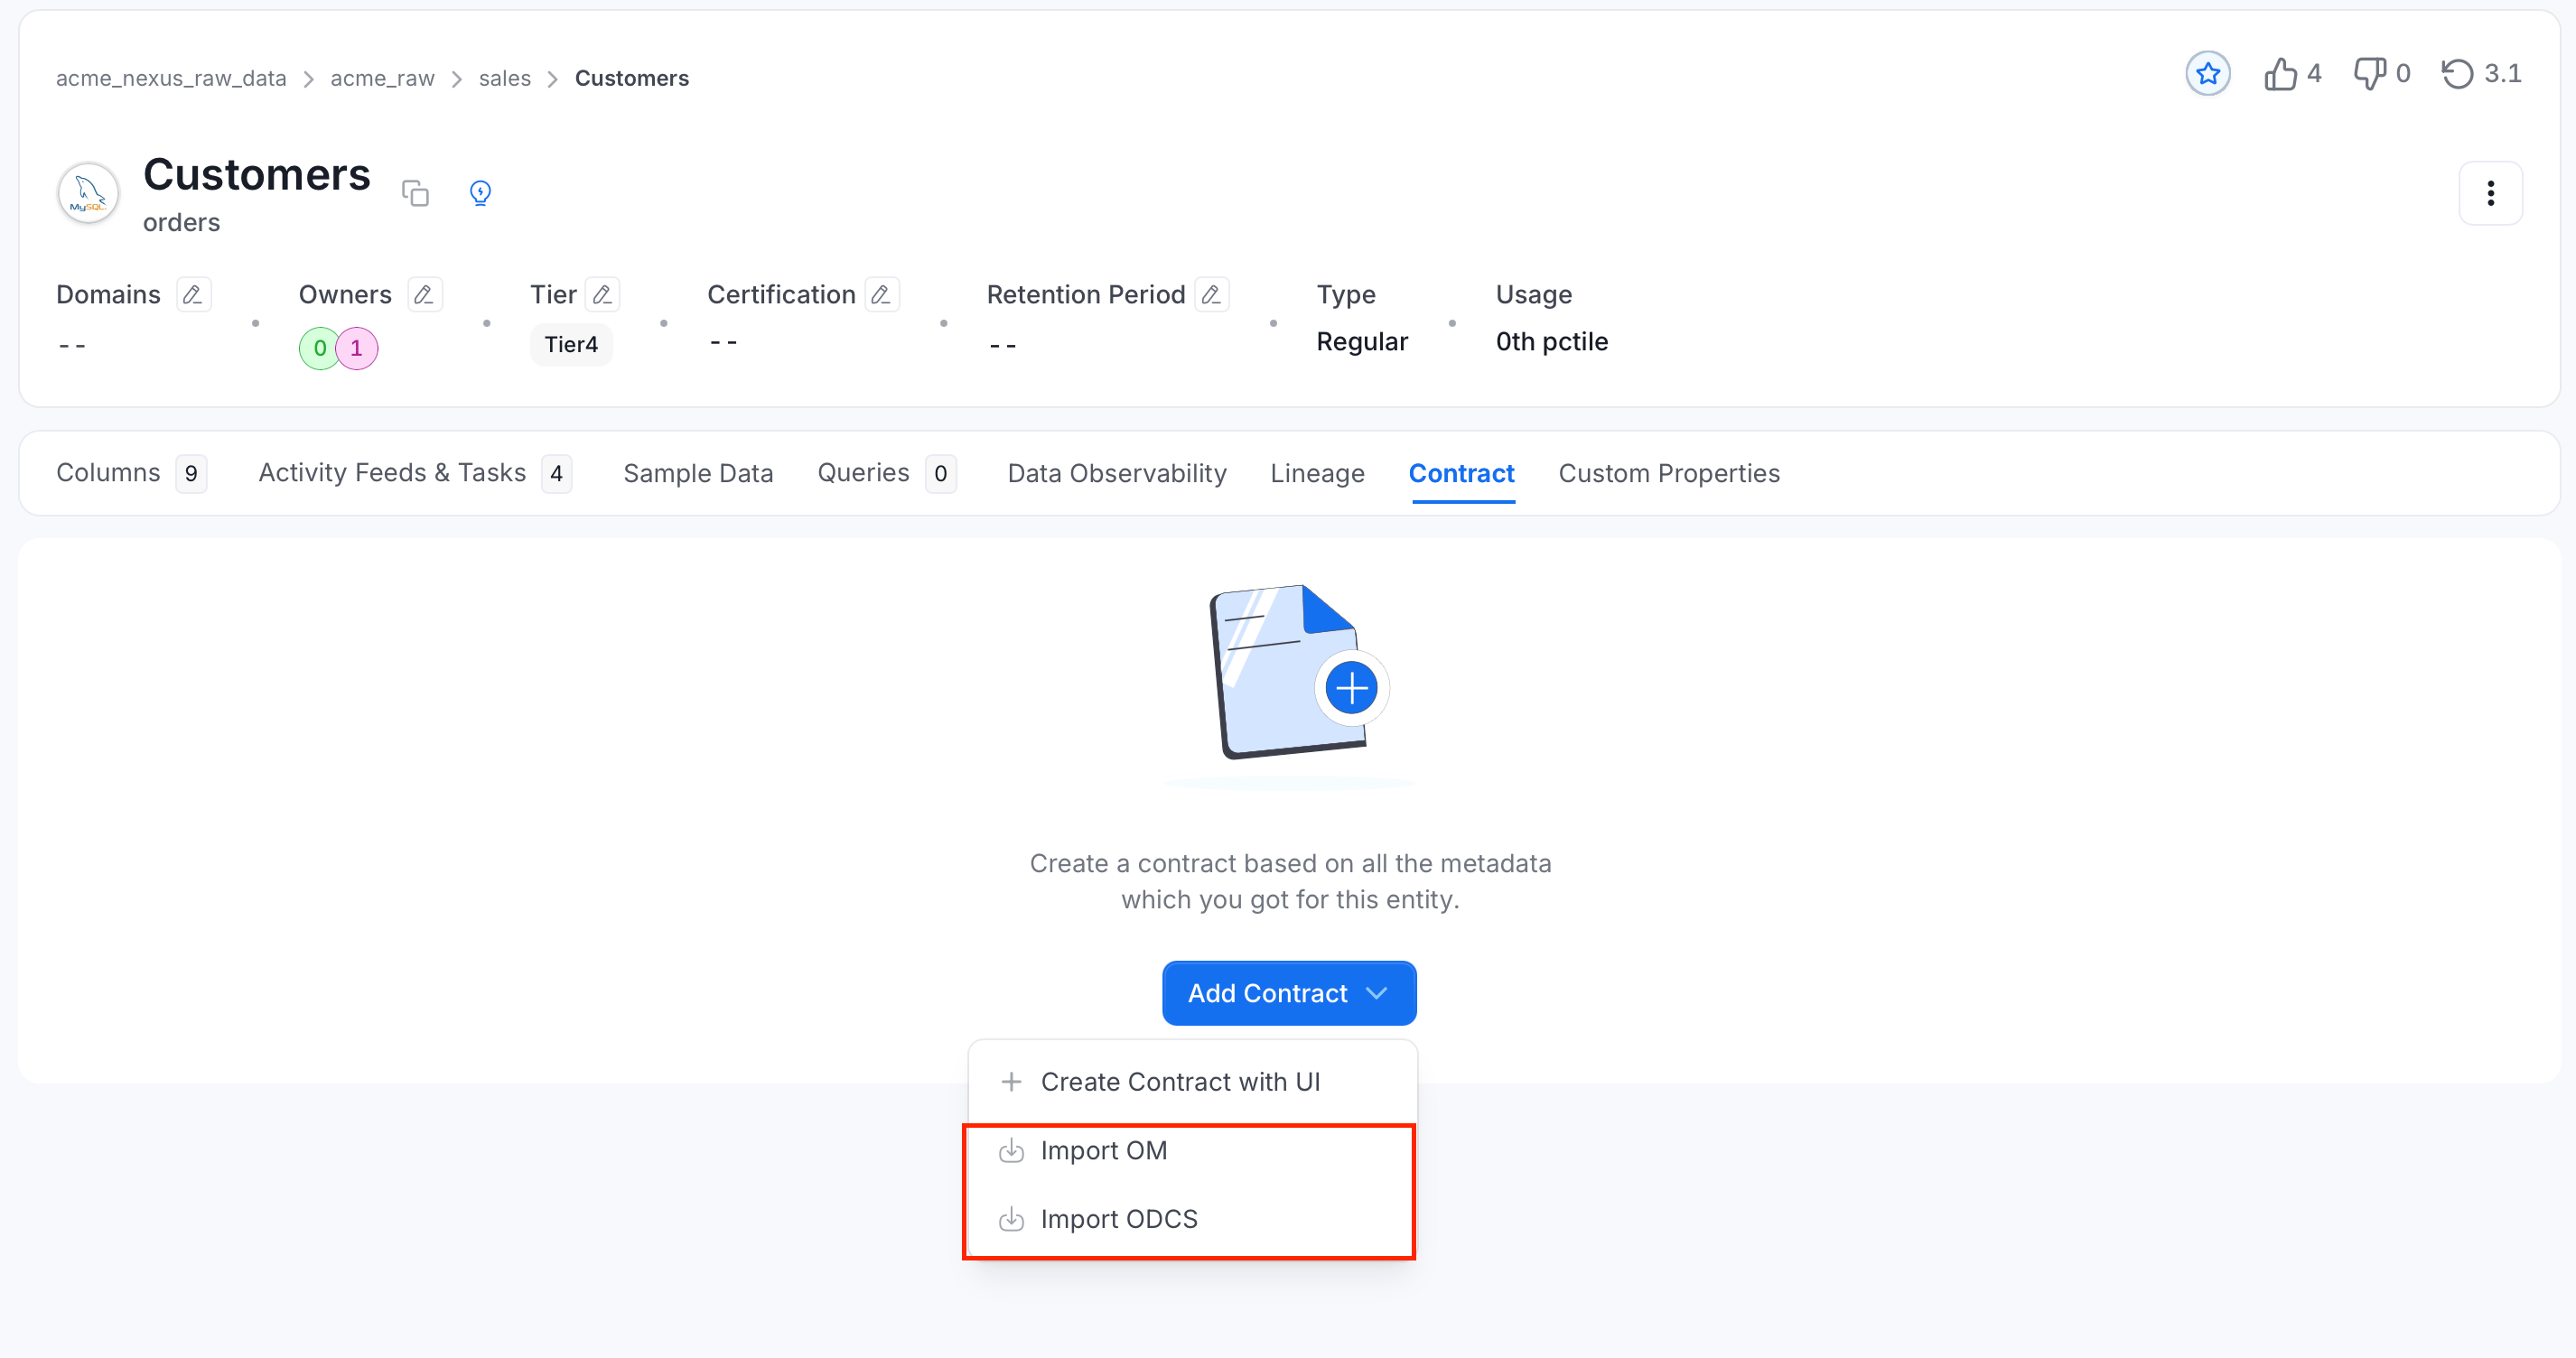
- Merge with Existing: Updates the fields the file sets and keeps the rest.
- Replace Entire Contract: Replaces the contract with the file.
Data Contract Specification
Every section of a data contract and what OpenMetadata checks.