Supported Authentication Types:
- Basic Auth — Username and password authentication
- Access Token Auth — Personal access token name and secret for token-based authentication
Requirements
To ingest tableau metadata, minimumSite Role: Viewer is required for the tableau user.
To create lineage between tableau dashboard and any database service via the queries provided from Tableau Metadata API, please enable the Tableau Metadata API for your tableau server.
For more information on enabling the Tableau Metadata APIs follow the link here
Entity Mapping
The Tableau connector maps Tableau assets to OpenMetadata entities as follows:| Tableau Asset | OpenMetadata Entity | Description |
|---|---|---|
| Dashboard Views (sheetType=“dashboard”) | Dashboard | Tableau dashboard views are mapped to OpenMetadata Dashboard entities. These are the actual interactive dashboards in Tableau. |
| Sheet Views (worksheets, stories, etc.) | Chart | Tableau worksheet views and other sheet types are mapped to OpenMetadata Chart entities. |
| Workbooks | Project Hierarchy | Workbook information is preserved in the project field as {ProjectName}/{WorkbookName} to maintain the container relationship. |
| Data Sources | Data Models | Tableau data sources are mapped to OpenMetadata Data Model entities. |
Example Structure
Tableau Structure:- Tableau dashboards appear as OpenMetadata dashboards (not charts)
- Workbook context is preserved in the project hierarchy
- URLs point directly to the specific dashboard views
- Chrome Extension compatibility is maintained
Metadata Ingestion
Connection Details
Connection Details
- Host and Port: URL or IP address of your installation of Tableau Server.
- Authentication Types:
- Basic Authentication
- Username: The name of the user whose credentials will be used to sign in.
- Password: The password of the user.
- Access Token Authentication
- API Version: Tableau API version. If not provided, the version will be used from the Tableau server automatically. A list of versions can be found here.
- Site Name: This corresponds to the
contentUrlattribute in the Tableau REST API. Thesite_nameis the portion of the URL that follows the/site/in the URL. - Pagination Limit: The pagination limit will be used while querying the Tableau Graphql endpoint to get the data source information.
- Proxy URL: Optional proxy URL for the Tableau server. If not provided, the hostPort will be used. This is used to generate the dashboard and chart URLs.
Site Name
1. Service Connection for Tableau Cloud
If you’re connecting to a cloud Tableau instance, add theSite Name with your site name.2. Service Connection for a default tableau site
For a default tableau site theSite Name field should be kept empty.3. Service Connection for a non-default tableau site
For a non-default tableau site theSite Name field is required.Authentication Type
1. Basic Authentication
We need the name of the user whose credentials will be used to sign in and the password of the user.2. Access Token Authentication
In this case, the personal access token name and the personal access token value are required. For more information to get a Personal Access Token please visit this link.Test the Connection
Once the credentials have been added, click on Test Connection and Save the changes.
Configure Metadata Ingestion
In this step we will configure the metadata ingestion pipeline,
Please follow the instructions below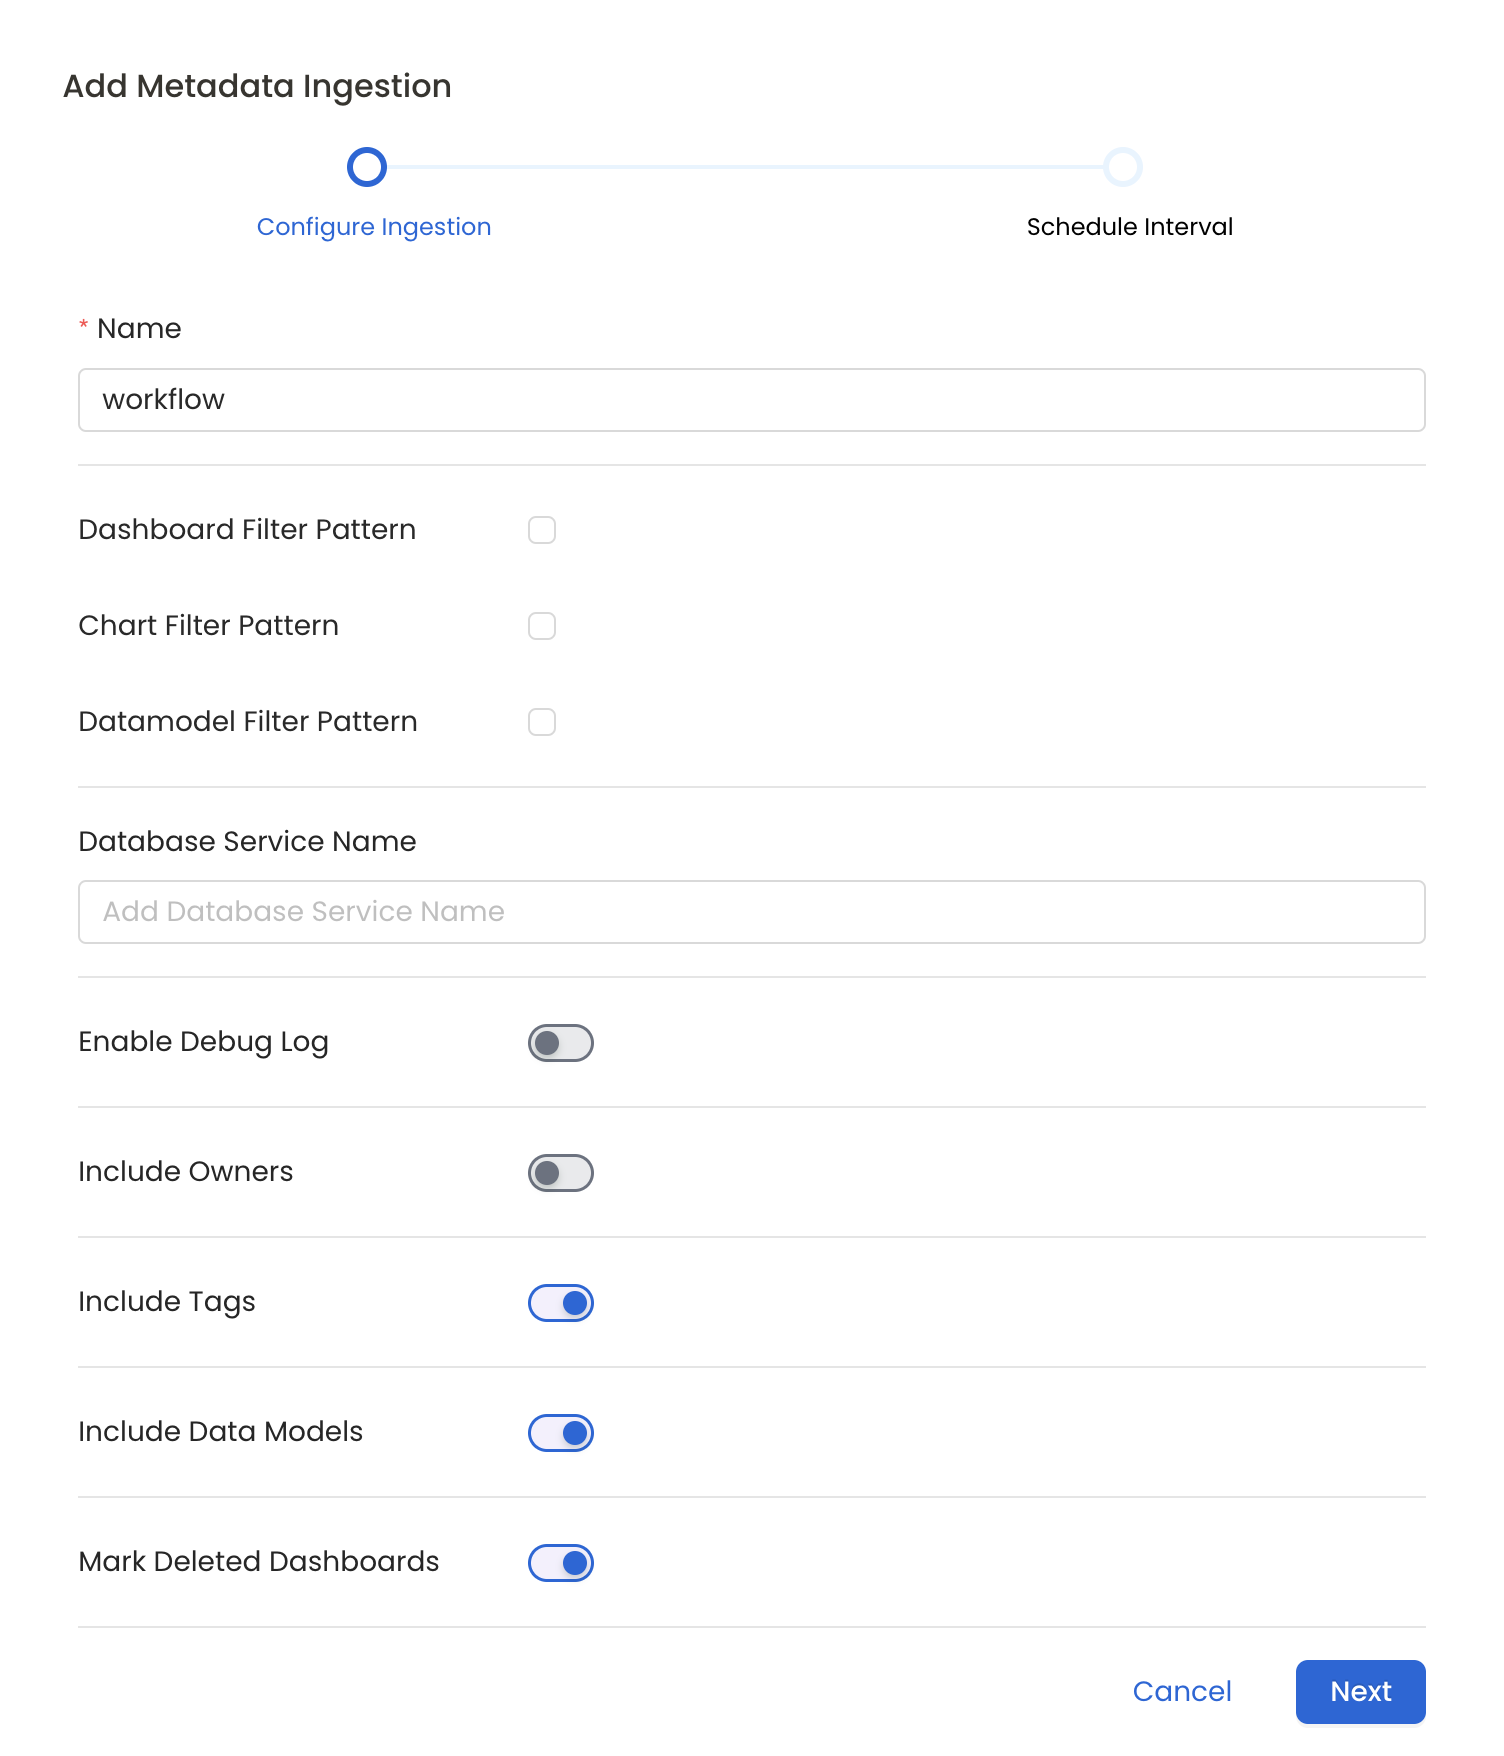
Metadata Ingestion Options
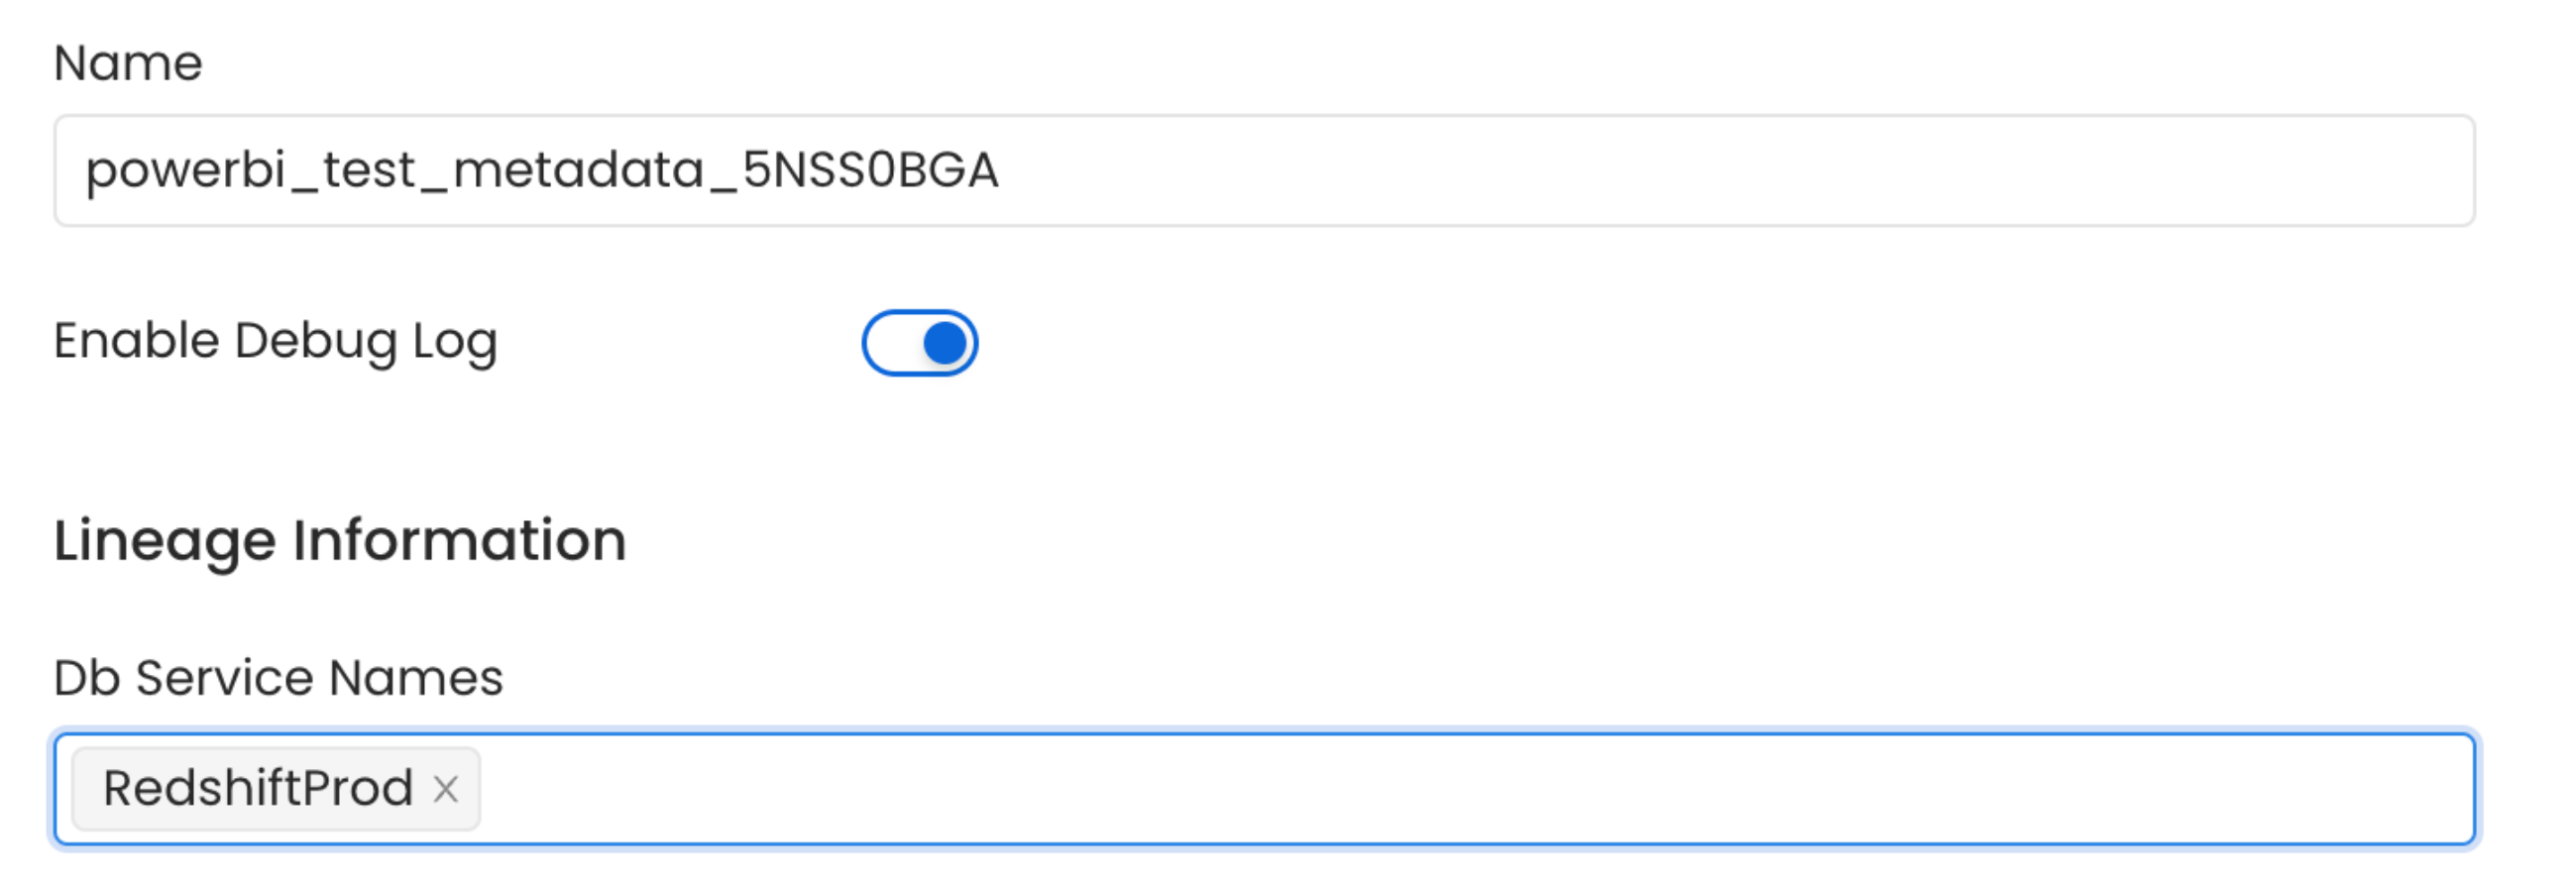
- Name: This field refers to the name of ingestion pipeline, you can customize the name or use the generated name.
- Dashboard Filter Pattern (Optional): Use it to control whether to include dashboard as part of metadata ingestion.
- Include: Explicitly include dashboards by adding a list of comma-separated regular expressions to the ‘Include’ field. OpenMetadata will include all dashboards with names matching one or more of the supplied regular expressions. All other dashboards will be excluded.
- Exclude: Explicitly exclude dashboards by adding a list of comma-separated regular expressions to the ‘Exclude’ field. OpenMetadata will exclude all dashboards with names matching one or more of the supplied regular expressions. All other dashboards will be included.
- projectFilterPattern: Filter the dashboards, charts and data sources by projects. Note that all of them support regex as include or exclude. E.g., “My project, My proj.*, .*Project”.
- Chart Pattern (Optional): Use it to control whether to include charts as part of metadata ingestion.
- Include: Explicitly include charts by adding a list of comma-separated regular expressions to the ‘Include’ field. OpenMetadata will include all charts with names matching one or more of the supplied regular expressions. All other charts will be excluded.
- Exclude: Explicitly exclude charts by adding a list of comma-separated regular expressions to the ‘Exclude’ field. OpenMetadata will exclude all charts with names matching one or more of the supplied regular expressions. All other charts will be included.
- Data Model Pattern (Optional): Use it to control whether to include data modes as part of metadata ingestion.
- Include: Explicitly include data models by adding a list of comma-separated regular expressions to the ‘Include’ field. OpenMetadata will include all data models with names matching one or more of the supplied regular expressions. All other data models will be excluded.
- Exclude: Explicitly exclude data models by adding a list of comma-separated regular expressions to the ‘Exclude’ field. OpenMetadata will exclude all data models with names matching one or more of the supplied regular expressions. All other data models will be included.
- Database Service Name (Optional): Enter the name of Database Service which is already ingested in OpenMetadata to create lineage between dashboards and database tables.
- Enable Debug Log (toggle): Set the ‘Enable Debug Log’ toggle to set the default log level to debug.
- Include Owners (toggle): Set the ‘Include Owners’ toggle to control whether to include owners to the ingested entity if the owner email matches with a user stored in the OM server as part of metadata ingestion. If the ingested entity already exists and has an owner, the owner will not be overwritten.
- Include Tags (toggle): Set the ‘Include Tags’ toggle to control whether to include tags in metadata ingestion.
- Include Data Models (toggle): Set the ‘Include Data Models’ toggle to control whether to include tags as part of metadata ingestion.
- Mark Deleted Dashboards (toggle): Set the ‘Mark Deleted Dashboards’ toggle to flag dashboards as soft-deleted if they are not present anymore in the source system.
- Include Draft Dashboard (toogle): Set the ‘Include Draft Dashboard’ toggle to include draft dashboards. By default it will include draft dashboards.
Schedule the Ingestion and Deploy
Scheduling can be set up at an hourly, daily, weekly, or manual cadence. The
timezone is in UTC. Select a Start Date to schedule for ingestion. It is
optional to add an End Date.Review your configuration settings. If they match what you intended,
click Deploy to create the service and schedule metadata ingestion.If something doesn’t look right, click the Back button to return to the
appropriate step and change the settings as needed.After configuring the workflow, you can click on Deploy to create the
pipeline.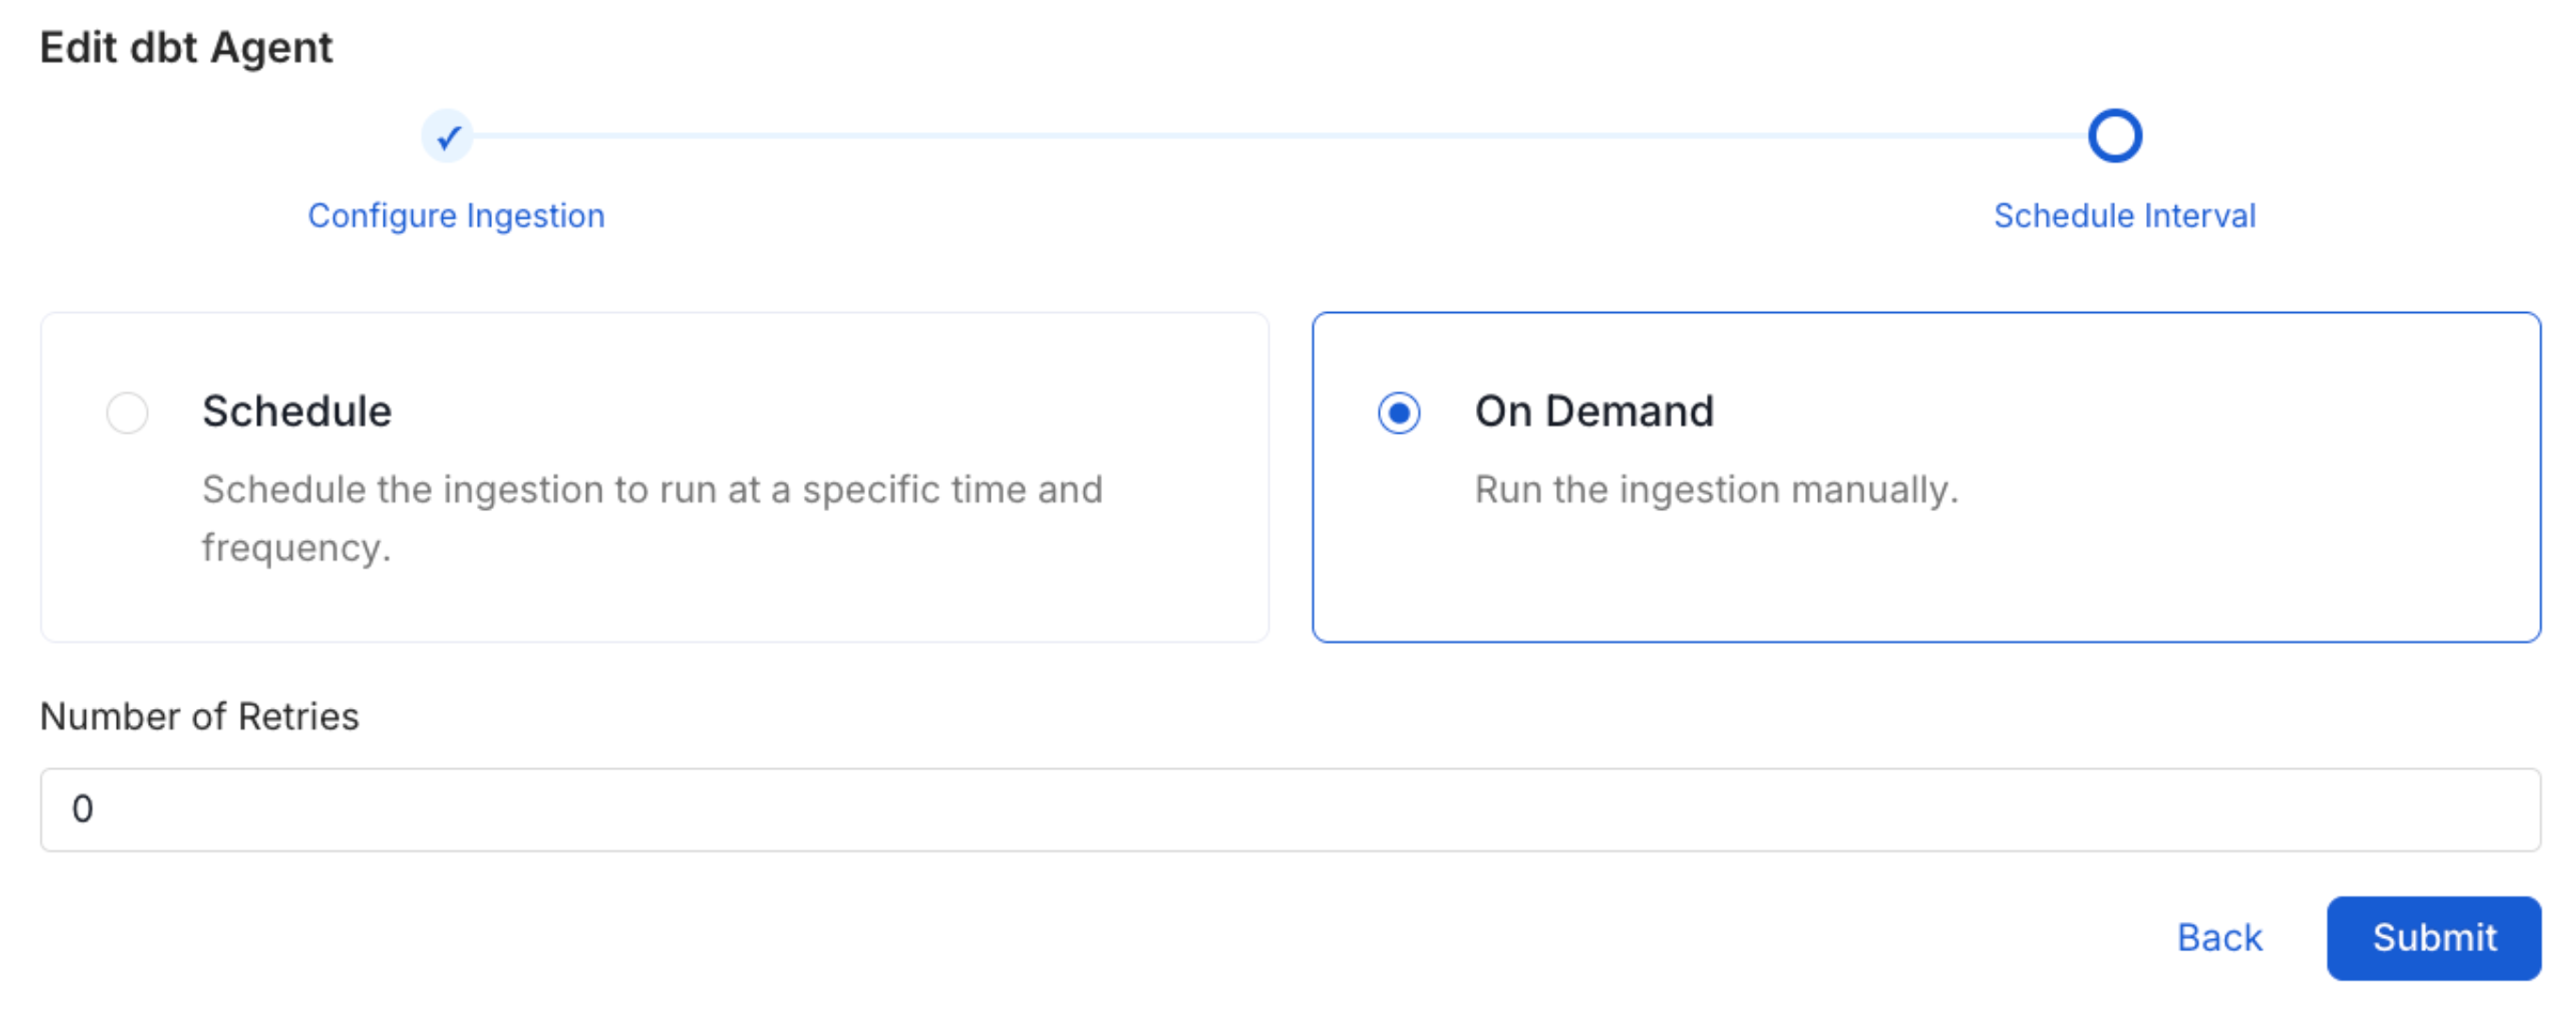
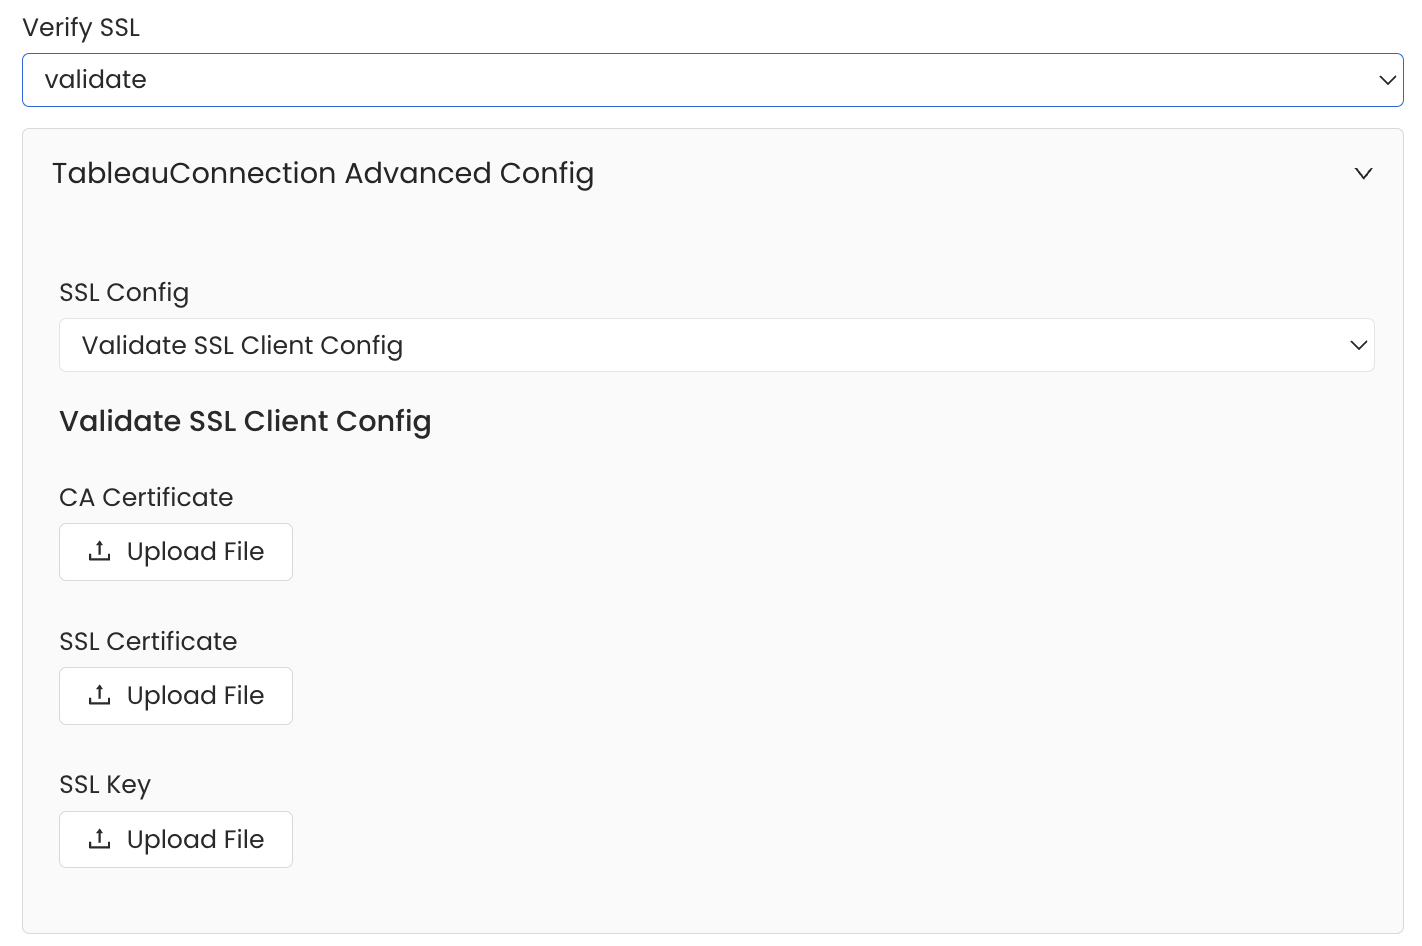
Securing Tableau Connection with SSL in OpenMetadata
To establish secure connections between OpenMetadata and Tableau, navigate to theAdvanced Config section. Here, you can provide the CA certificate used for SSL validation by specifying the caCertificate. Alternatively, if both client and server require mutual authentication, you’ll need to use all three parameters: ssl key, ssl cert, and caCertificate. In this case, ssl_cert is used for the client’s SSL certificate, ssl_key for the private key associated with the SSL certificate, and caCertificate for the CA certificate to validate the server’s certificate.
Lineage
To establish lineage from your database tables to dashboards, you must add the corresponding database service name.