How to Work with the Incident Manager Workflow
1. Incident Dashboard
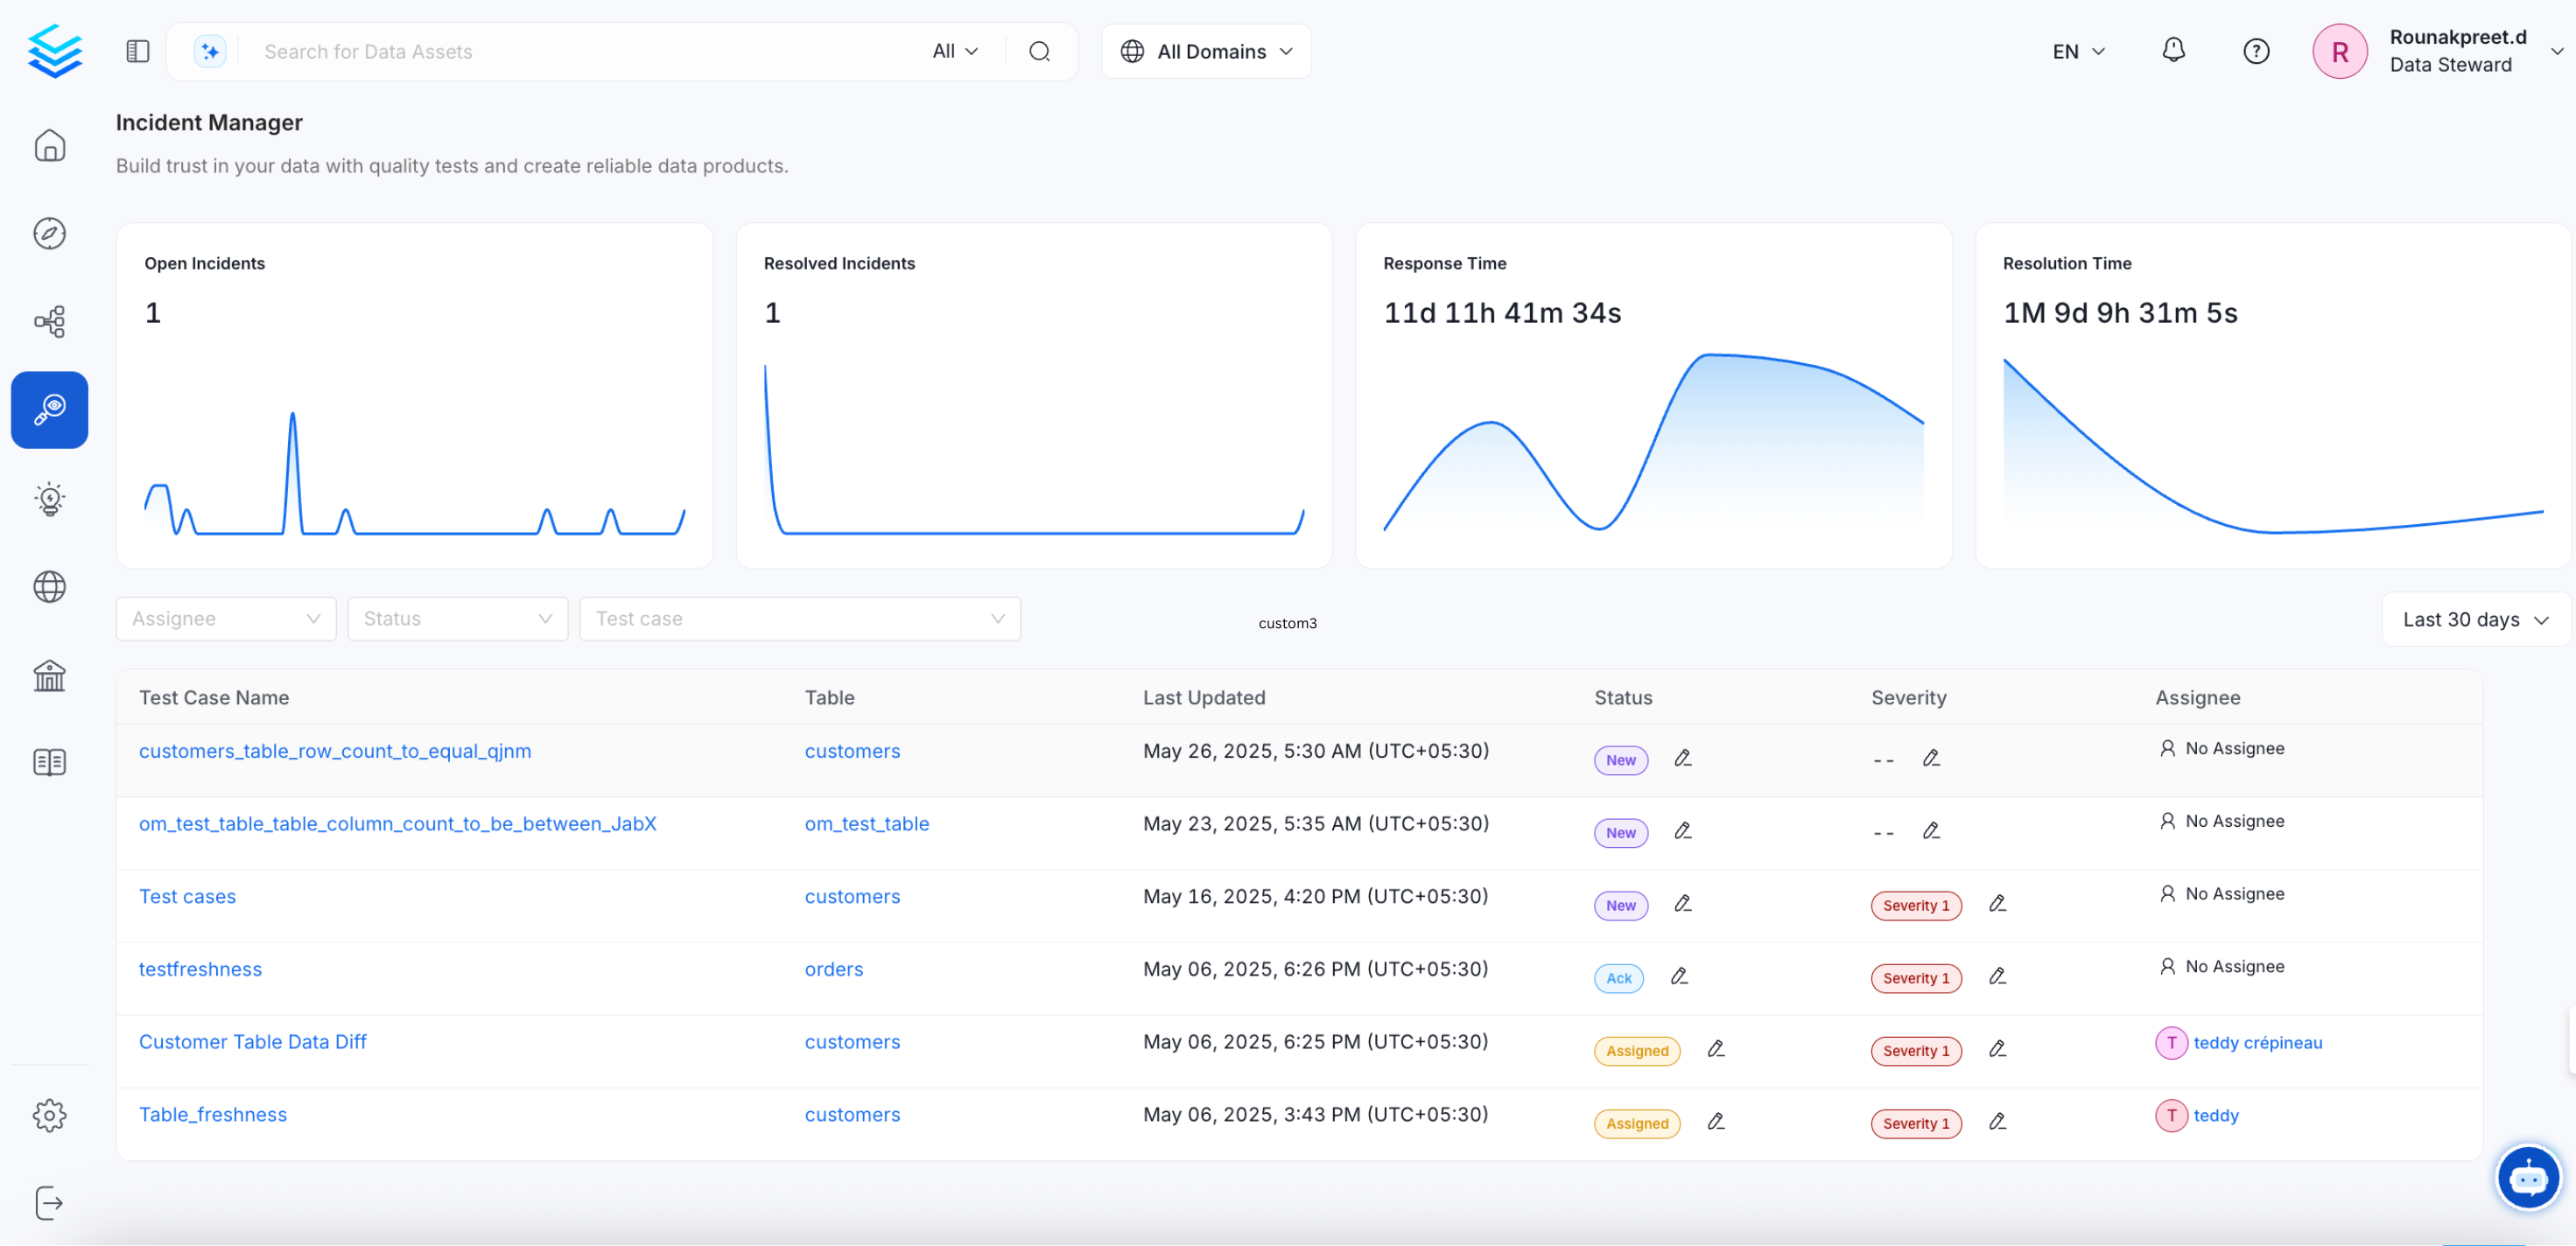
The Incident Dashboard is the central hub where all incidents are displayed. Users can filter incidents by various criteria to manage and prioritize them effectively.Filters Available:
- Assignee: View incidents assigned to specific team members.
- Status: Filter incidents based on their current status (e.g., New, ACK, Assigned, Resolved).
- Test Cases: Filter incidents associated with specific test cases.
- Time: Sort incidents by the time they were reported or last updated.
2. Incident Status Change
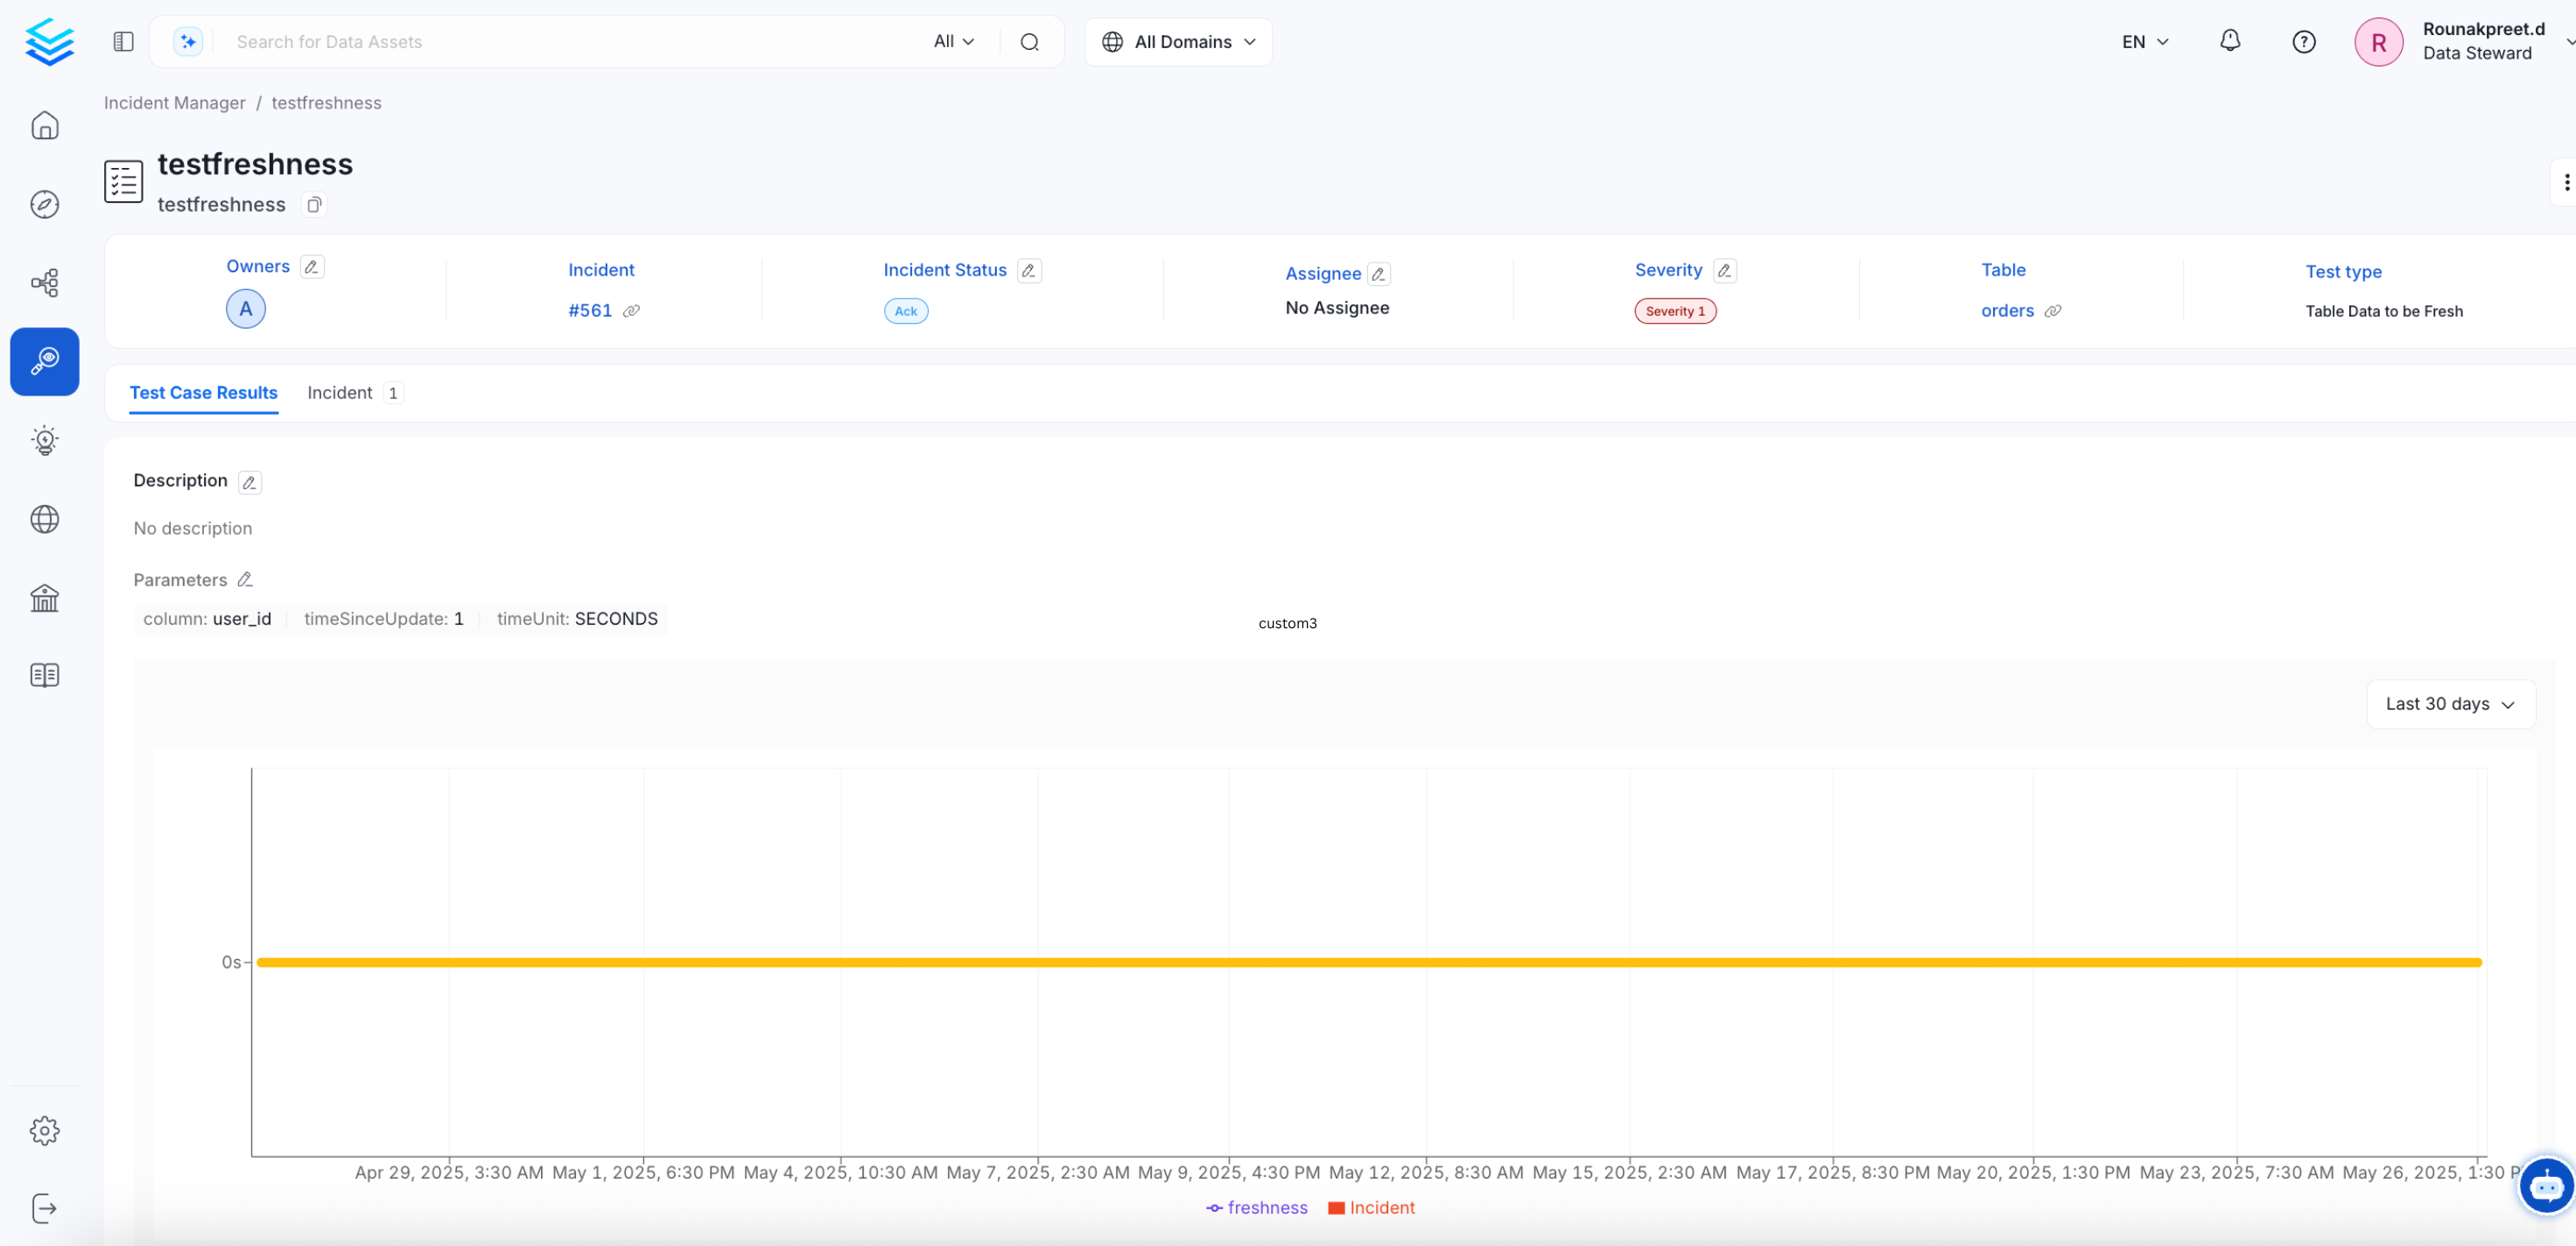
Incident status can be updated to reflect the current stage of the incident resolution process. The owner of the incident has the ability to assign it to an appropriate assignee for further action.Steps to Change Incident Status:
- Navigate to the Incident Dashboard.
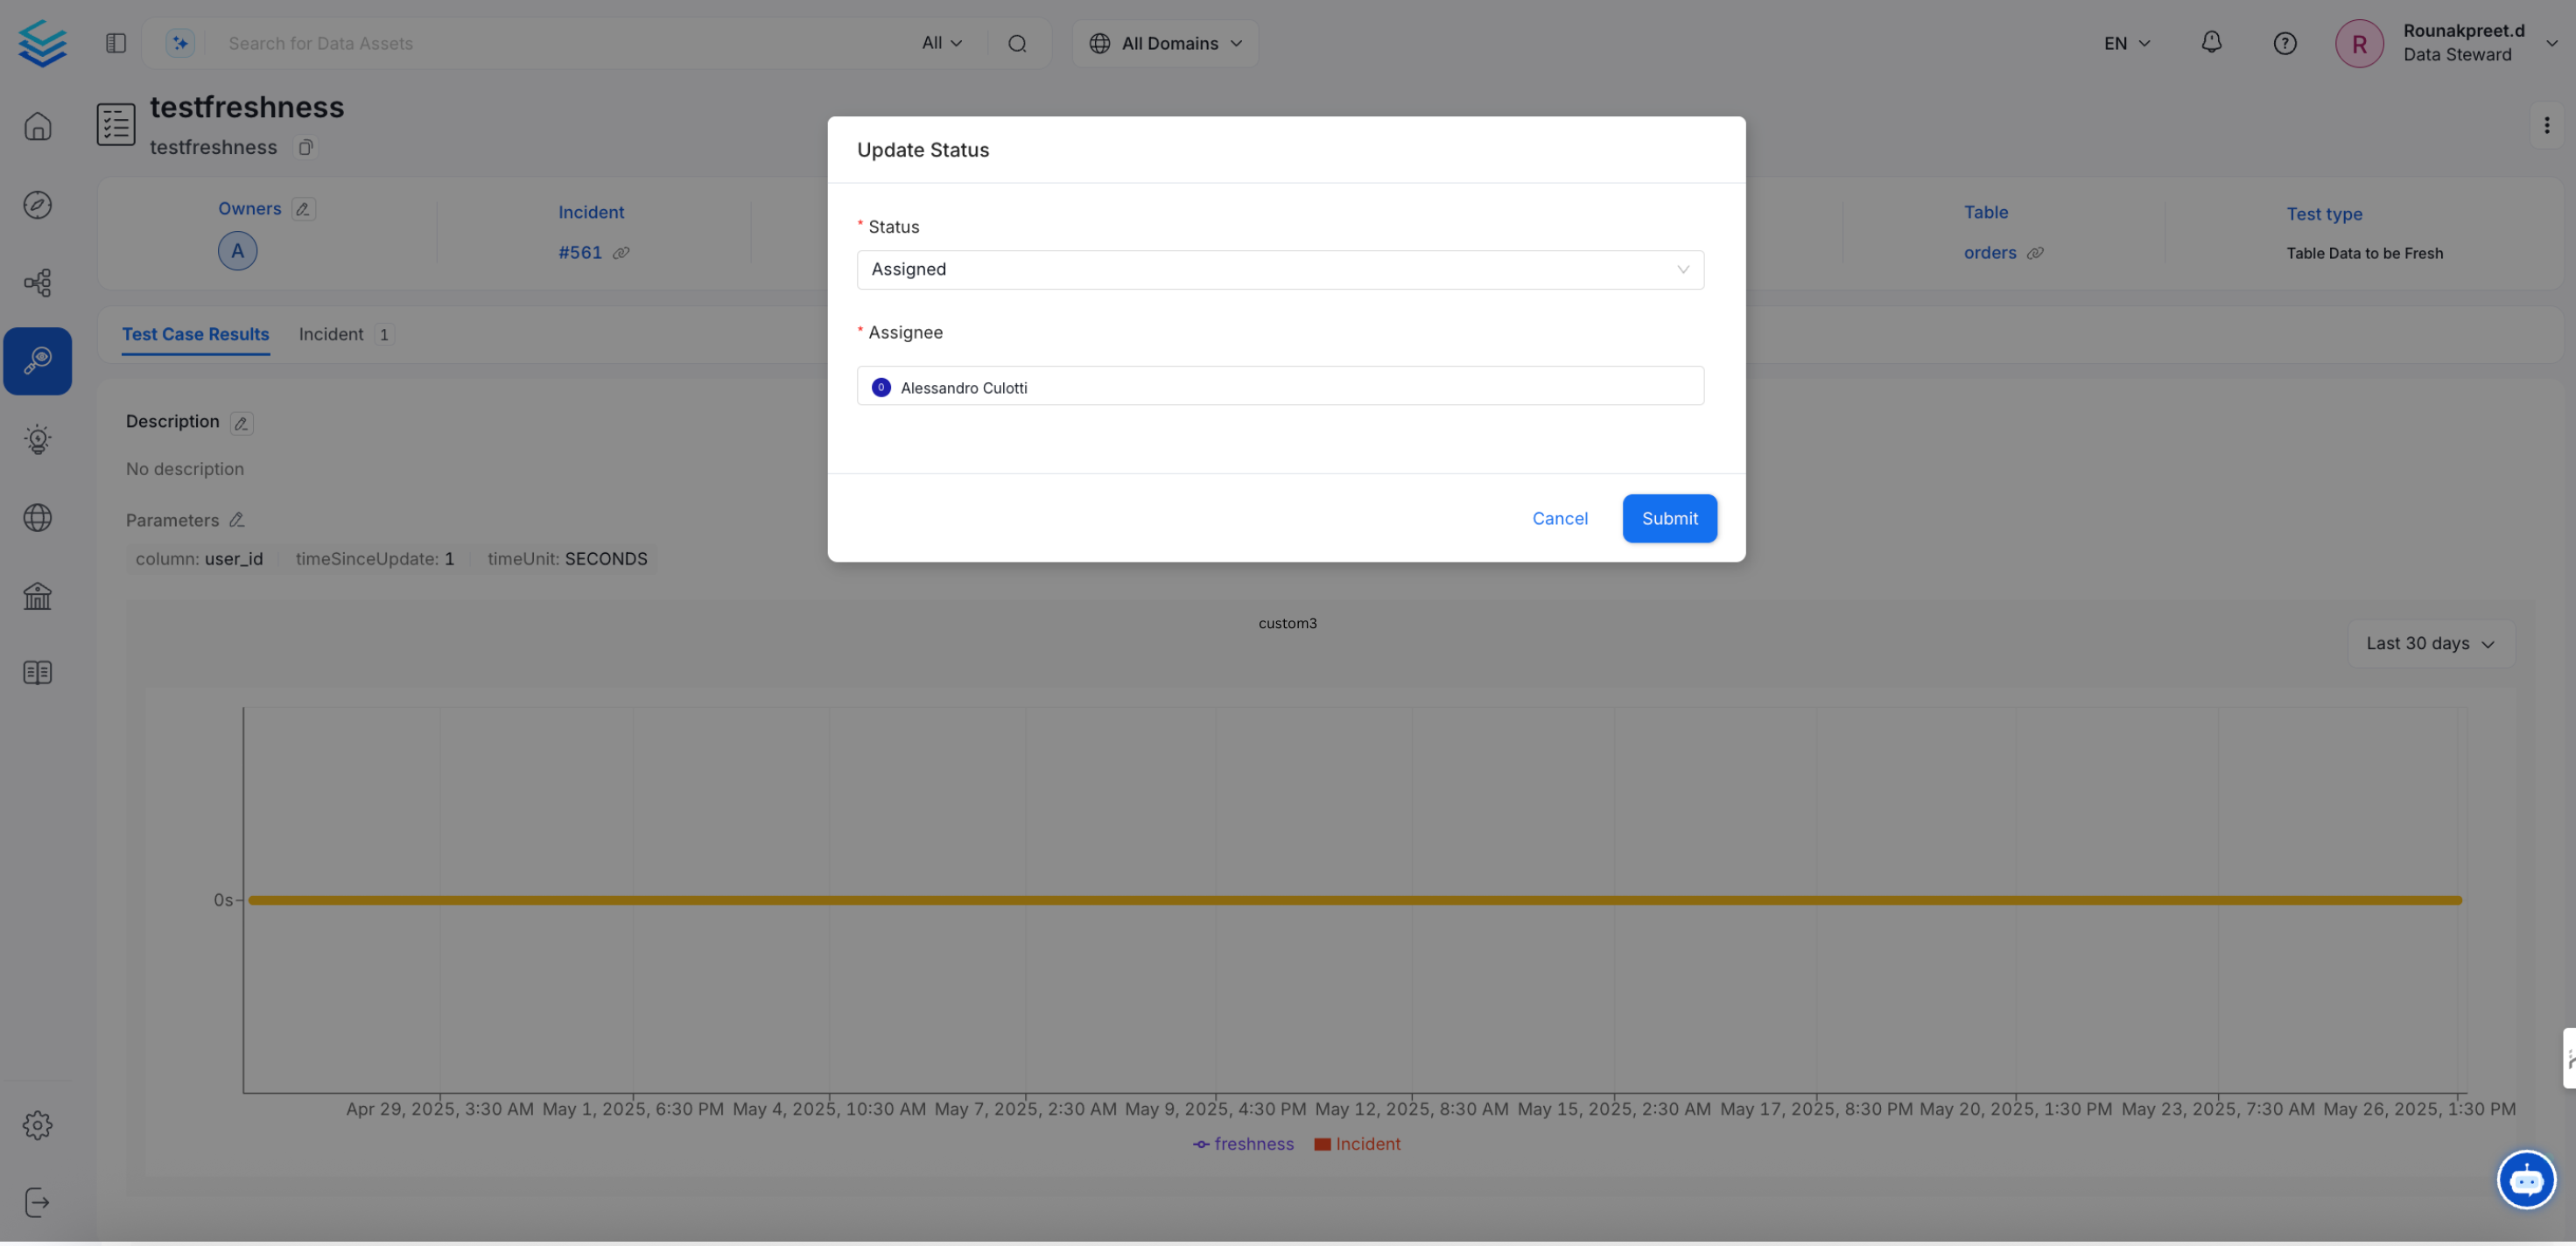
- Select the incident that needs a status update.
- Choose the new status from the dropdown menu.
- Assign the incident to the appropriate team member.
- You can review the Test Case Details.
3. Incident Resolution
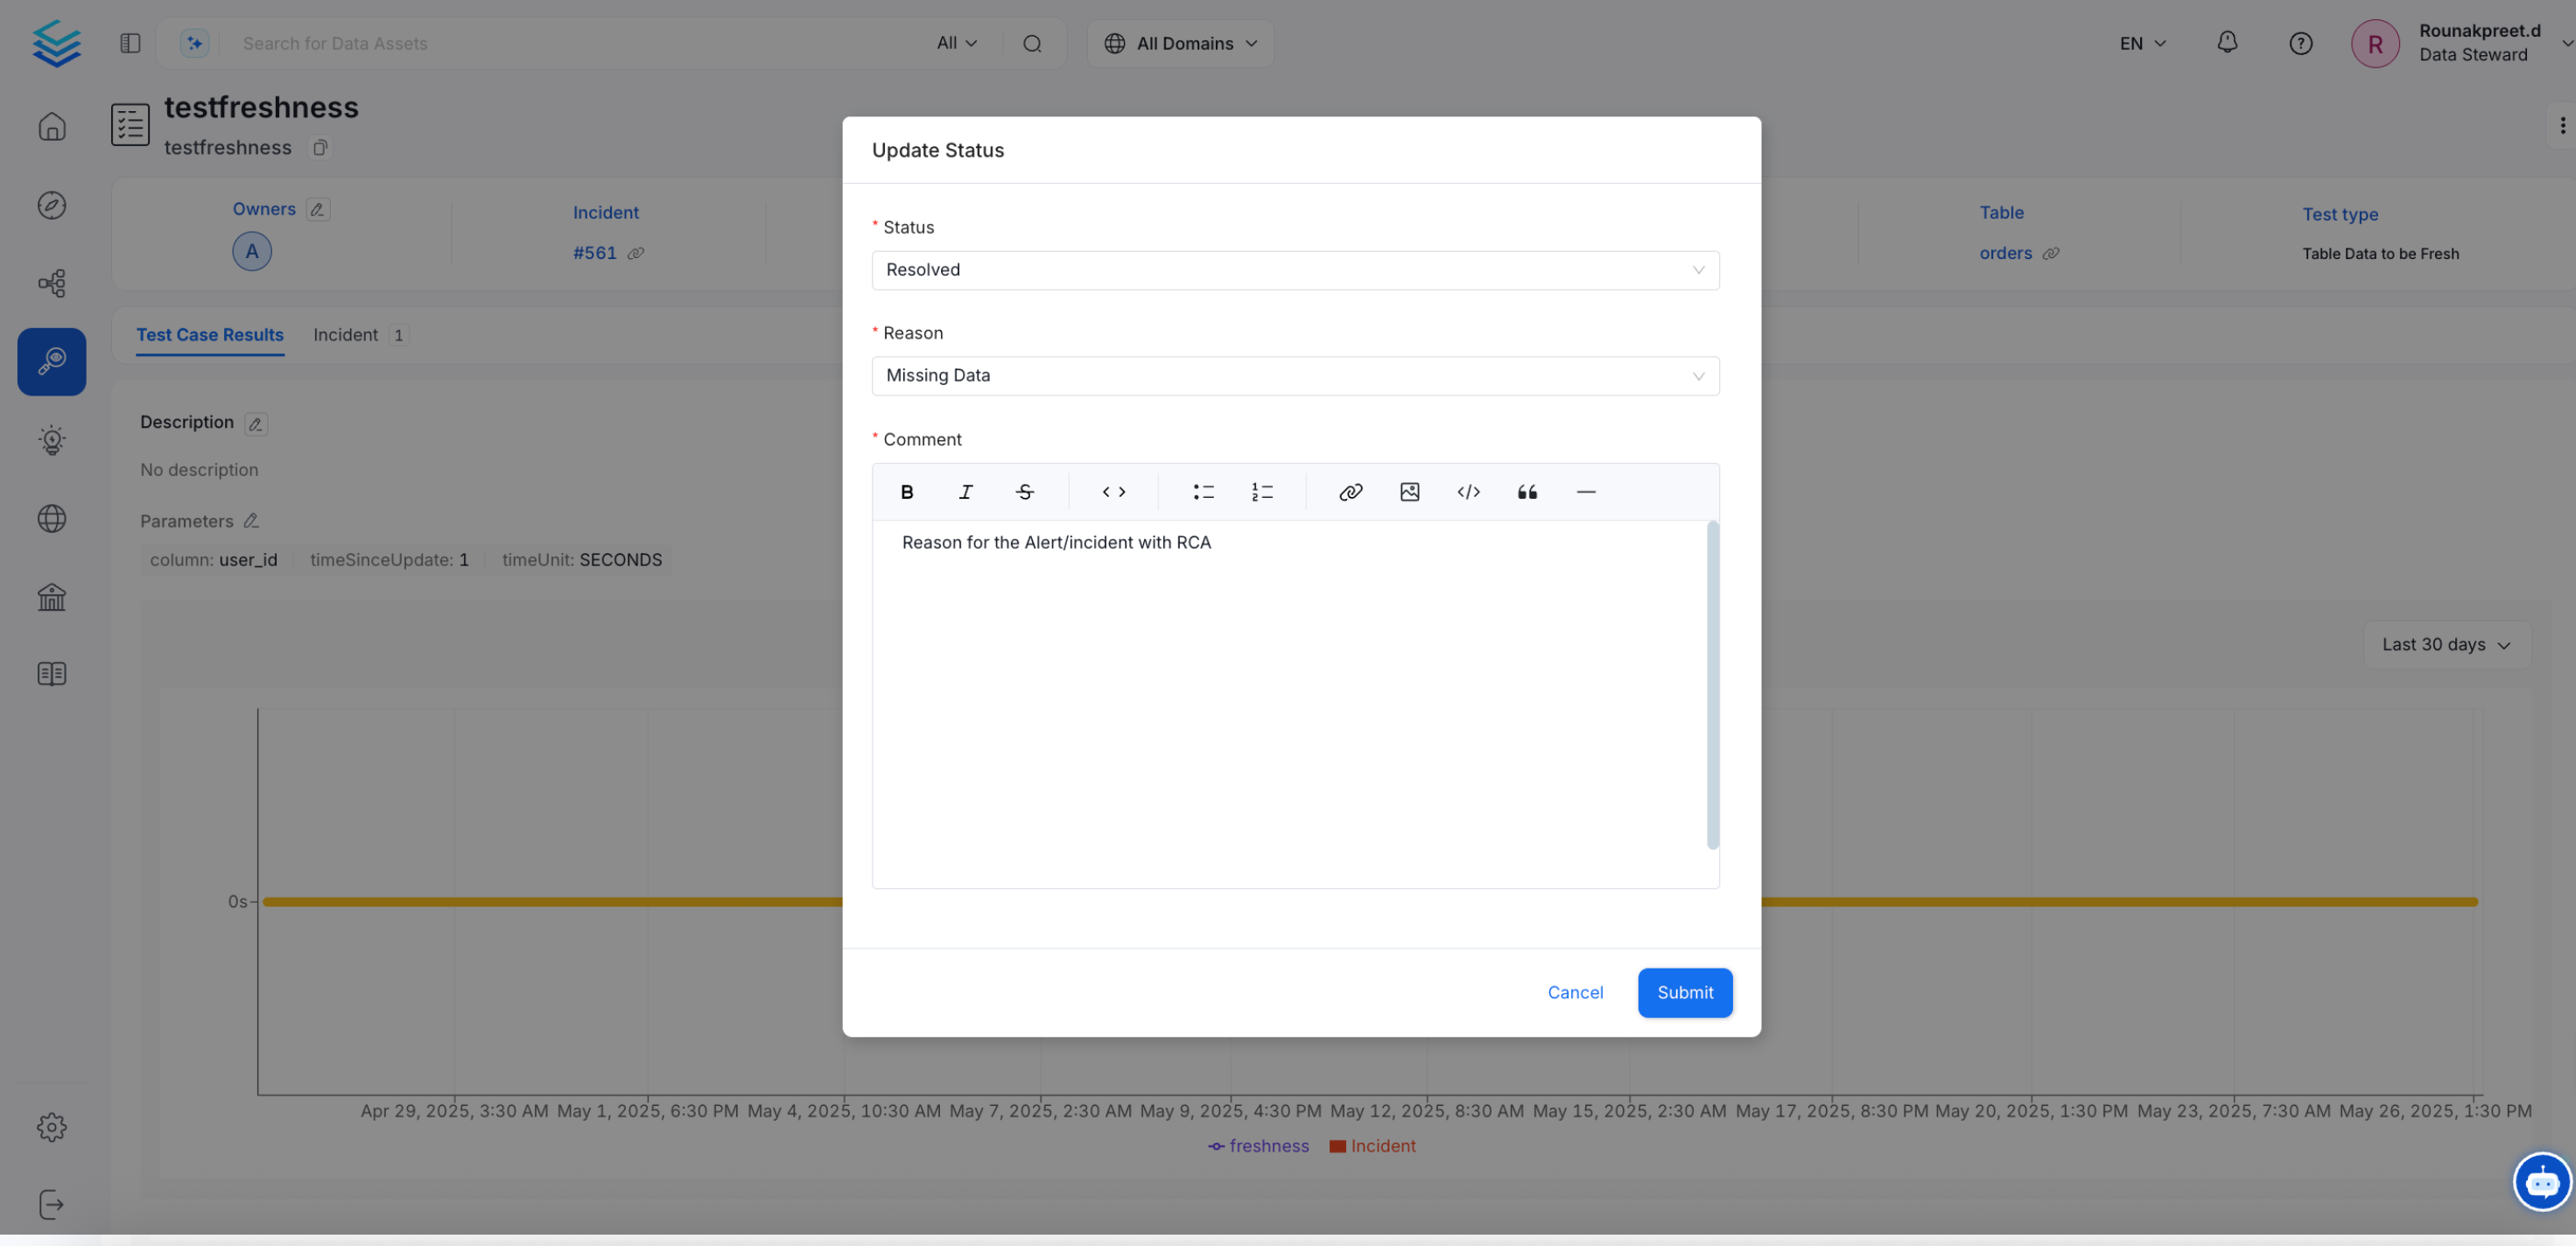
Once an incident has been resolved, it can be officially closed. Ensure to describe a Root Cause Analysis (RCA) in the comments to provide context and understanding of the resolution process.Steps to Resolve and Close an Incident:
- Verify that all necessary steps to resolve the incident have been completed.
- Describe the RCA in the resolution comments.
- Change the status of the incident to ‘Resolved’.
- Confirm the closure to update the incident in the dashboard.
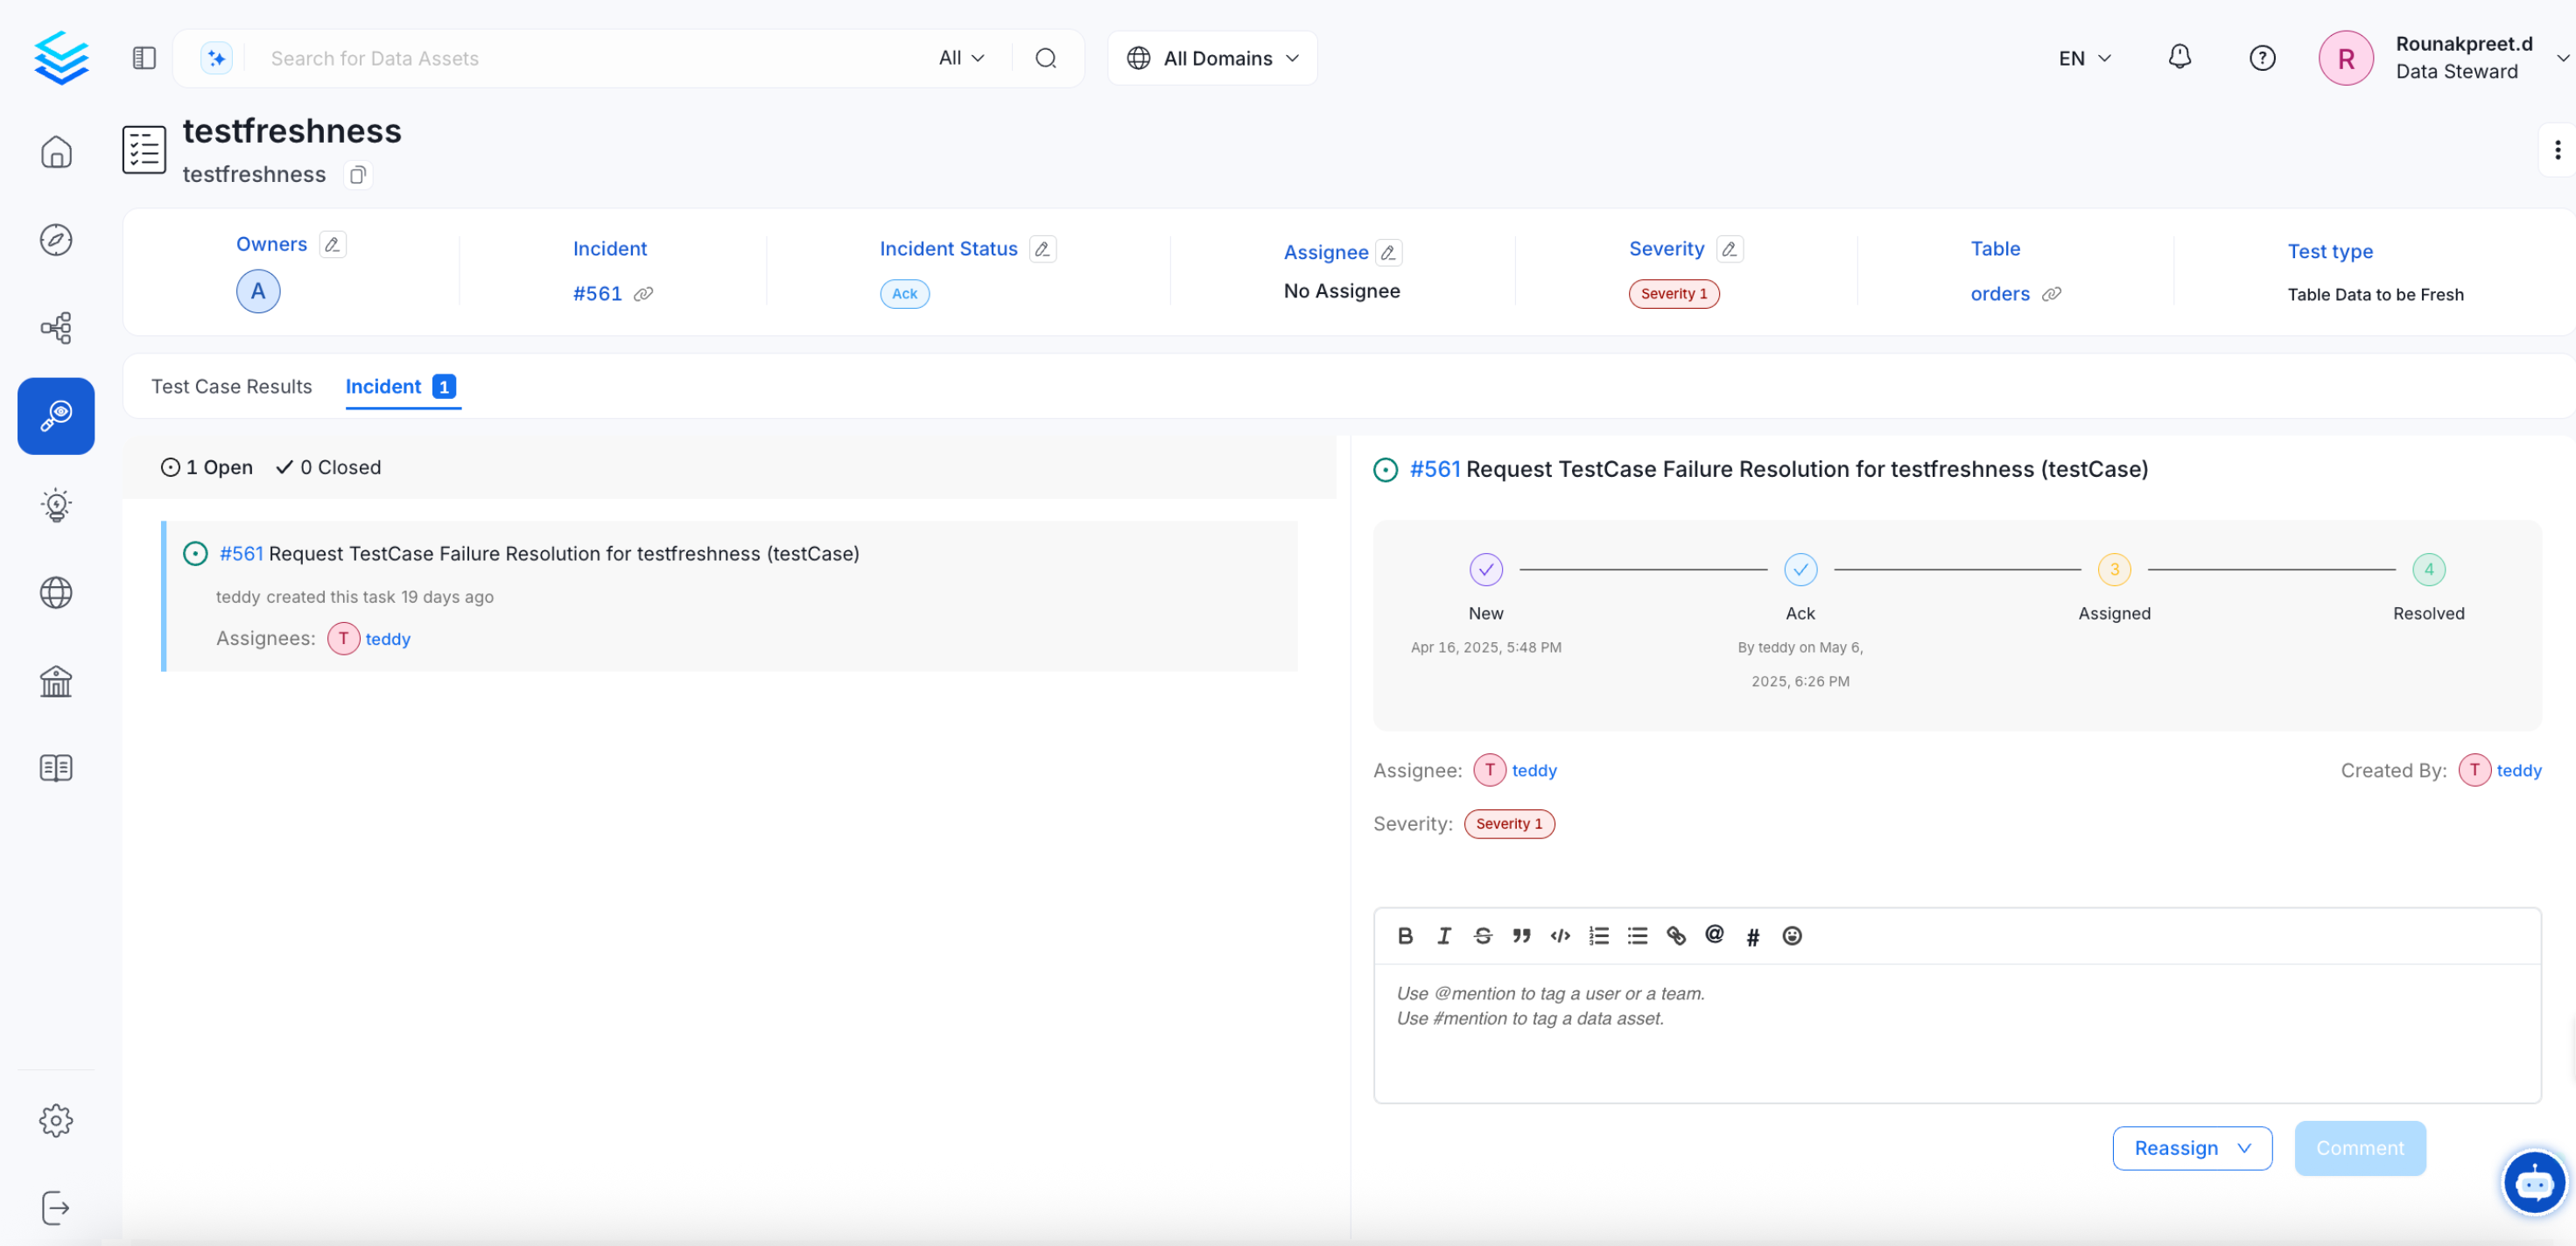
4. Incident Activities
Each incident includes a detailed timeline where all relevant information is consolidated. This timeline provides a comprehensive view of the incident’s lifecycle, including key events, RCA documentation, and closure updates.How to View Incident Activities:
- Open the incident from the Incident Dashboard.
- Navigate to the ‘Incident’ tab within the incident details.
- Review the chronological events, RCA, and closure updates associated with the incident.
5. Set Up Alerts for Incident Activity
To receive notifications when an incident is created, updated, commented on, or assigned, configure an alert with Source = Task. Incidents in OpenMetadata are Task threads with task typeRequestTestCaseFailureResolution. Alert sources are matched by thread type, not task type — so if you configure an alert with Source = Conversation, it will never fire for incidents.
Steps to Create an Incident Alert
- Navigate to Settings > Notifications > System.
- Select Add Notification.
- Set Source to Task.
- (Optional) Add a Mentioned User or Team filter to limit alerts to incidents where a specific person or team is @-mentioned.
- Select your Destination — Slack, MS Teams, email, or internal OpenMetadata users.
- Save the alert.
The Task source covers all structured workflow tasks — incidents, description requests, tag requests, and approval workflows. There is currently no filter to restrict to incidents only. If you only want incident notifications, configure a dedicated alert and instruct your team to use that alert’s destination channel for incident discussions.