
Learning Resources
Learning Resources are short videos and Storylane walkthroughs that teach users how to use a specific feature. Each resource is tagged with one or more Contexts — the product pages it’s relevant to — so it can surface as contextual, in-product help wherever a user might need it, in addition to being browsable from a central admin list.How to Access
To view and manage Learning Resources, navigate to Settings > Preferences > Learning Resources.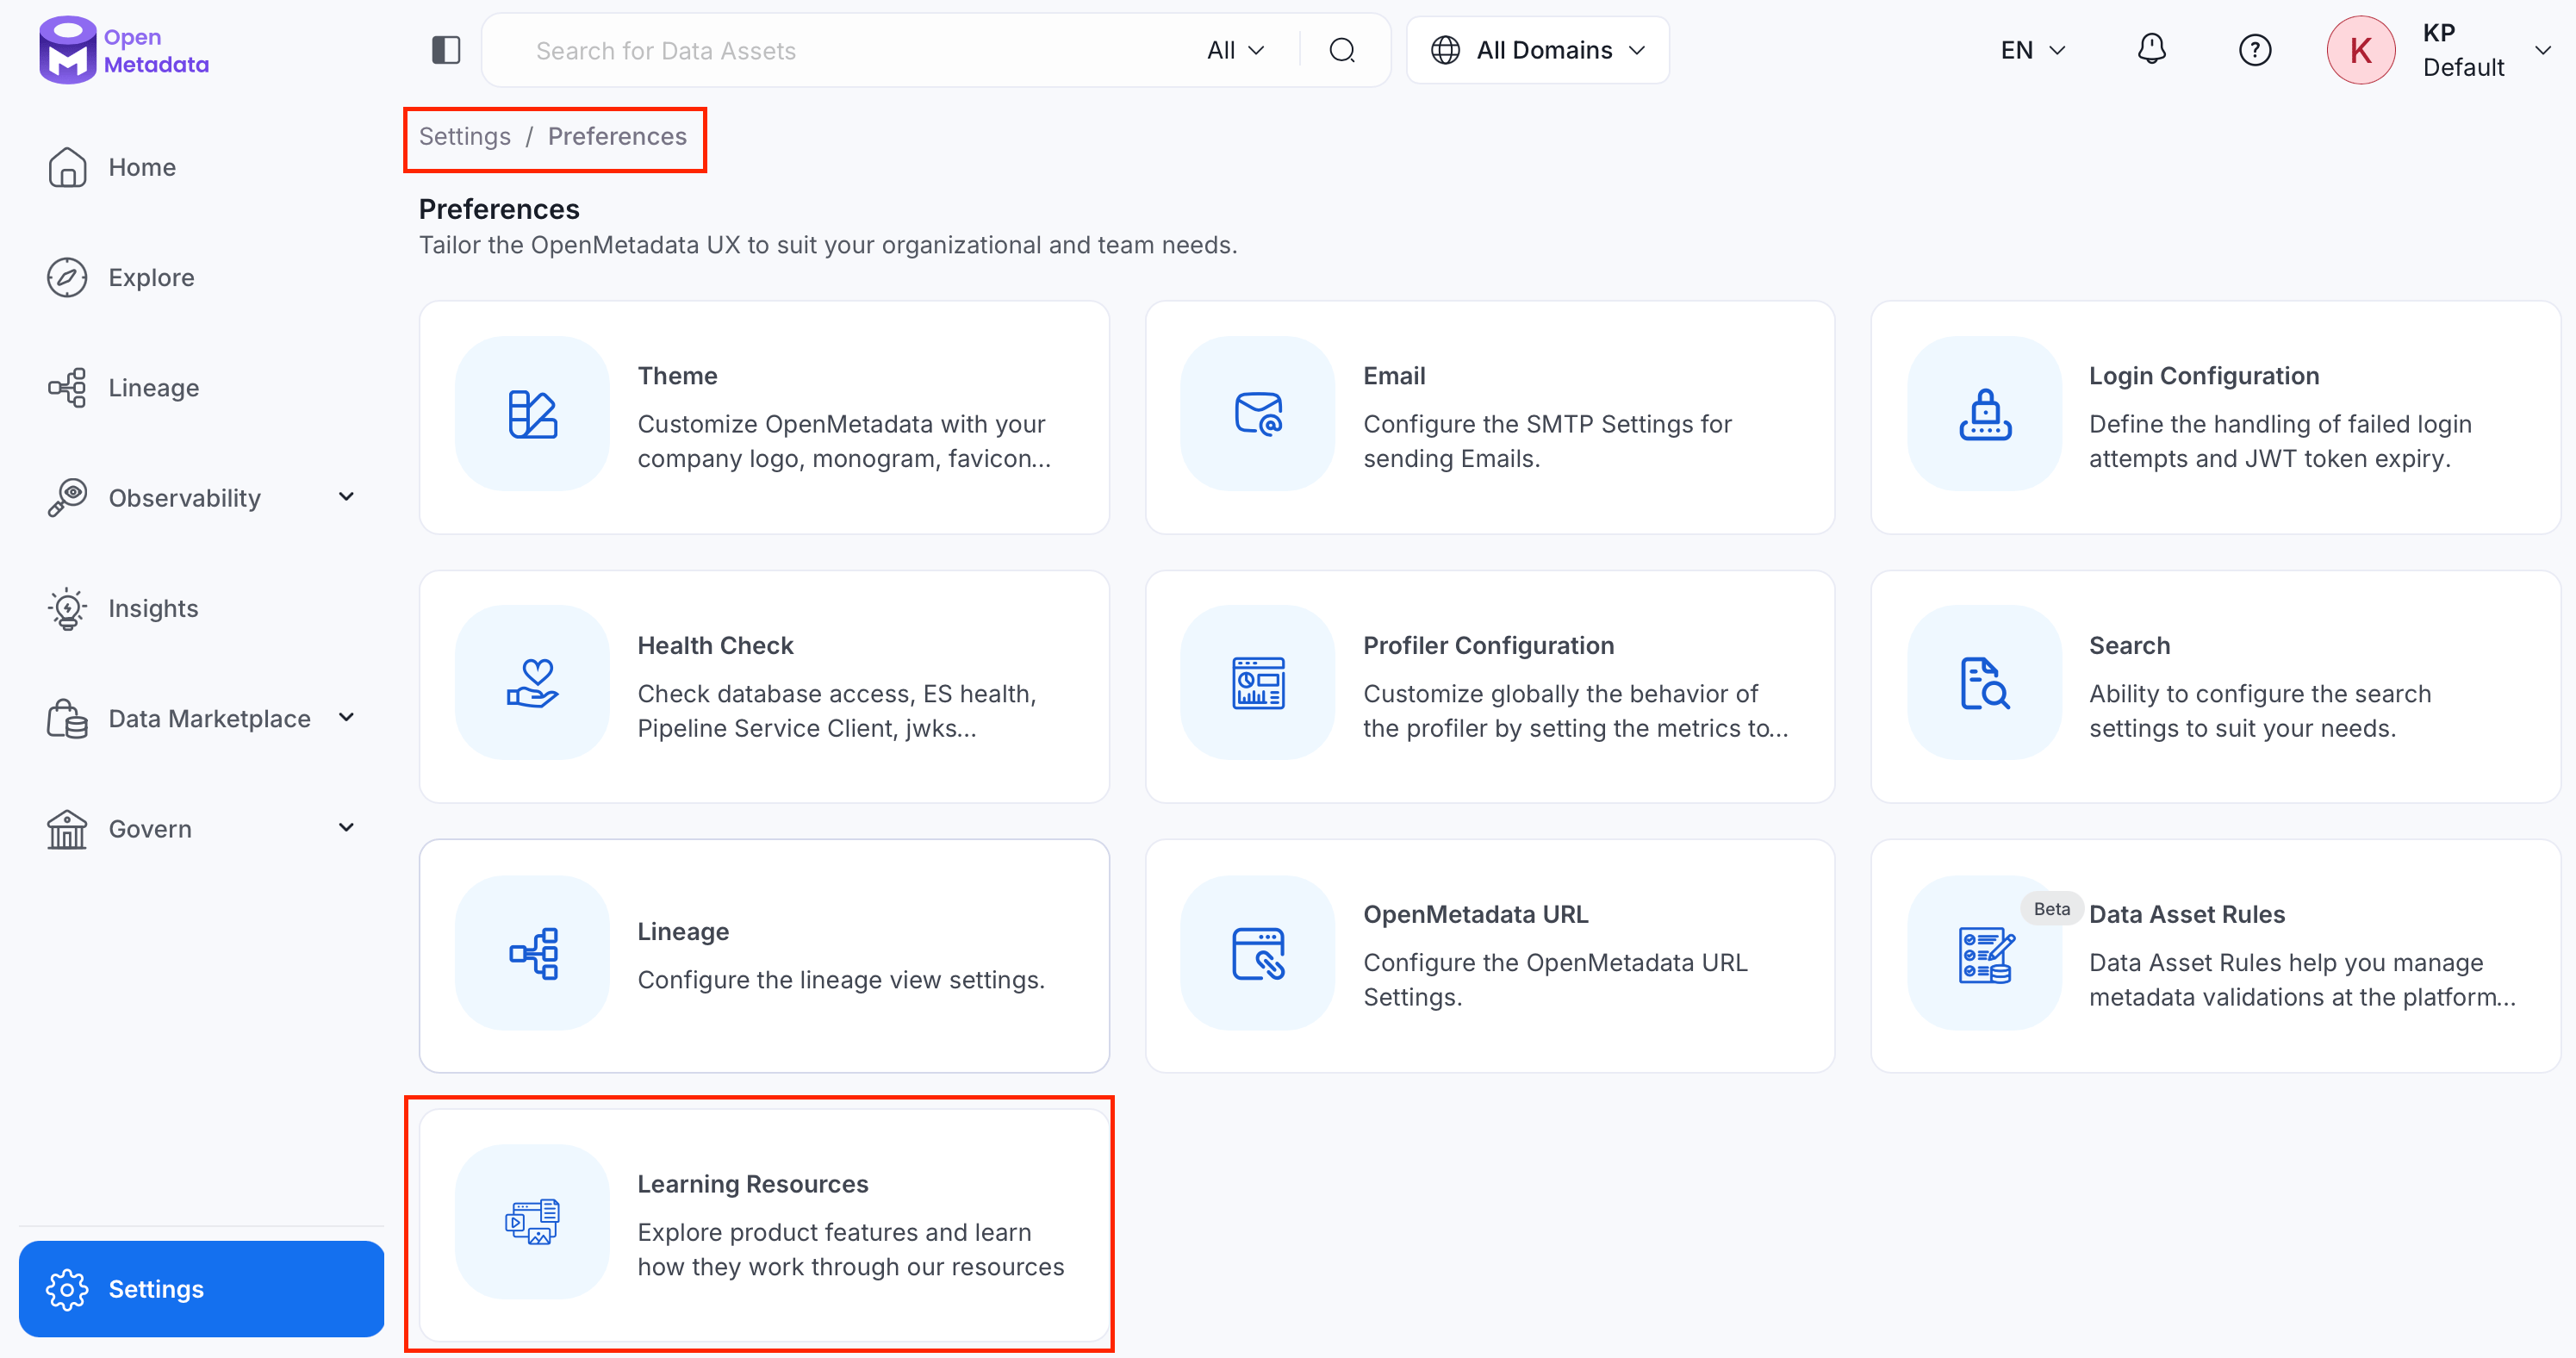
Overview
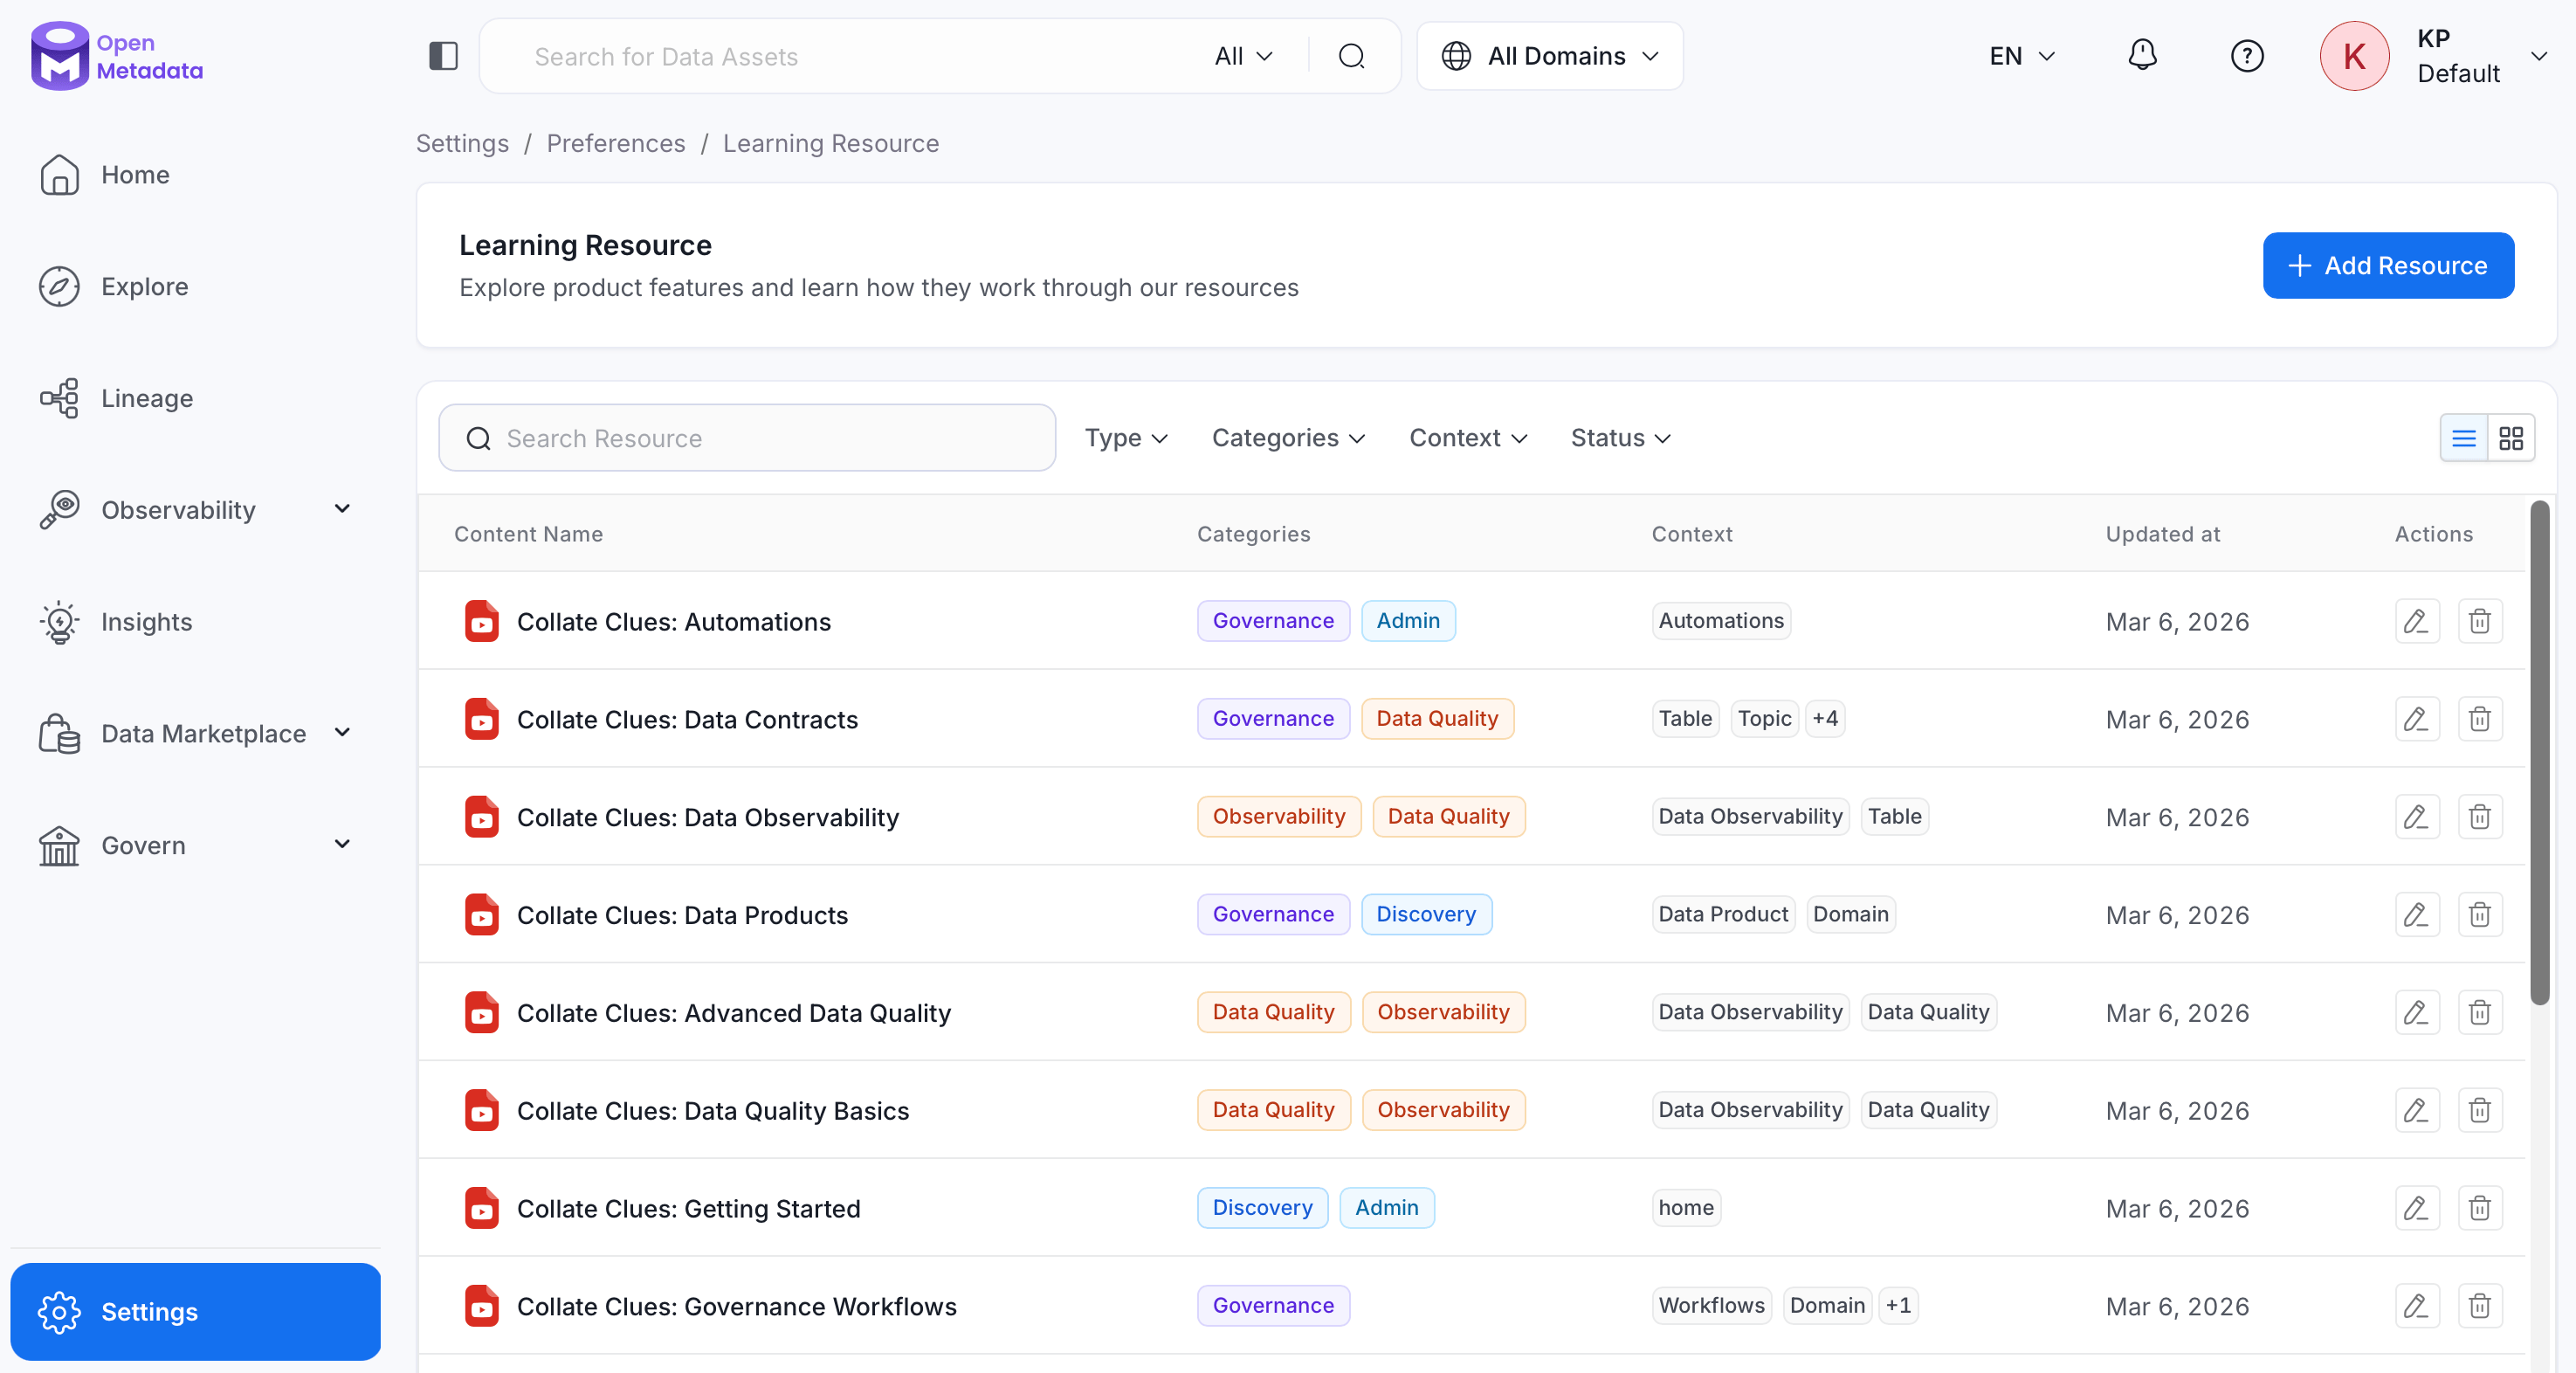
The Learning Resources page lists every resource that’s been added to the platform, along with its categories, contexts, and last-updated date. From here:- Search and filter the existing library.
- Switch between a table view and a card view.
- Add a new resource.
- Edit or delete an existing resource.
Add a Resource
To add a resource, follow these steps:- Navigate to Settings > Preferences > Learning Resources.
-
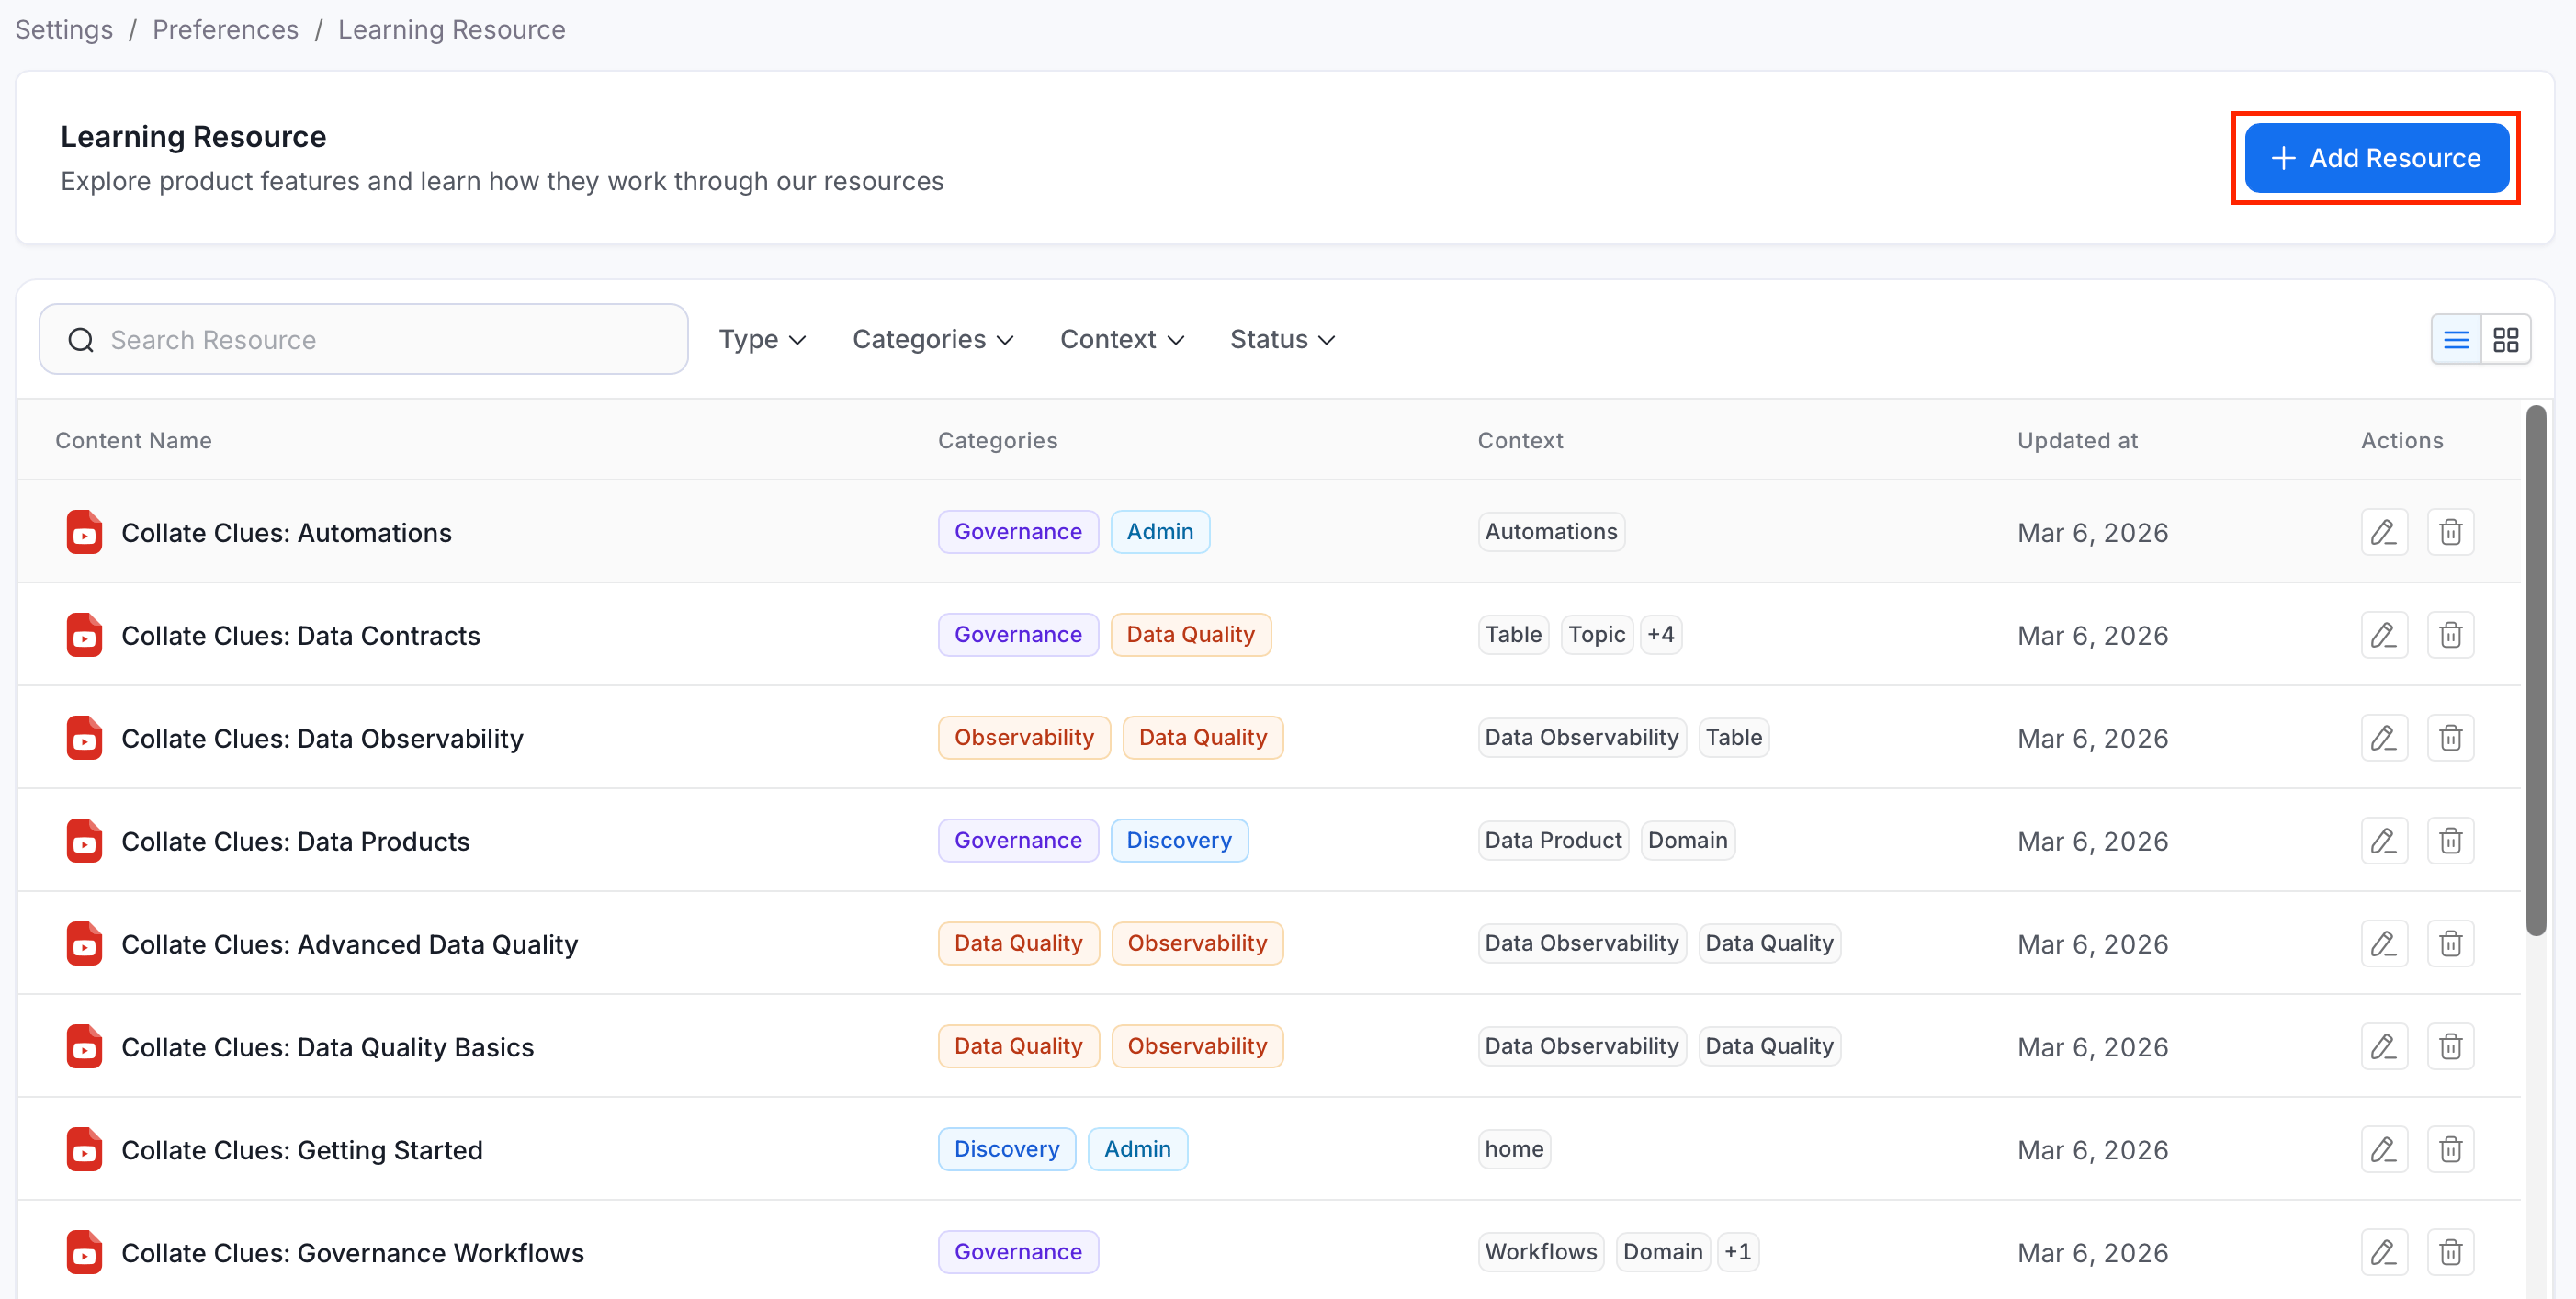
Click Add Resource.
-
Fill in the following fields:
- Name (required): The internal name for the resource. This cannot be changed after the resource is created.
- Description (required): A short summary of what the resource teaches, shown to users before they open it.
- Type (required): The kind of content this is.
- Video: An embedded video (for example, hosted on YouTube or Vimeo).
- Storylane: An interactive Storylane product tour.
- Categories (required): One or more topic groupings used for browsing and filtering. Available categories: Discovery, Governance, Data Quality, Observability, Admin, AI.
- Context (required): One or more product pages where this resource should surface — for example, Glossary, Domain, Data Quality, Explore, Automations, or Home Page. See Where Learning Resources Appear for how this drives visibility elsewhere in the product.
- Source URL (required): The link to the video or Storylane tour, for example
https://www.youtube.com/watch?v=.... Must be a valid URL. - Source Provider (optional): A free-text label for the hosting platform, for example
YouTubeorStorylane. - Duration (optional): The approximate length of the resource, selected from a preset list (1–30 minutes).
- Status (optional): The resource’s publishing state. Defaults to Active.
- Active: Visible to users, both in the admin list and in contextual drawers.
- Draft: Not shown to end users — use this while the resource is still being prepared.
- Deprecated: Retired content, kept for reference but hidden from users.
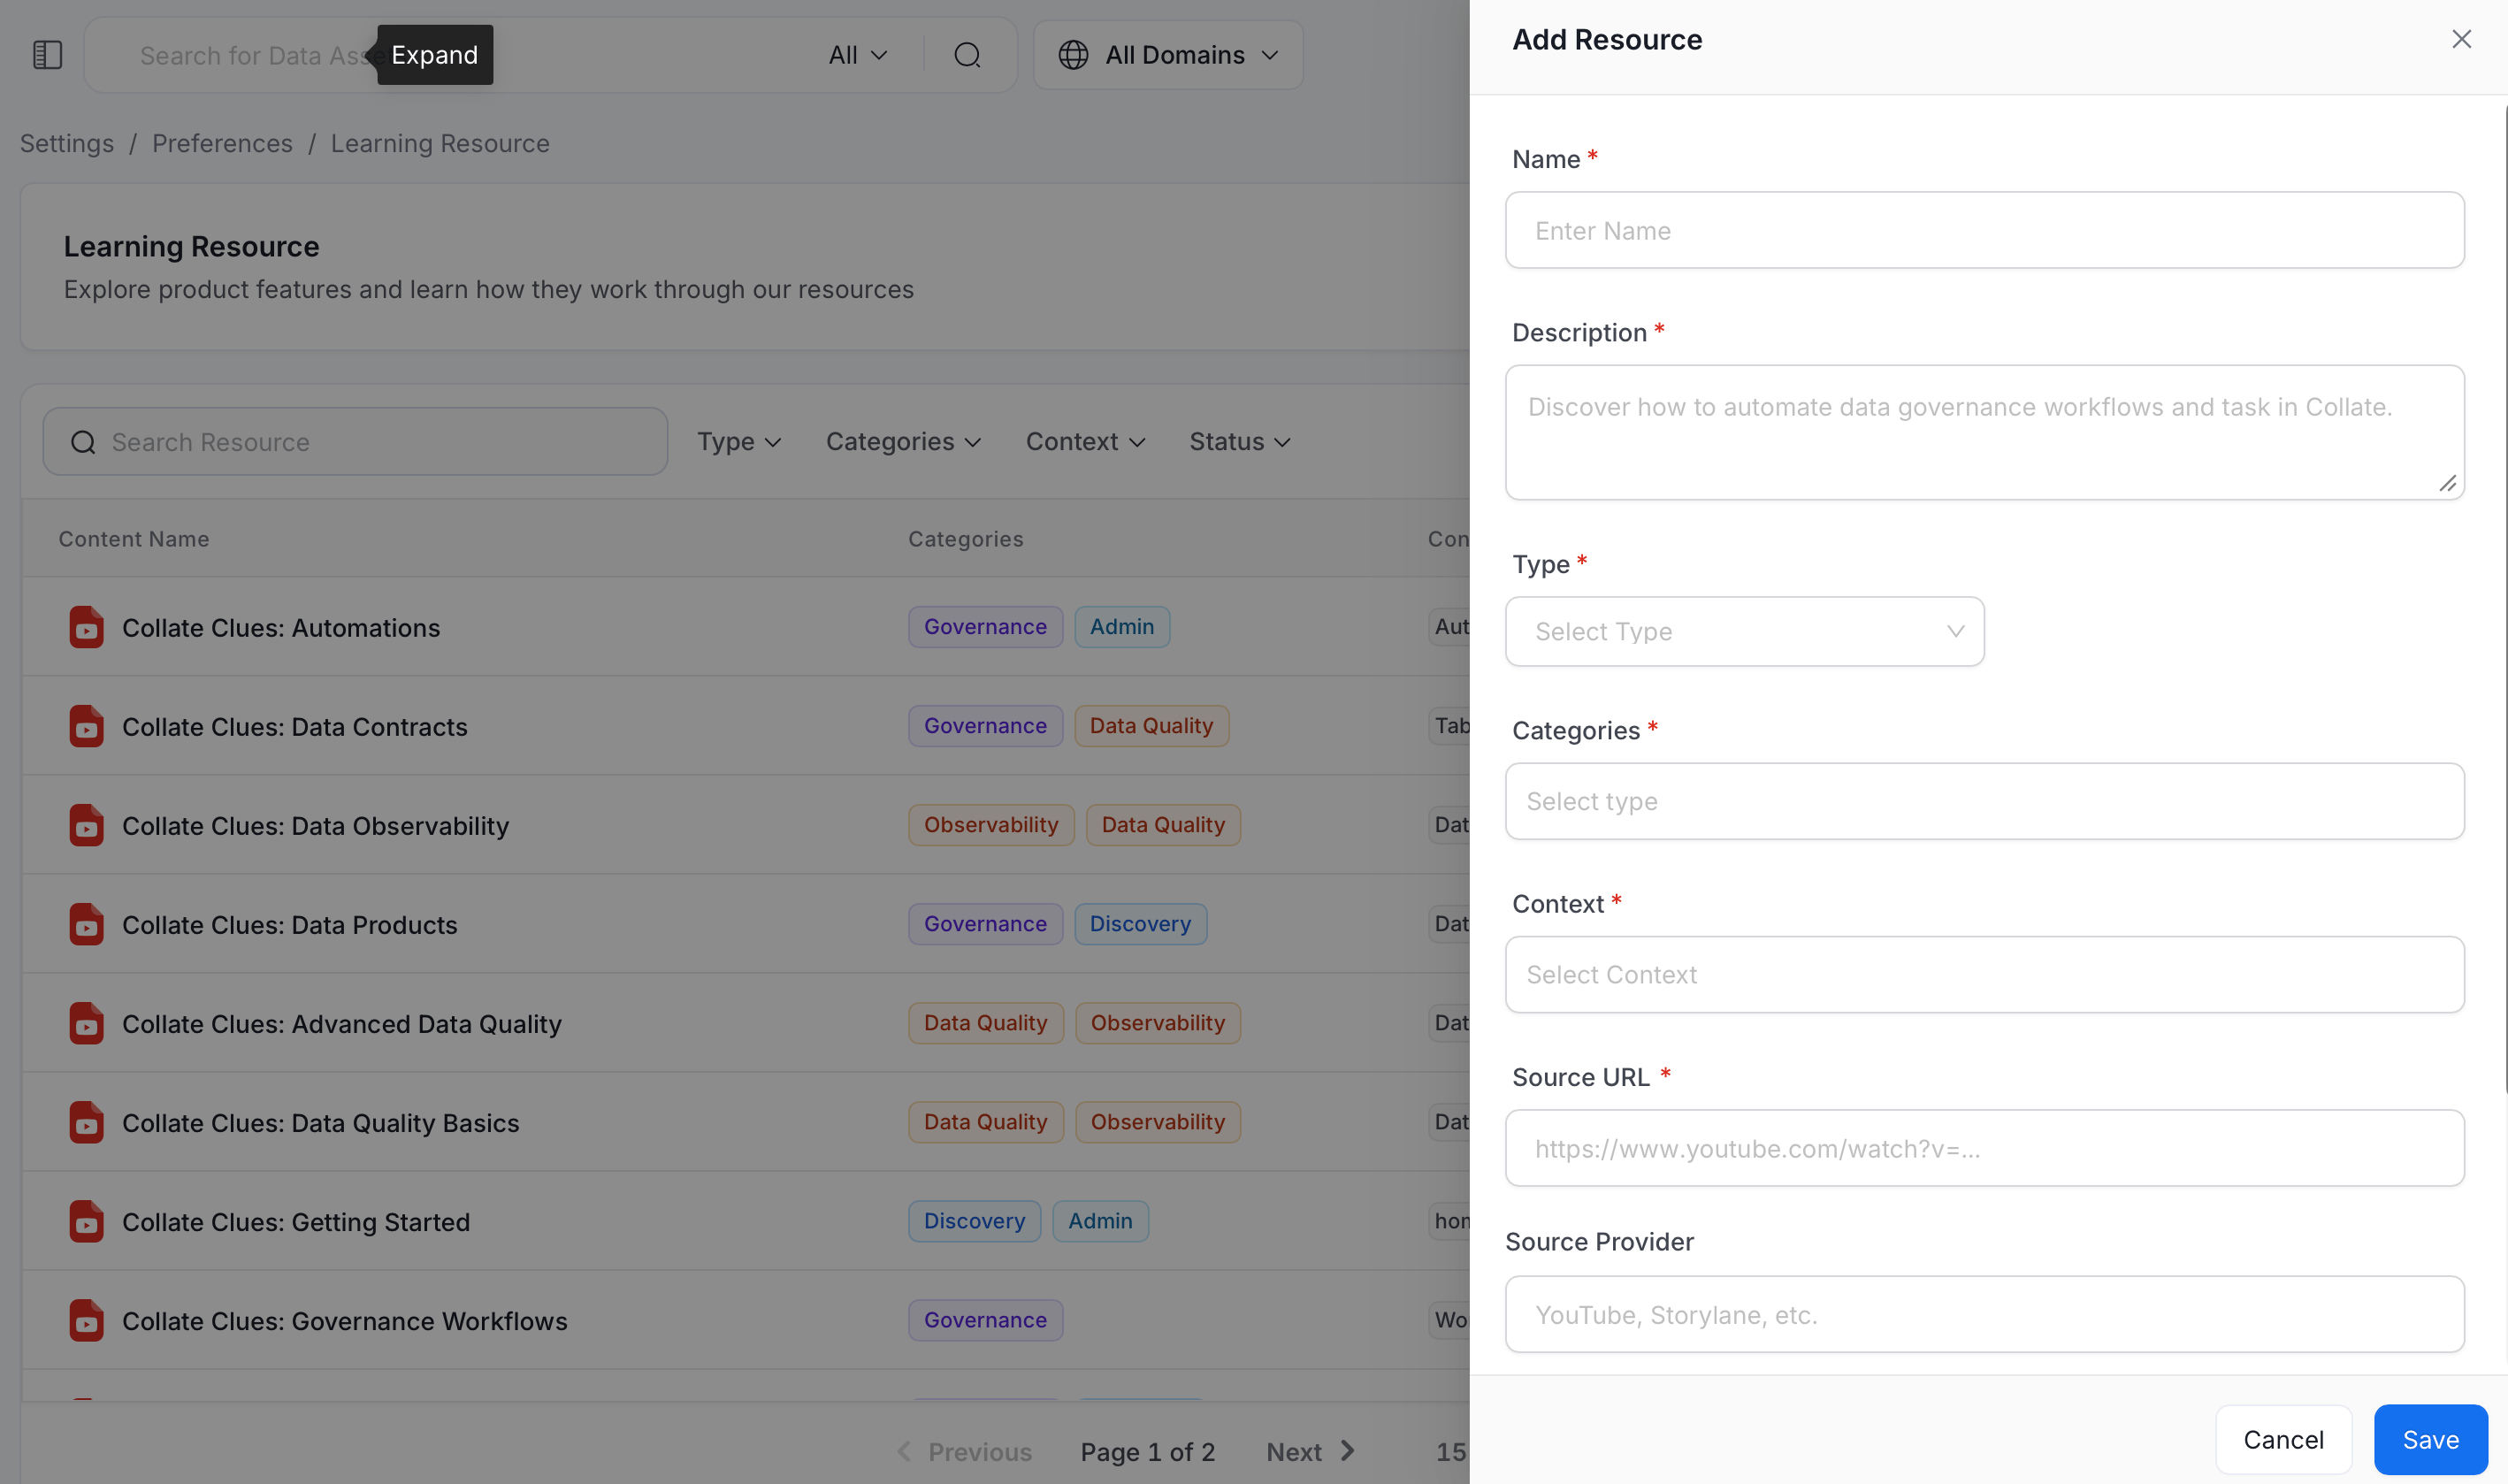
- Click Save to create the resource.
View and Manage Resources
Use the search box, filters, and view toggle to work through the resource library, or edit and delete existing entries.Search
Use the Search Resource box to filter the list by name as you type.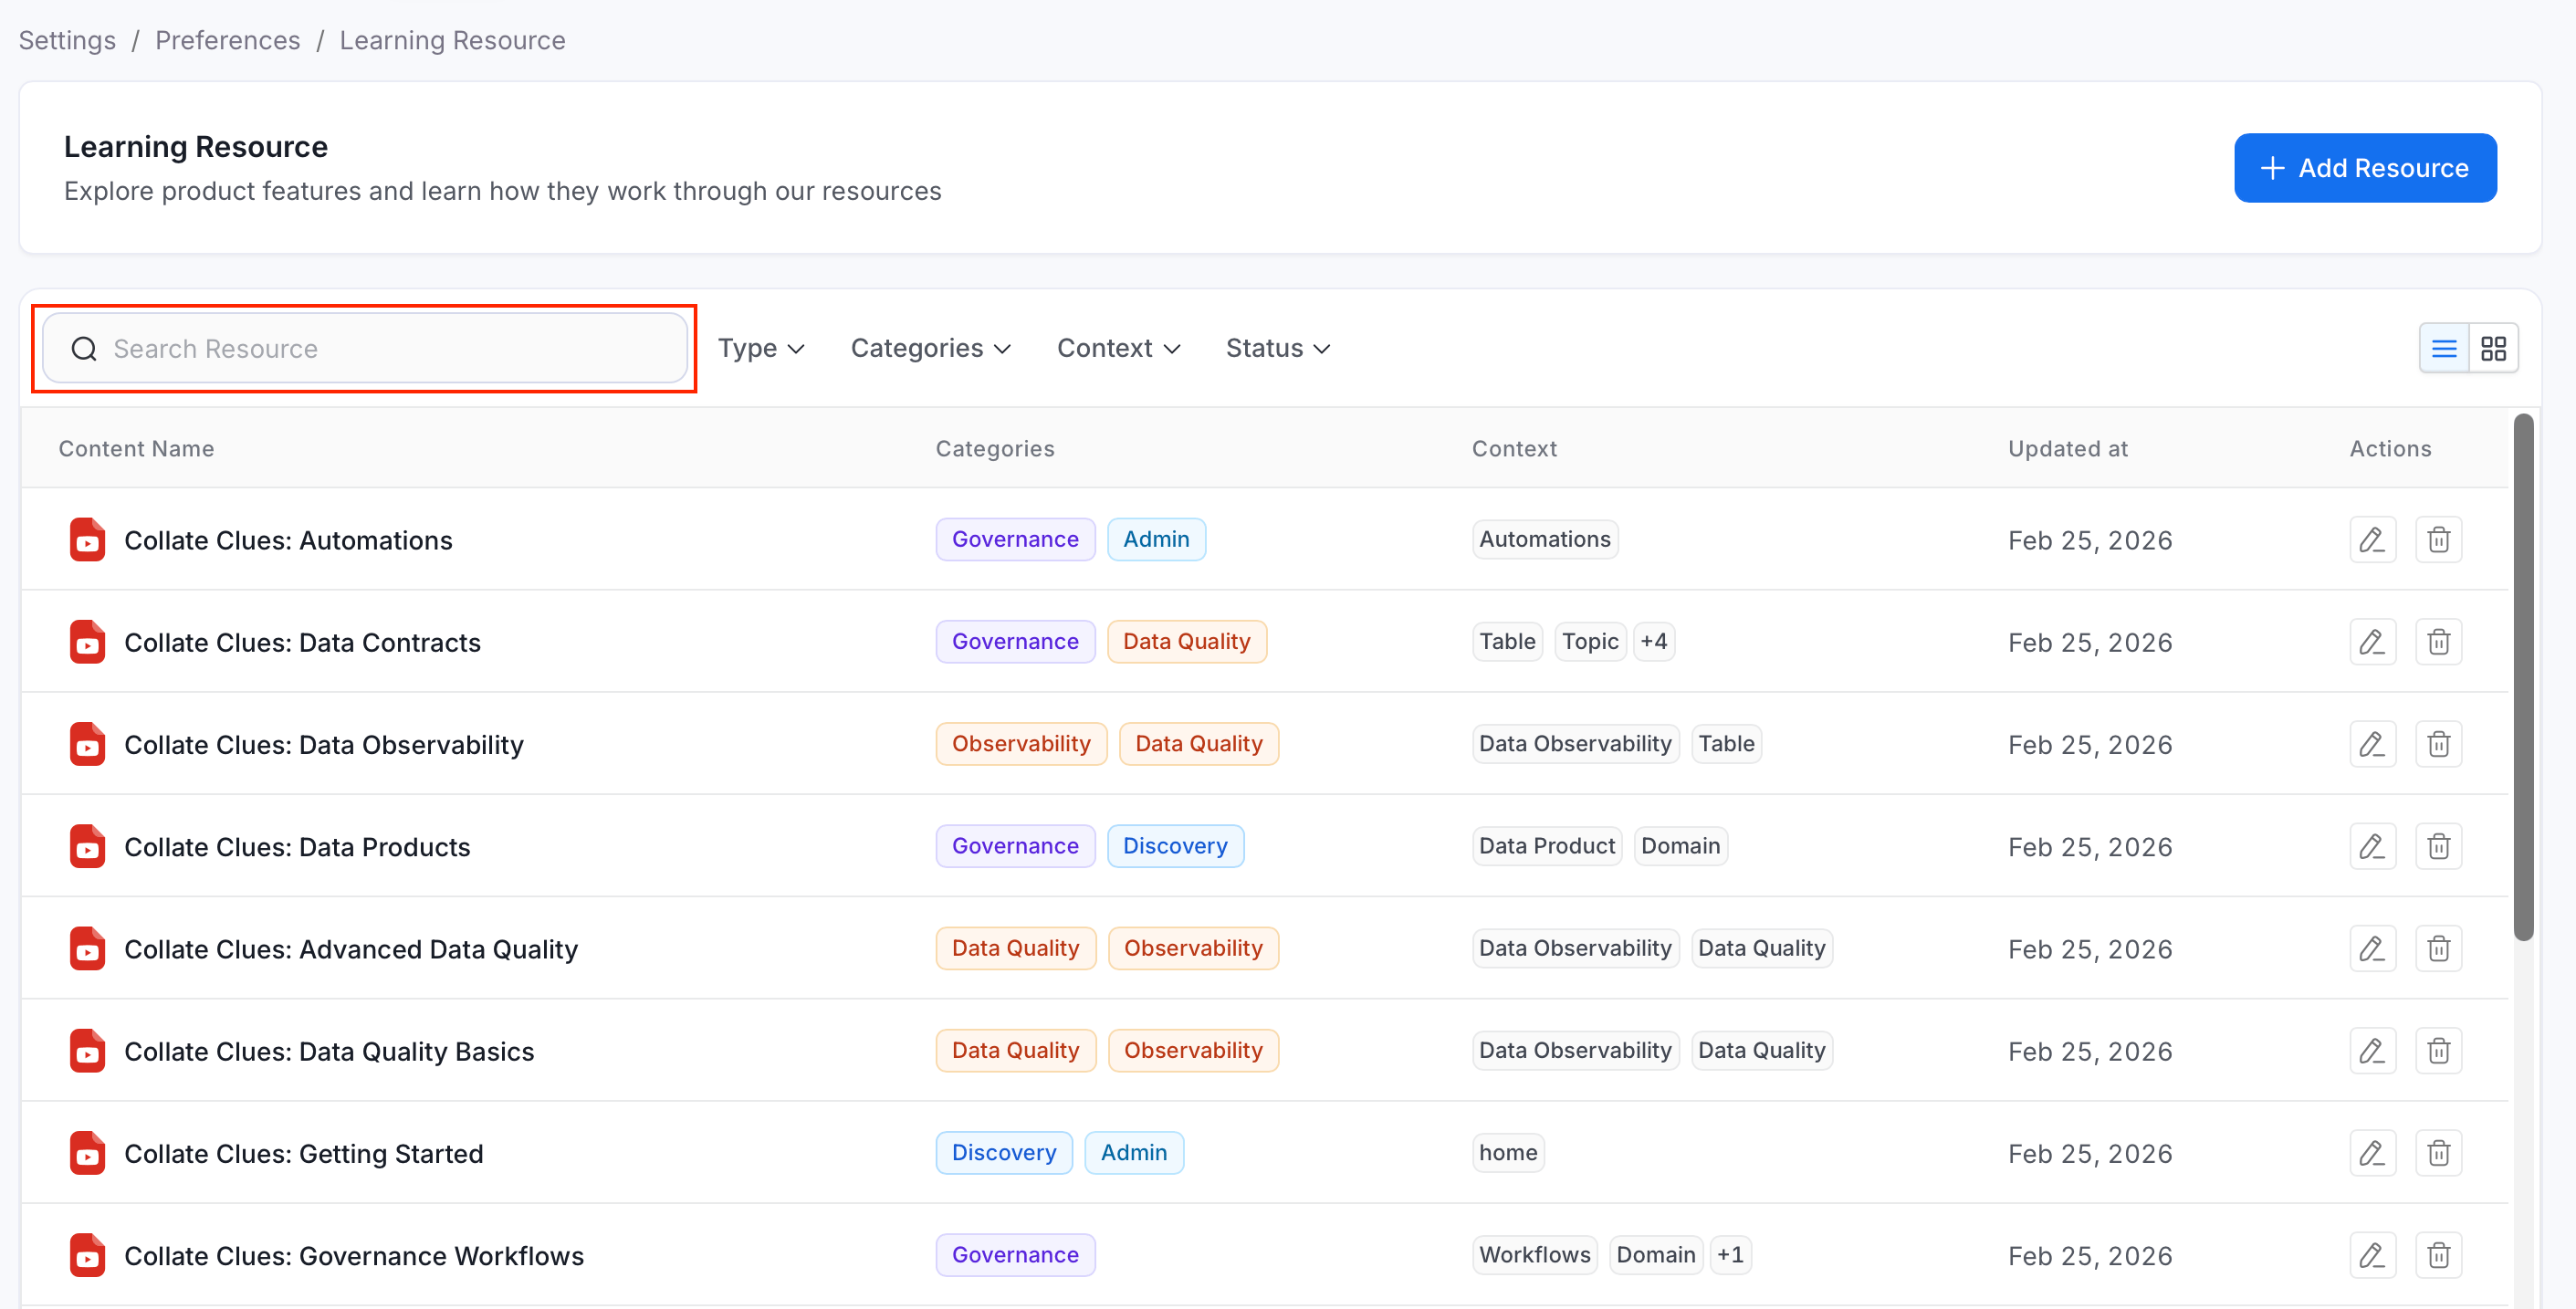
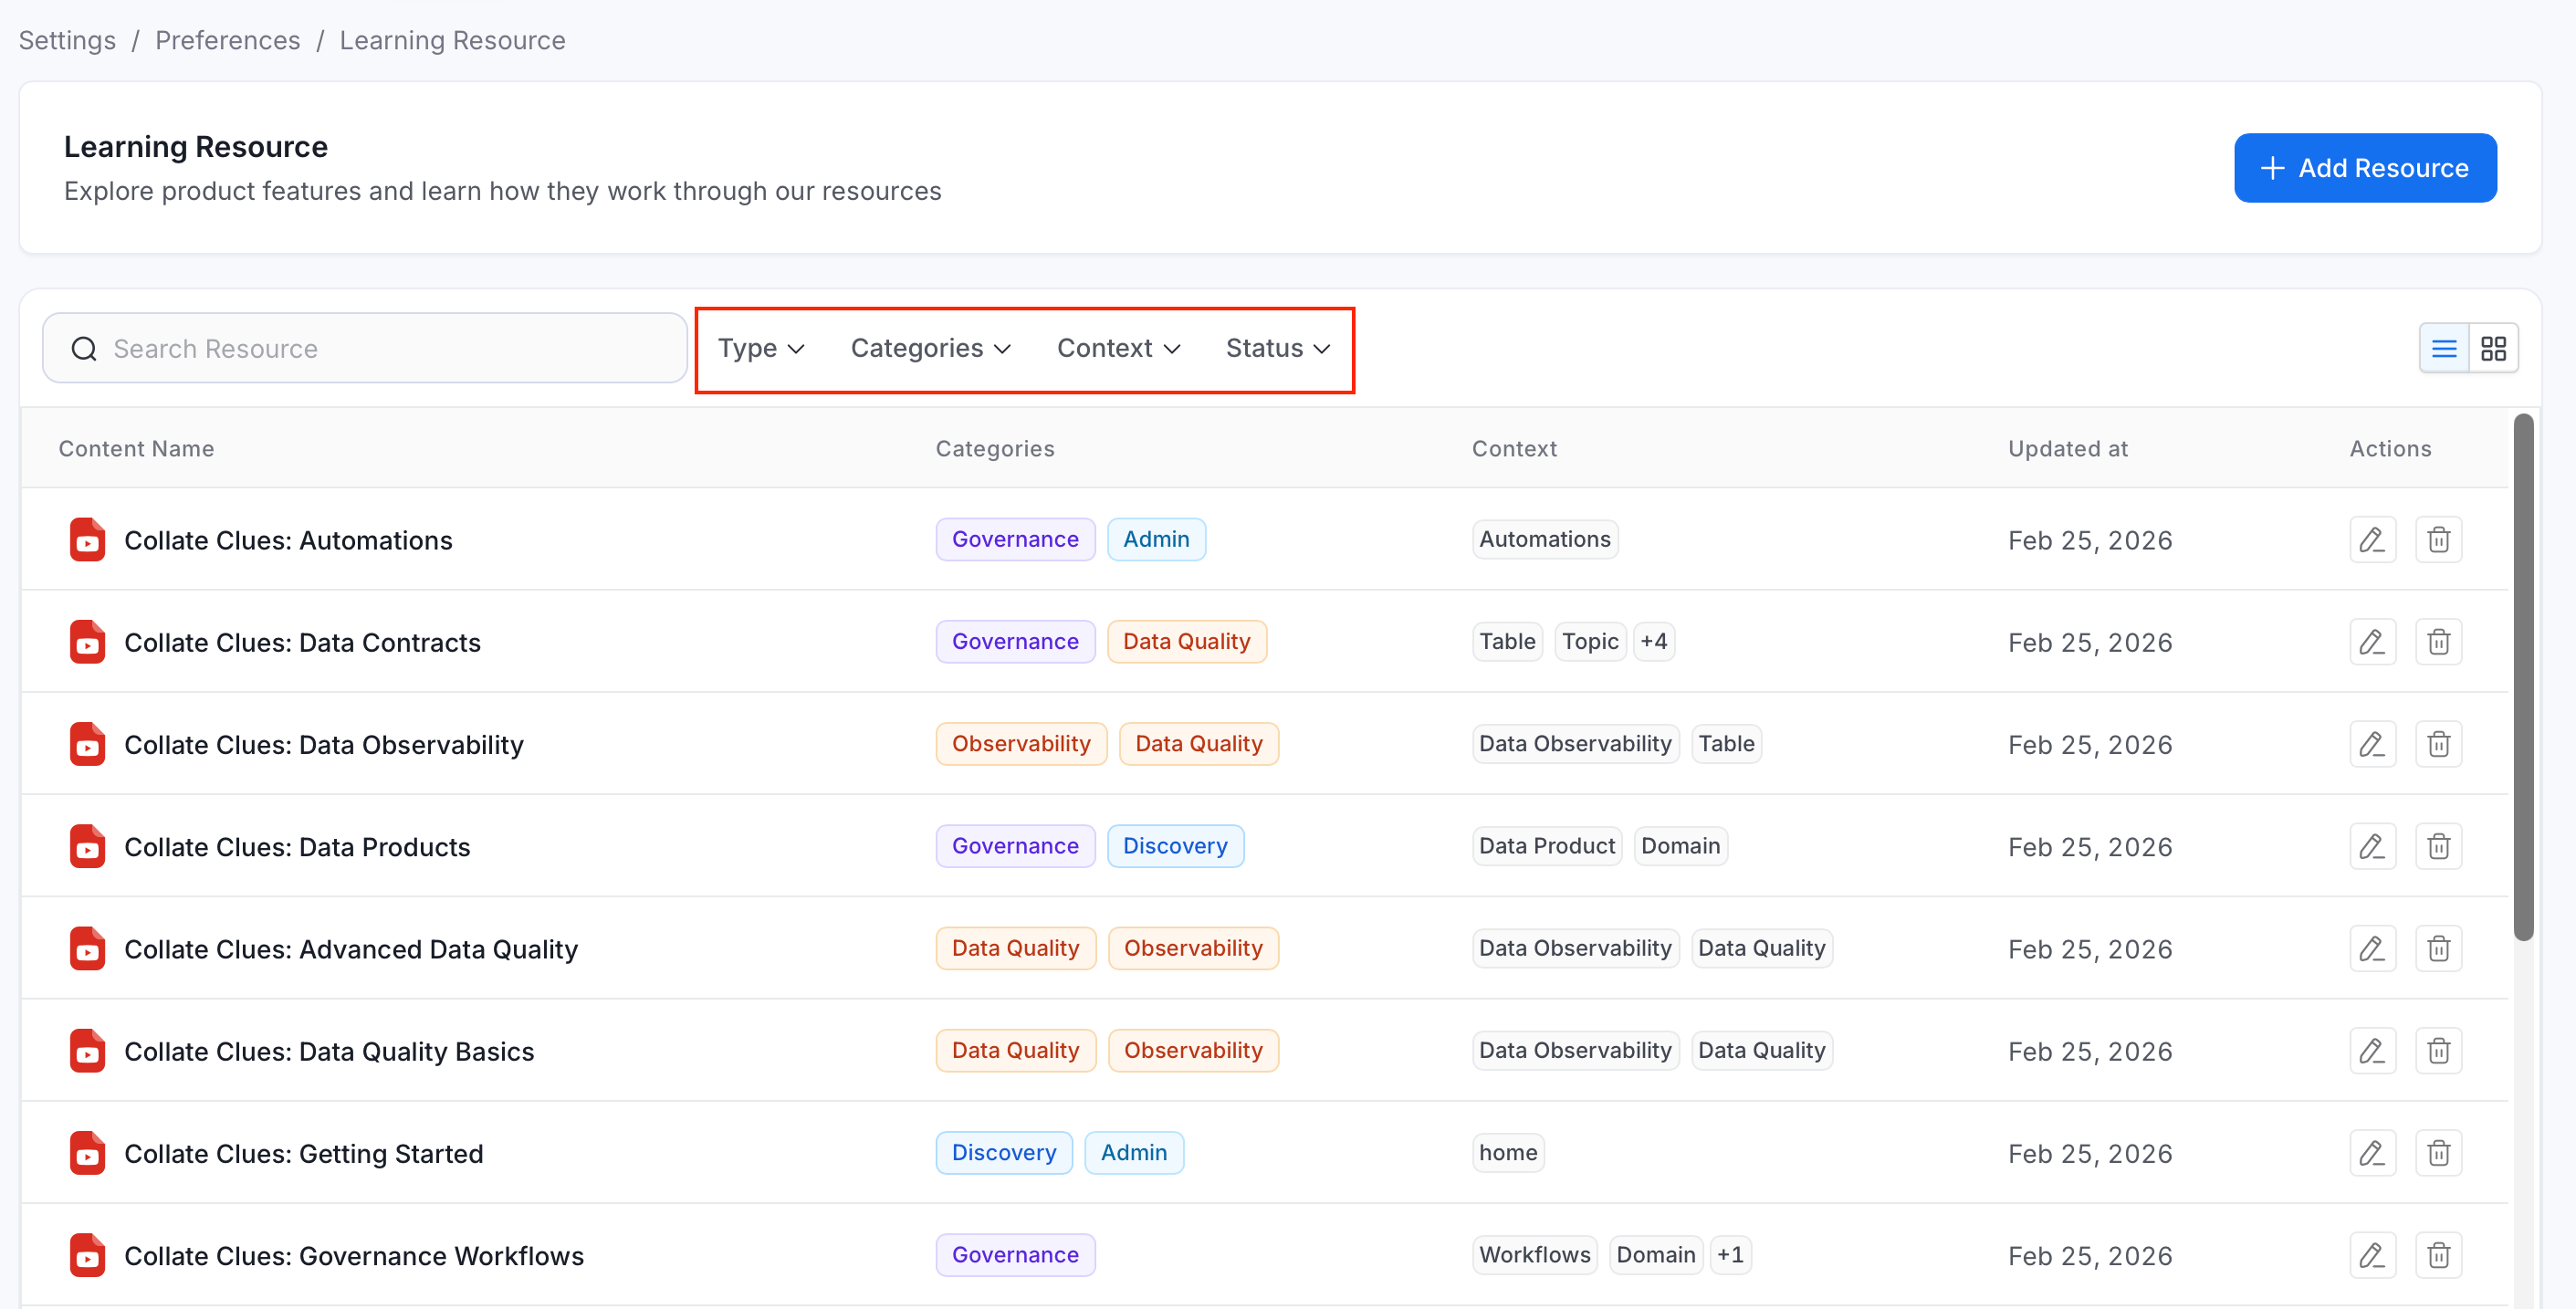
Filters
Use the filter dropdowns to narrow the list by:- Type: Video or Storylane.
- Categories: One or more topic categories.
- Context: One or more product pages the resource is tagged for.
- Status: Active, Draft, or Deprecated.
View Mode
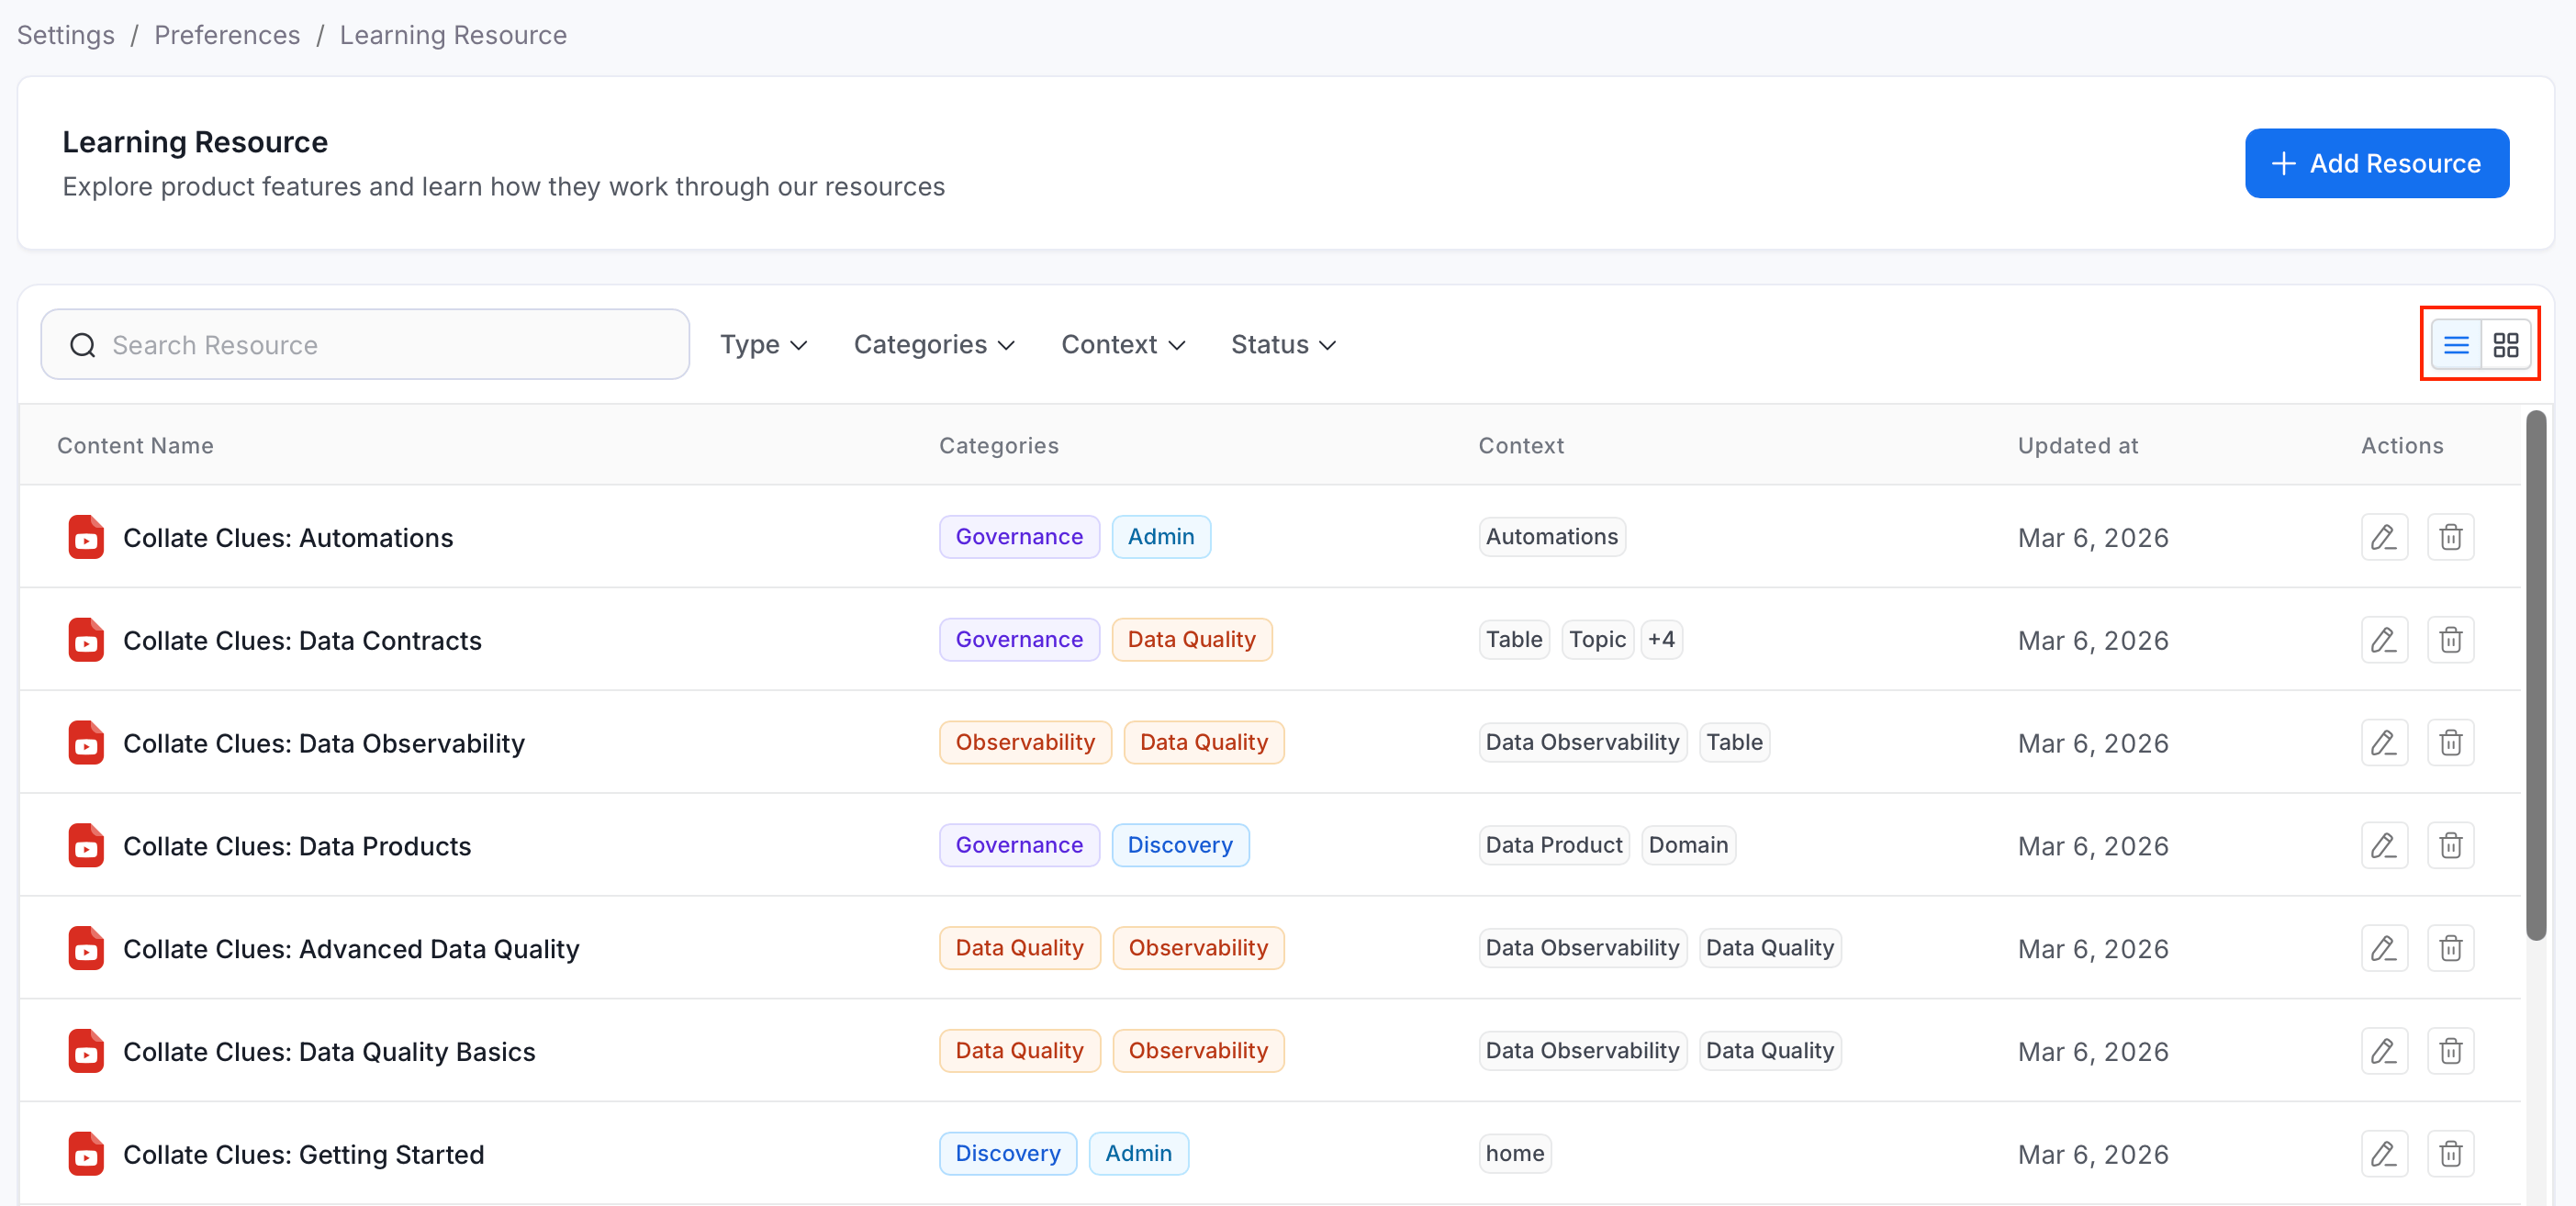
Use the view toggle in the top-right corner of the list to switch between:- Table view: A compact list showing Content Name, Categories, Context, and when the resource was last updated.
- Card view: A grid of resource cards, useful for browsing visually.
Edit and Delete
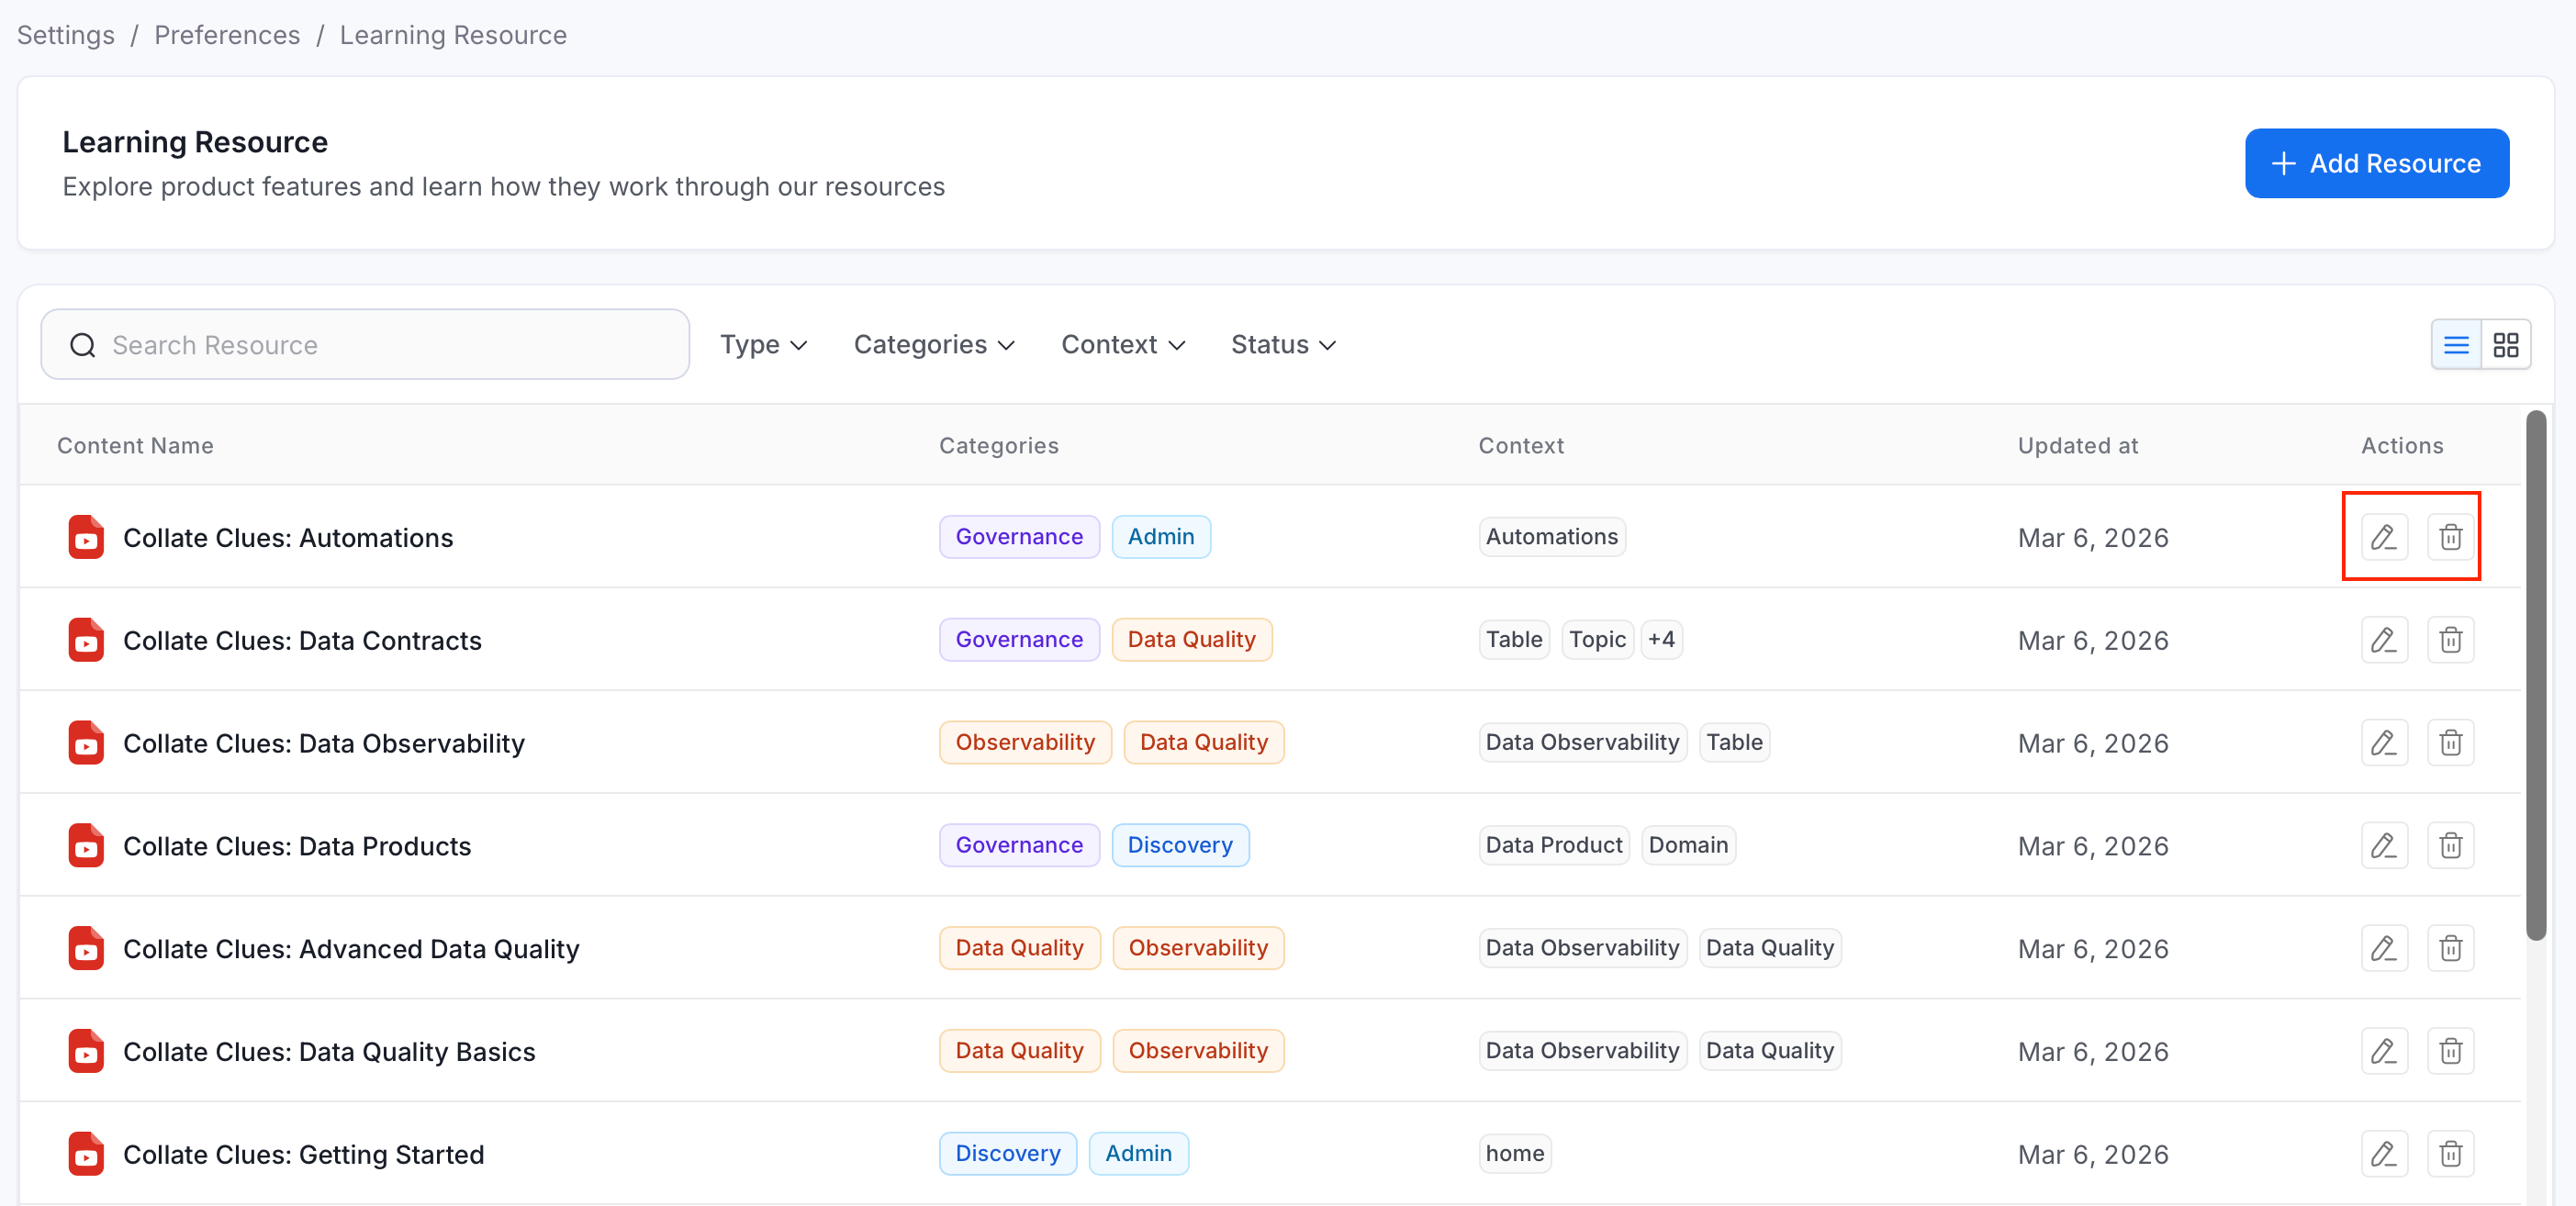
Use the icons in the Action column to edit or delete a resource:- To edit a resource:
- In the Action column, click the edit icon.
- Modify the details. All fields are editable except Name.
- To delete a resource:
- In the Action column, click the delete icon.
- In the pop-up, click Delete to permanently remove the resource.
Where Learning Resources Appear
Beyond the admin list under Settings > Preferences > Learning Resources, Active resources also surface directly inside the product as contextual help. Pages that support this show a small learning icon in their header — for example, on the Glossary, Domains, Data Products, Explore, Tags, Metrics, Test Suites, Governance Workflows, Automations, and Data Insights pages, among others.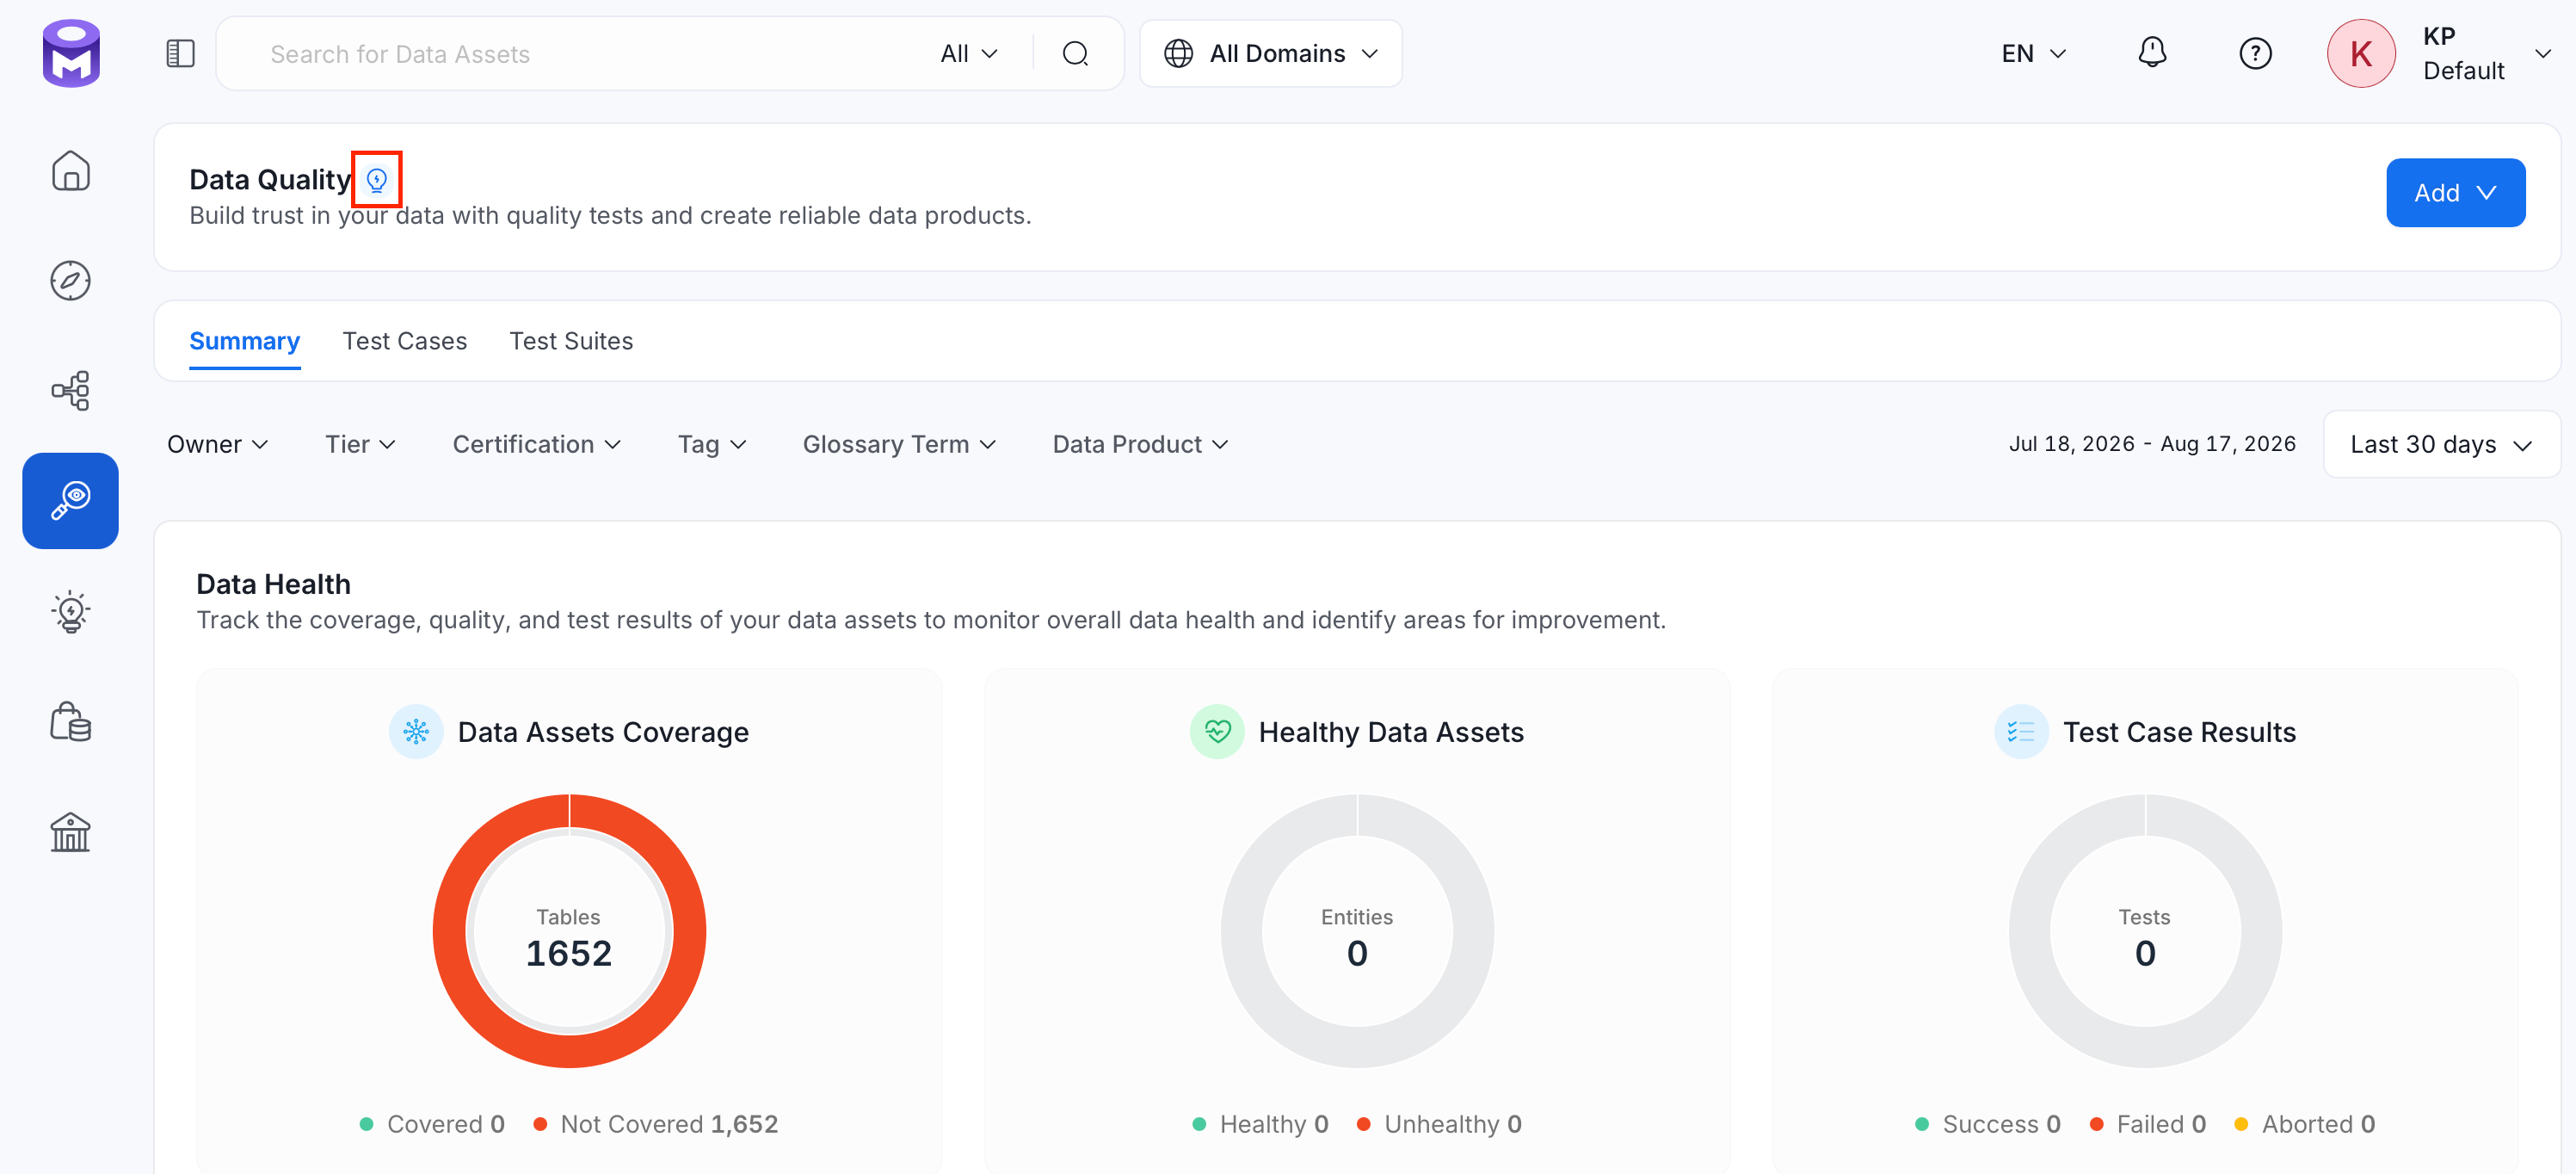
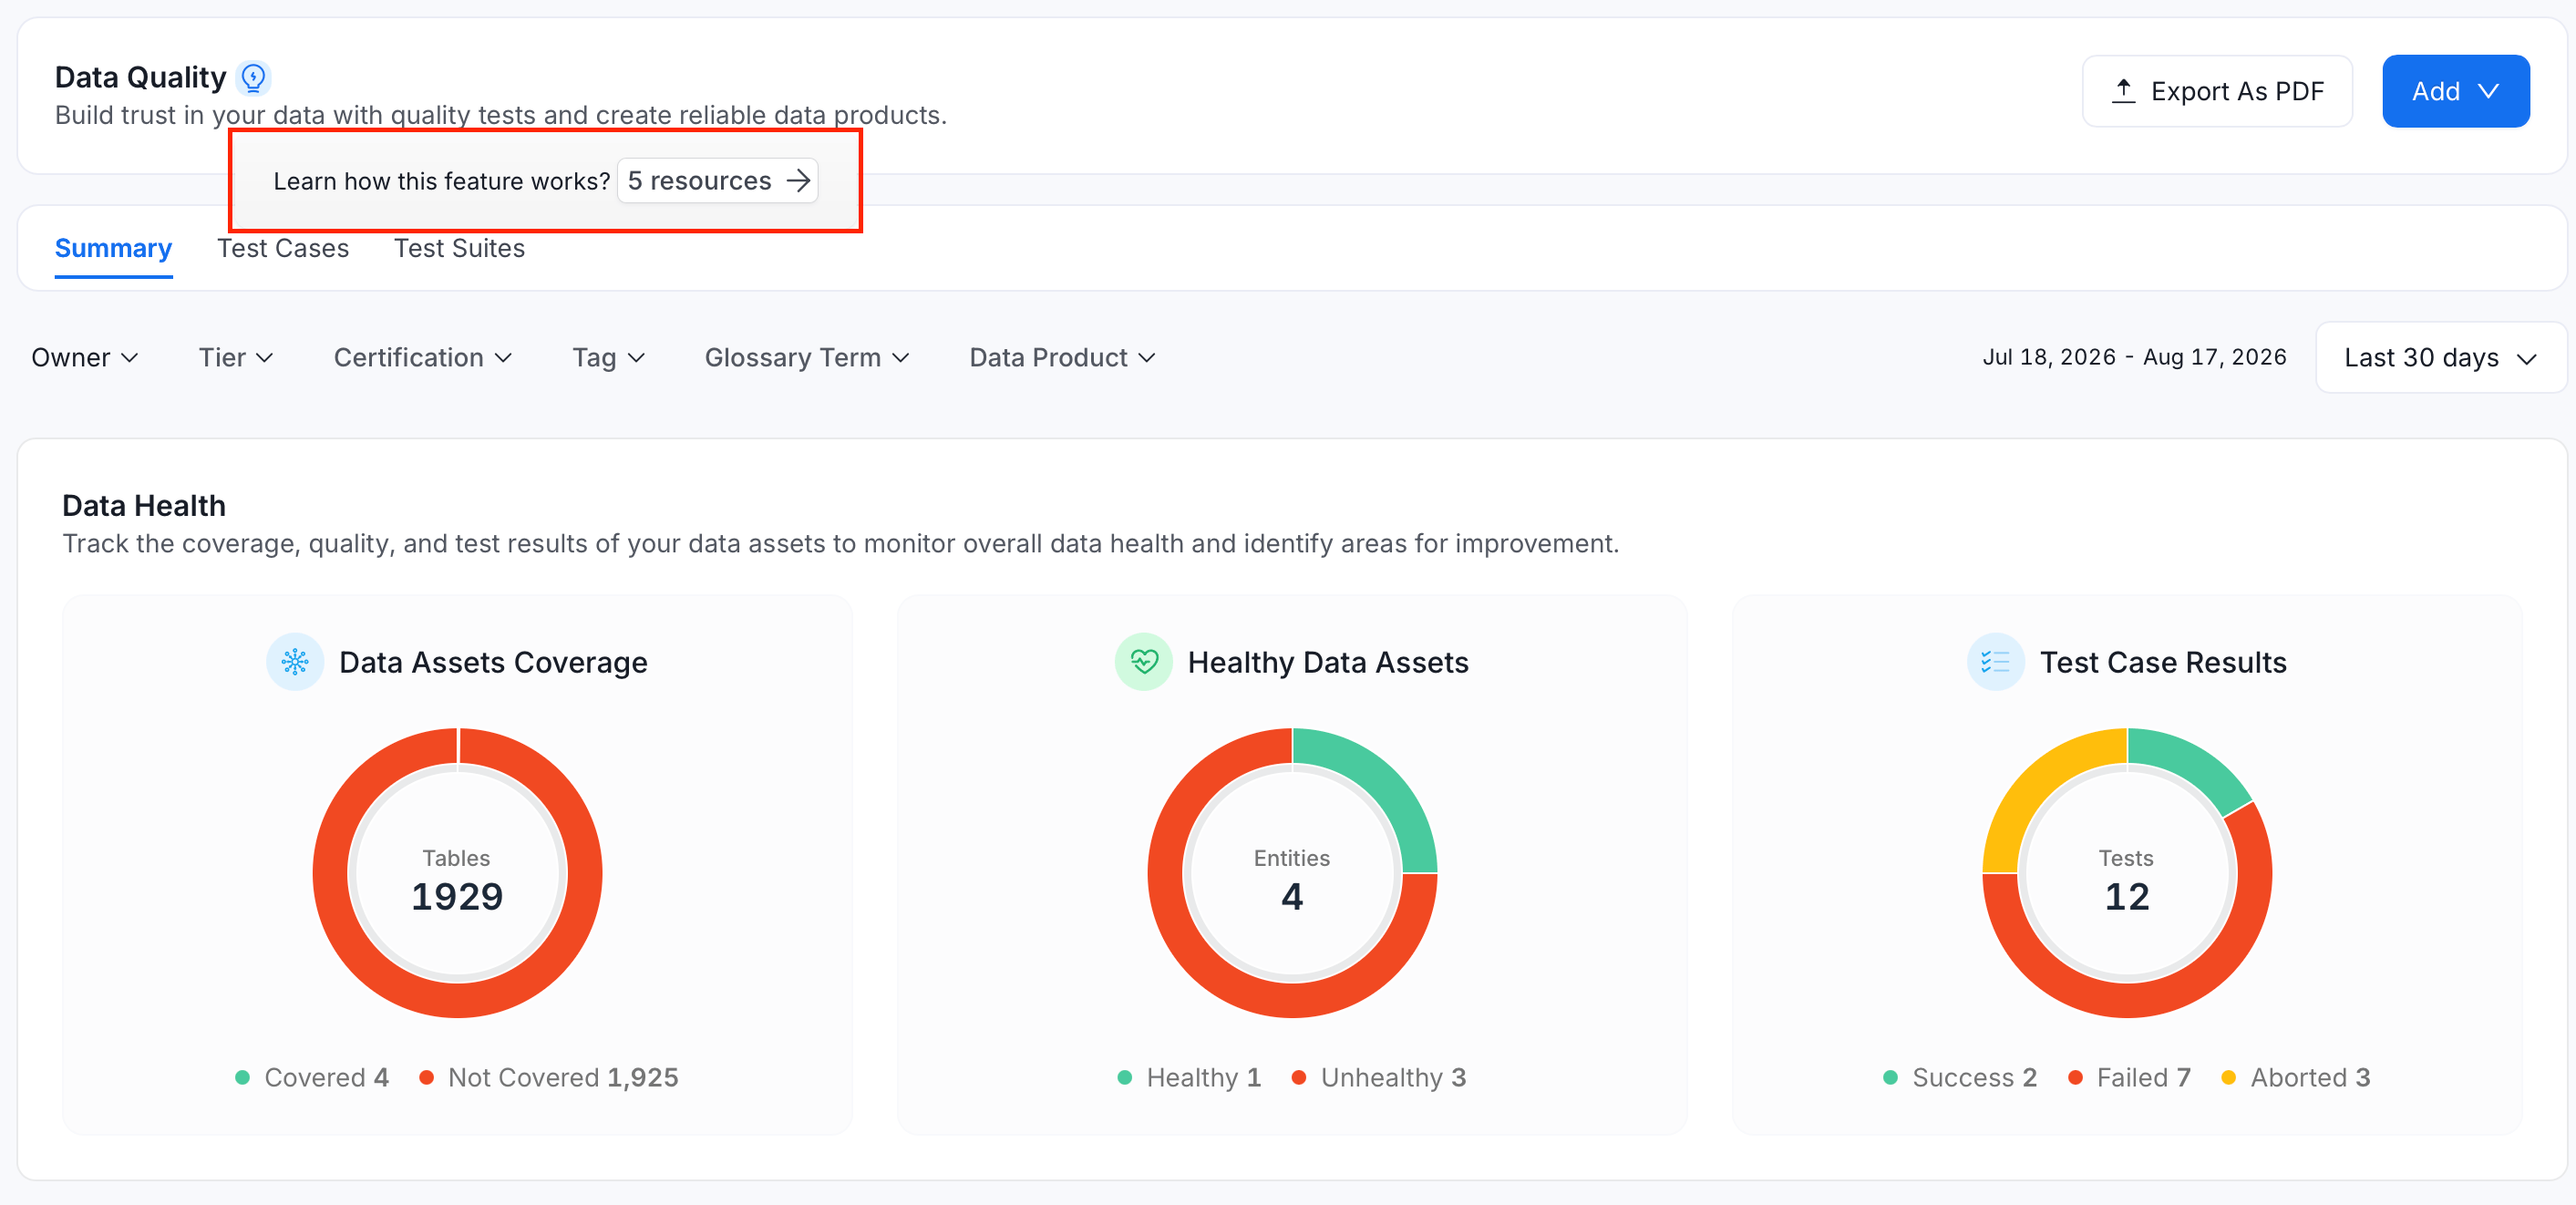
- Hover over the icon to see how many resources are available for that page.
- Click the icon to open a drawer listing every Active resource whose Context includes that page.
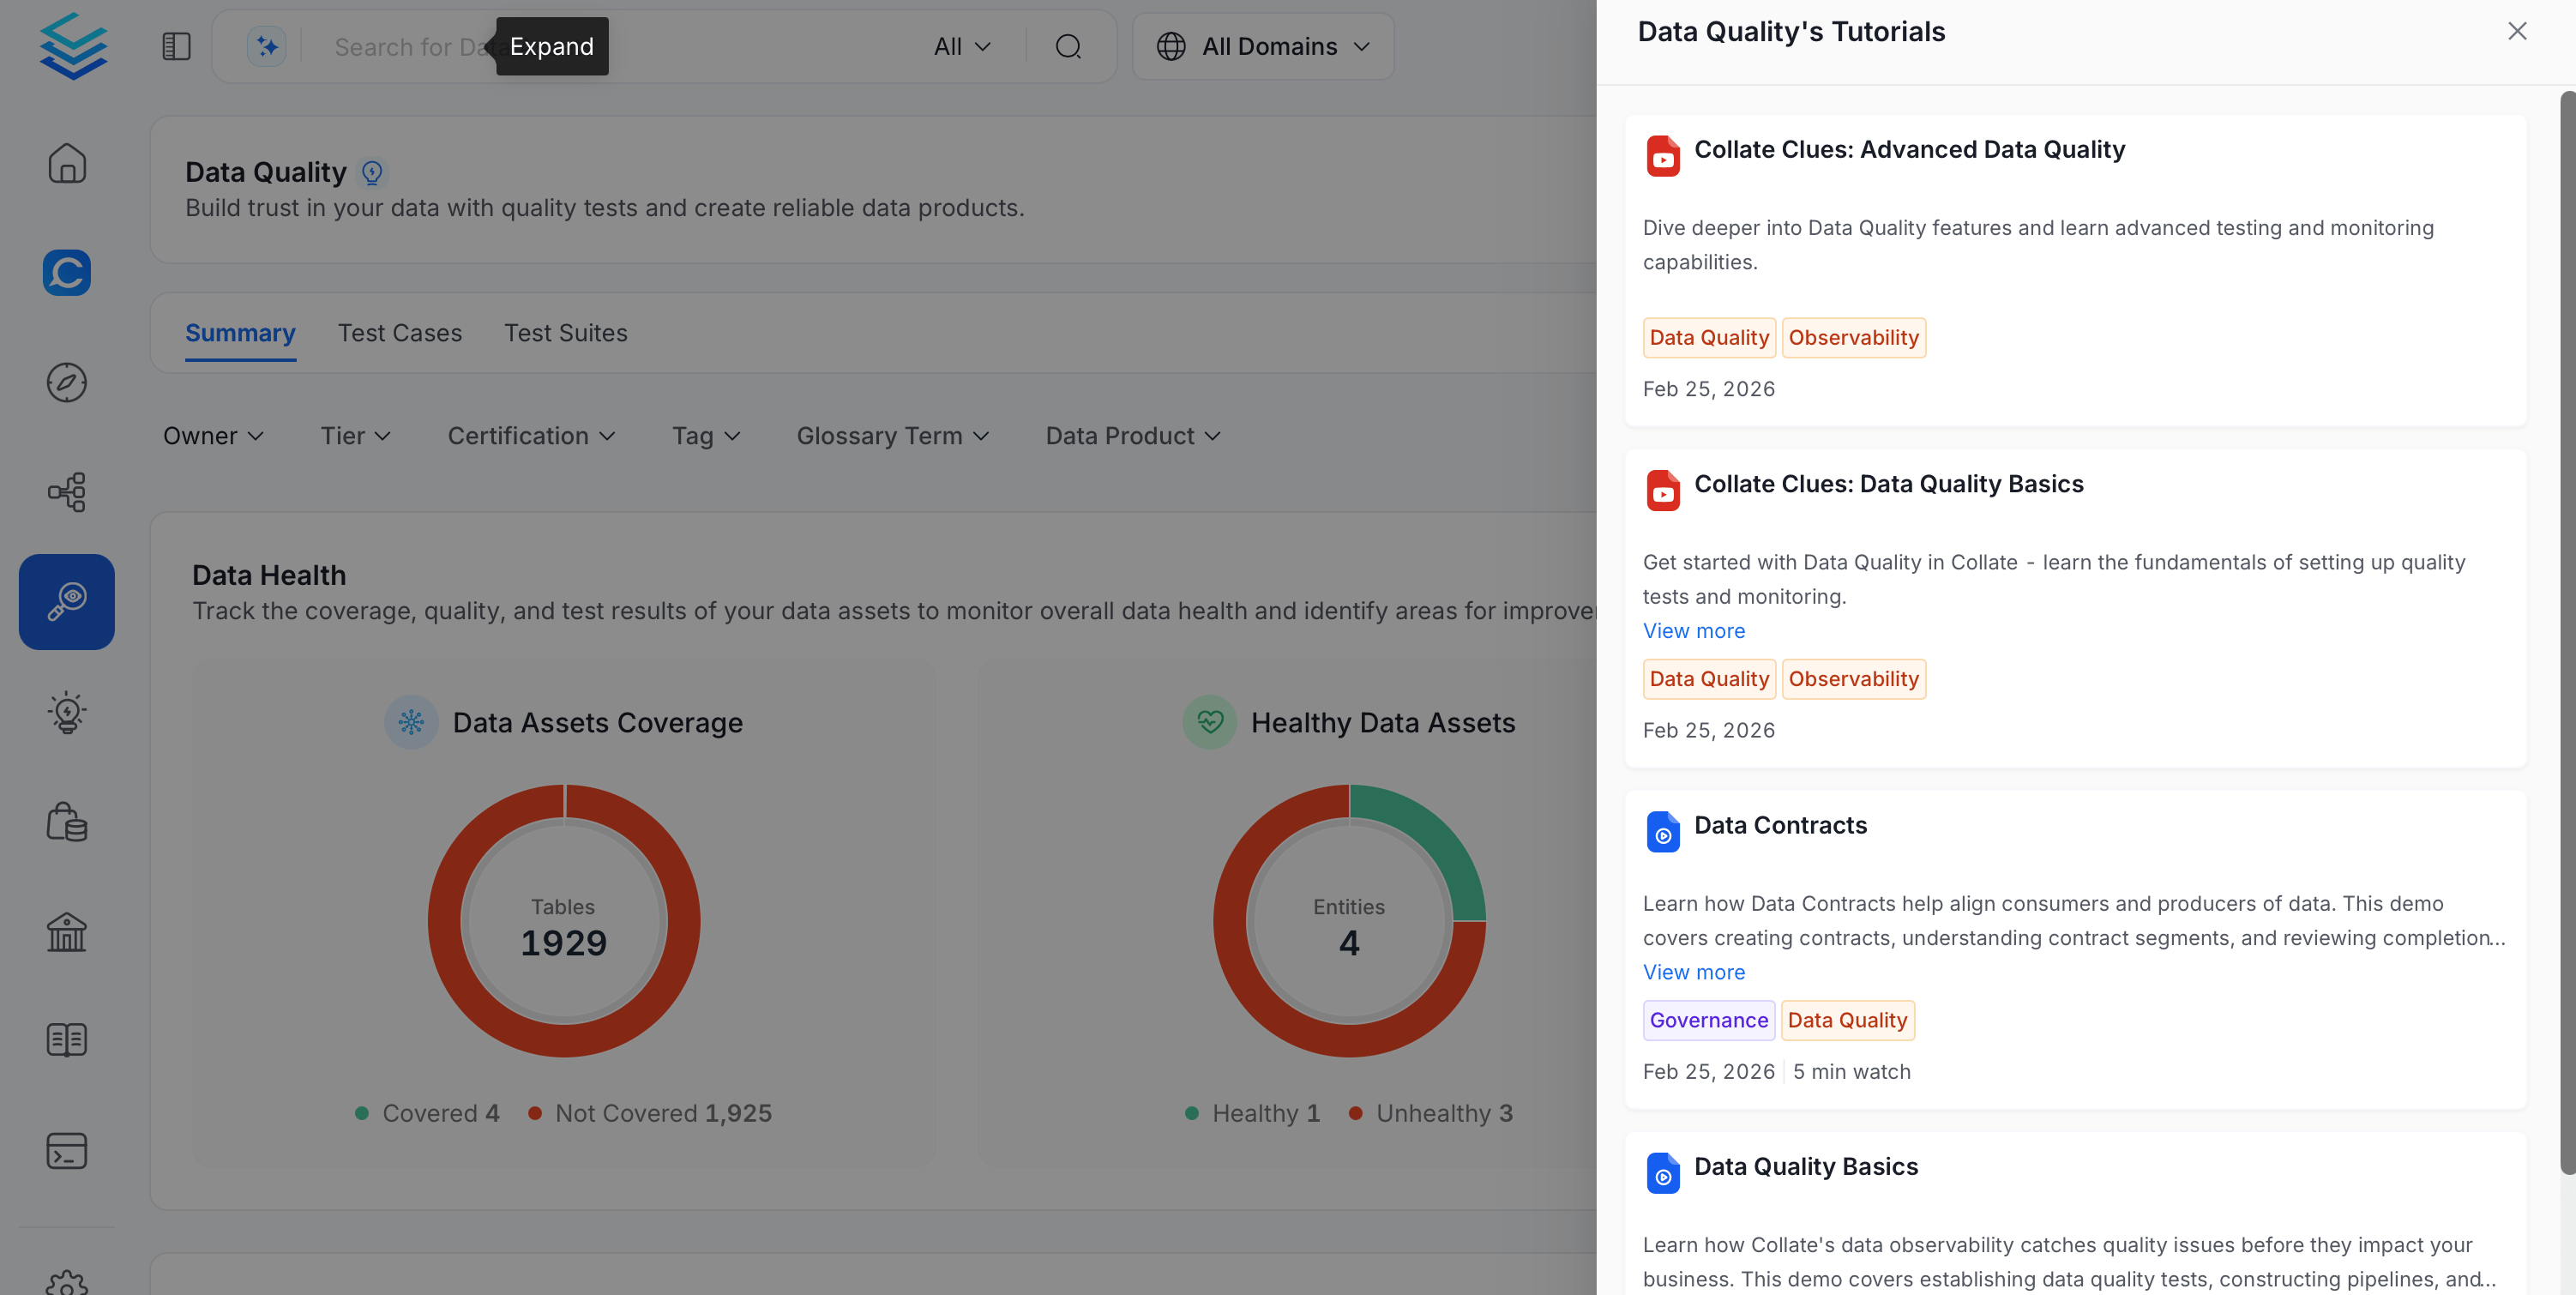
- Click a resource in the drawer to view its content.
Best Practices
- Keep resources scoped to the Context where they’re actually useful — over-tagging a resource with unrelated contexts adds noise to those pages’ help drawers.
- Use Draft status while preparing a resource so it doesn’t appear to end users until it’s ready, then switch it to Active to publish it.
- Prefer short, focused videos or Storylane tours over long ones — the contextual drawer is meant for quick, in-the-moment help.